Build Interior & add-ons
Furniture, water system, design and build
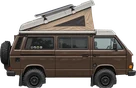
While researching how to fit out my T3, I wavered between the usual Reimo and Westfalia interiors – but I also wanted to create something of my own. So I decided to design and build it myself. The interior and the whole living space are explained and listed schematically here.
- Interior layout
- Components and furniture
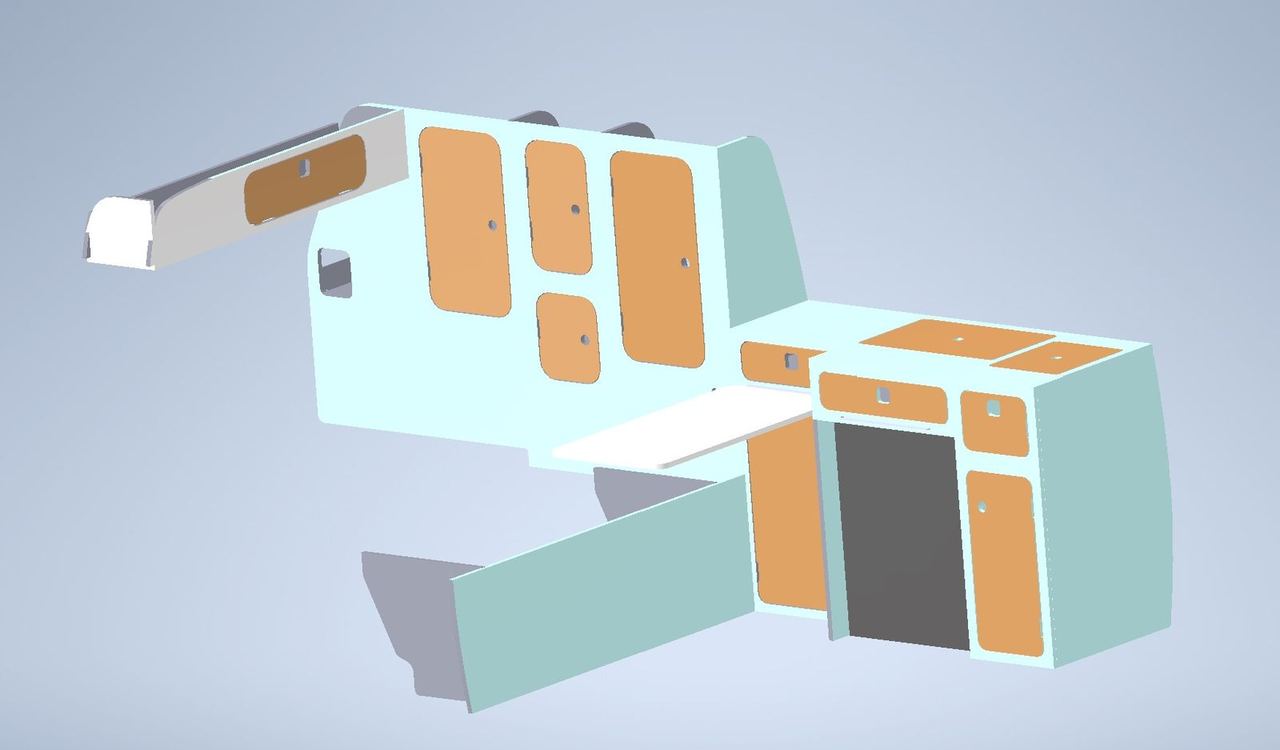
- CAD modelling
- Water system
- Other bits
- Interior layout
As in many conversions, the interior has a row of cabinets with a kitchen unit on the left-hand side (in the direction of travel). The rear bench folds down, so it serves as a bed in addition to the bed in the pop-top roof.
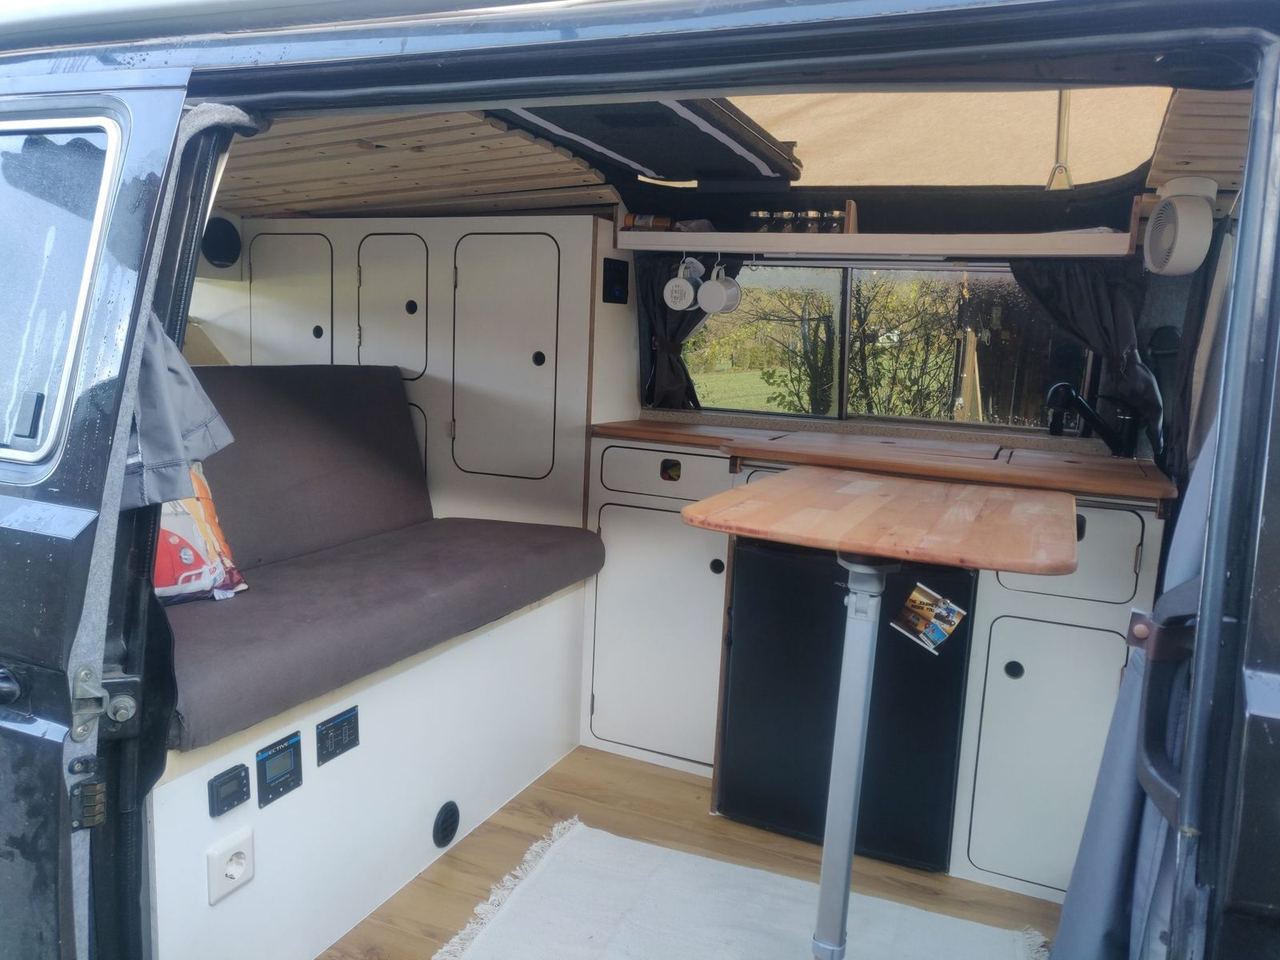
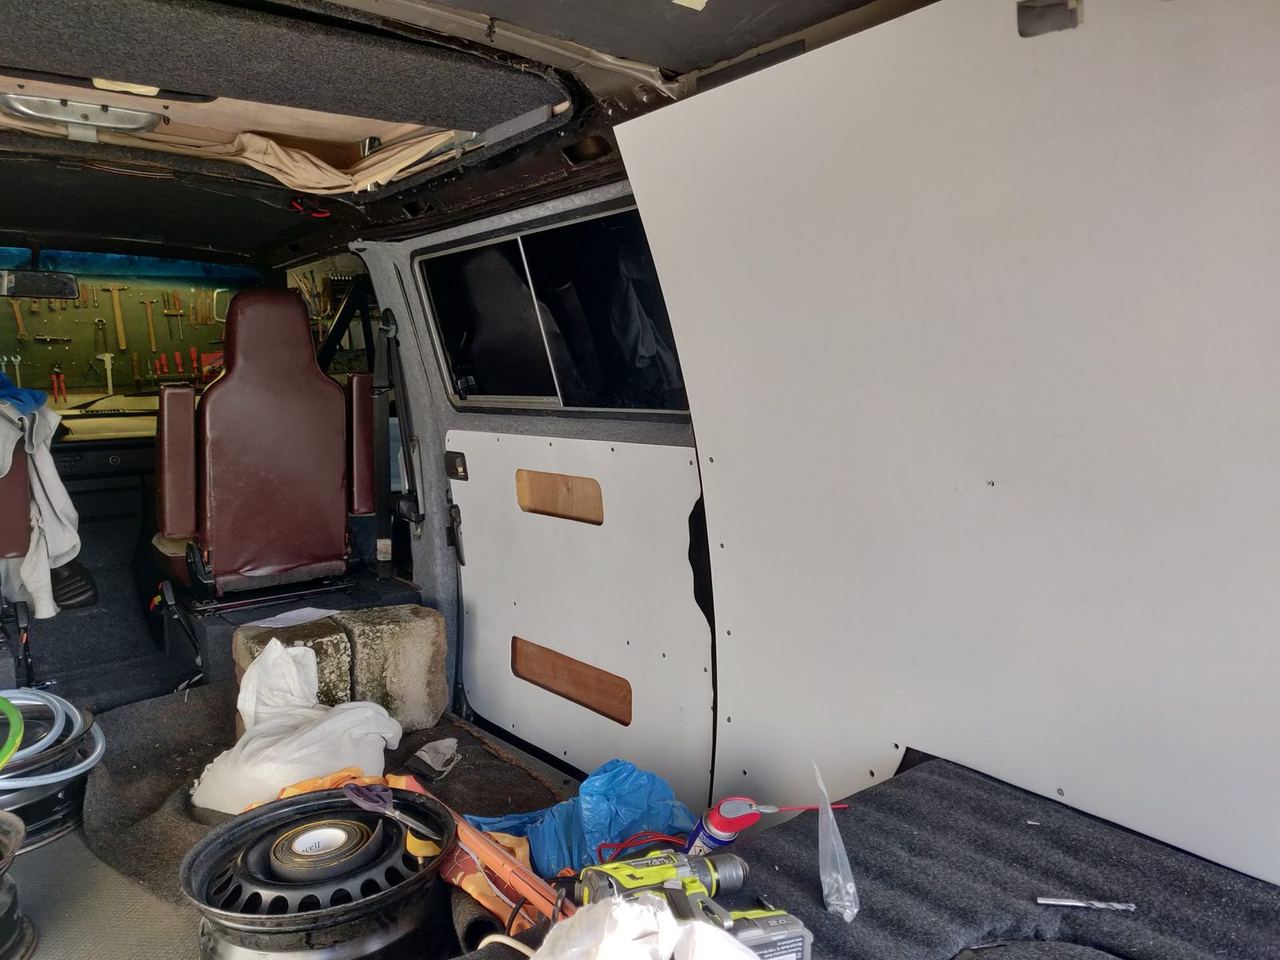
I insulated every surface with 19 mm and 6 mm Armaflex XG. Underneath I stuck some aluminium-butyl sound deadening, which in hindsight was pointless, because the Armaflex deadens the sound almost completely on its own. I then sealed all the joints with Armaflex tape. After a good two years, in spring 2023, I took the whole vehicle apart and was happy with how little condensation there was. So the vapour barrier works, as long as the Armaflex is installed properly.
Many other surfaces I lined with carpet felt, again to avoid condensation.
As a substructure I fixed wooden battens to the metal roof, so I could screw the panelling onto them. I cut the side panels from 3 mm plywood using the original VW panels as templates, and painted them. They're fixed to the body with rivet nuts and M6 machine screws. For the headliner I also used 3 mm plywood, which I then clad with 50×18 mm wooden strips to give the space a cosier feel. The strips were sanded and oiled beforehand.
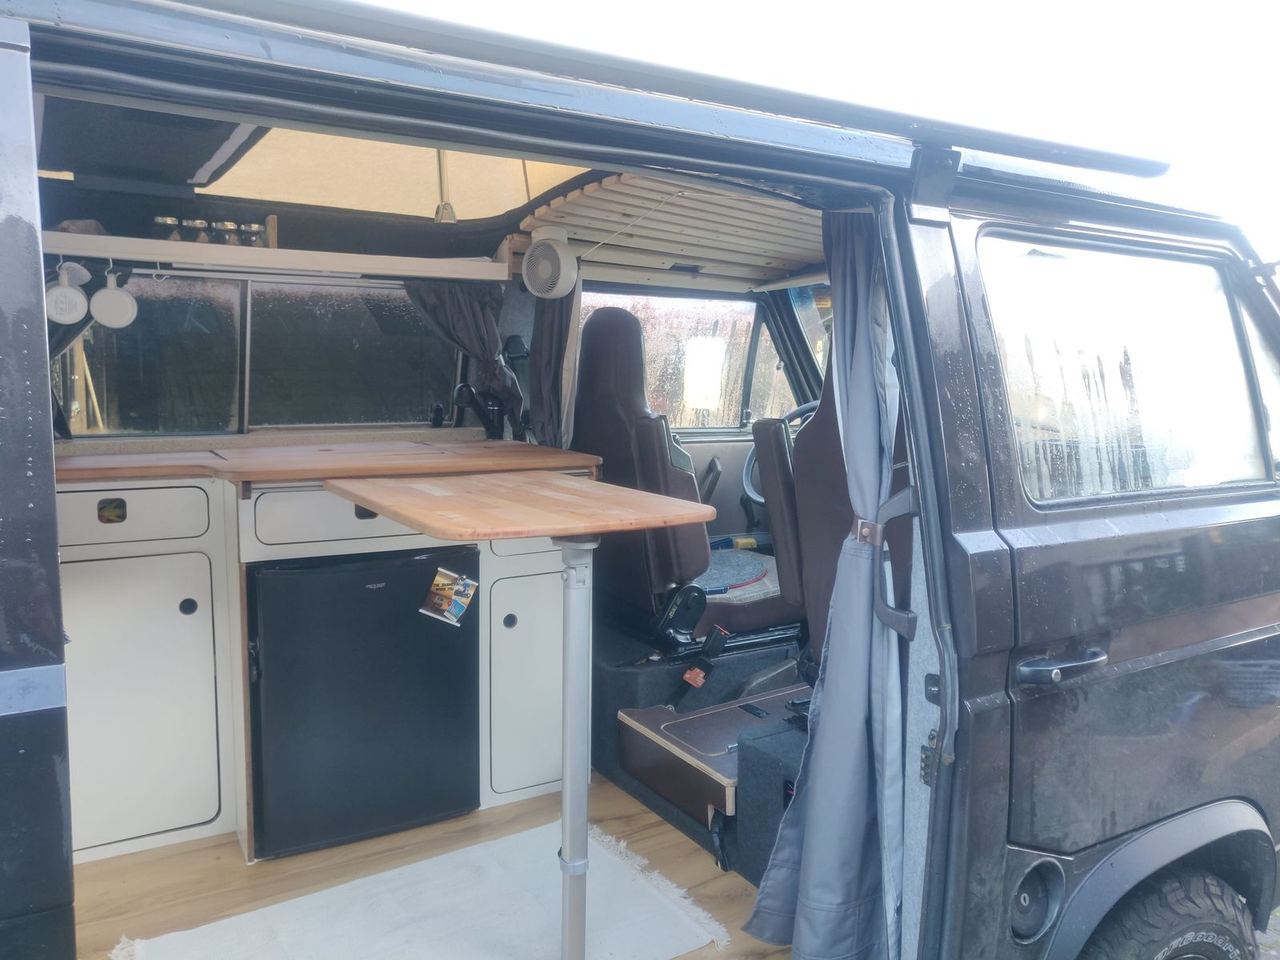
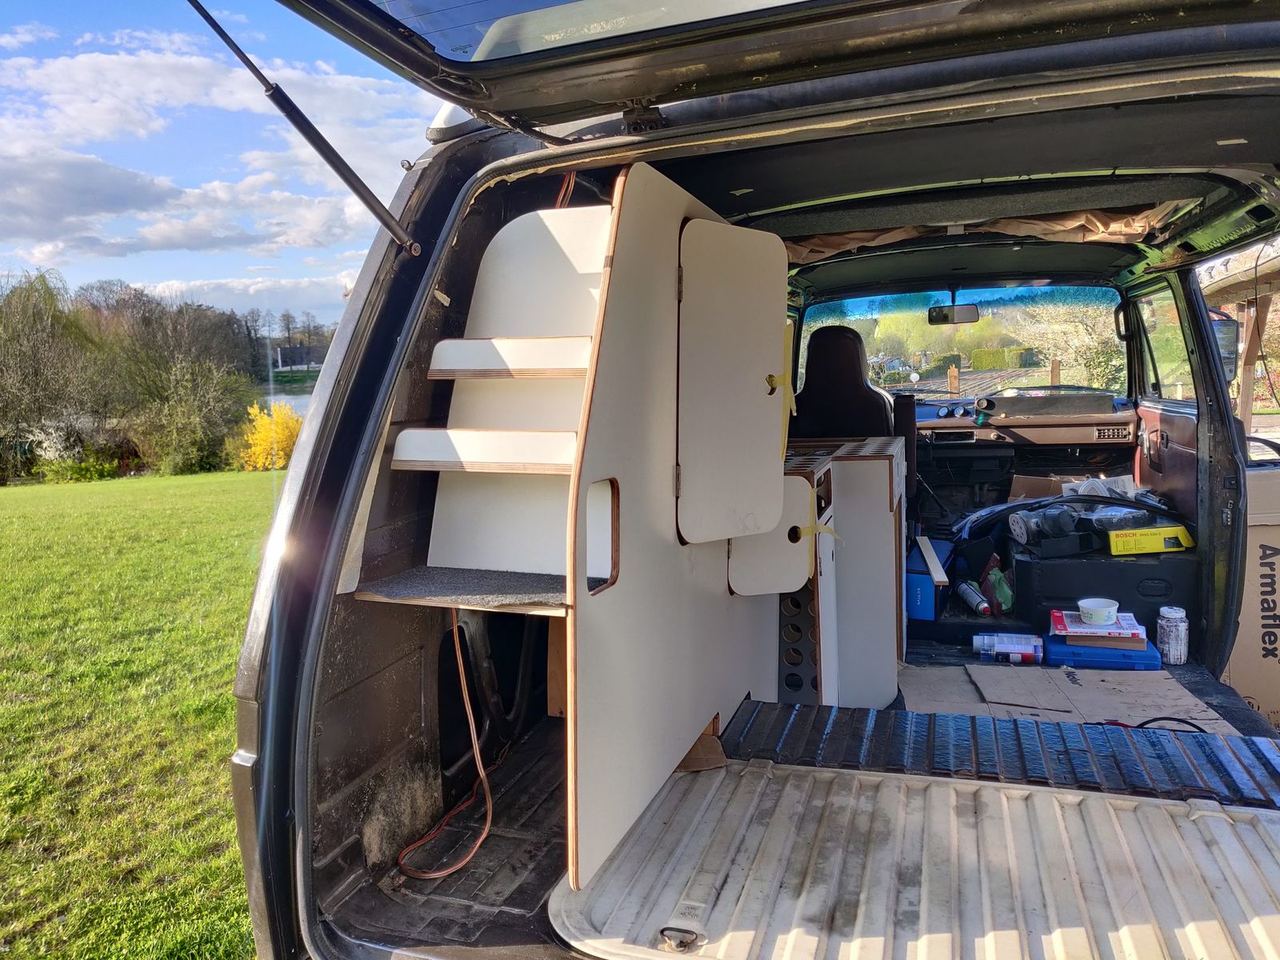
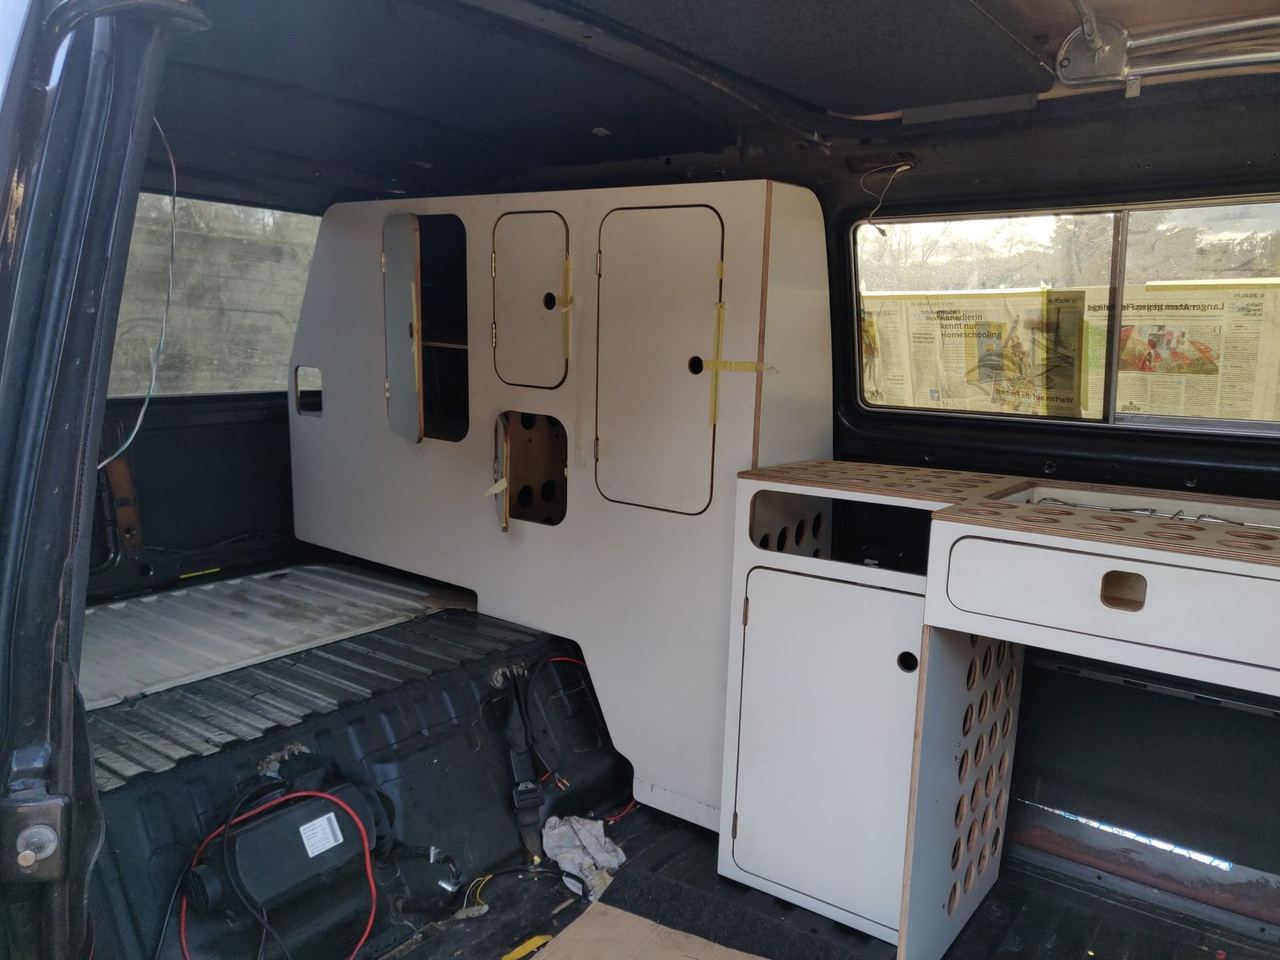
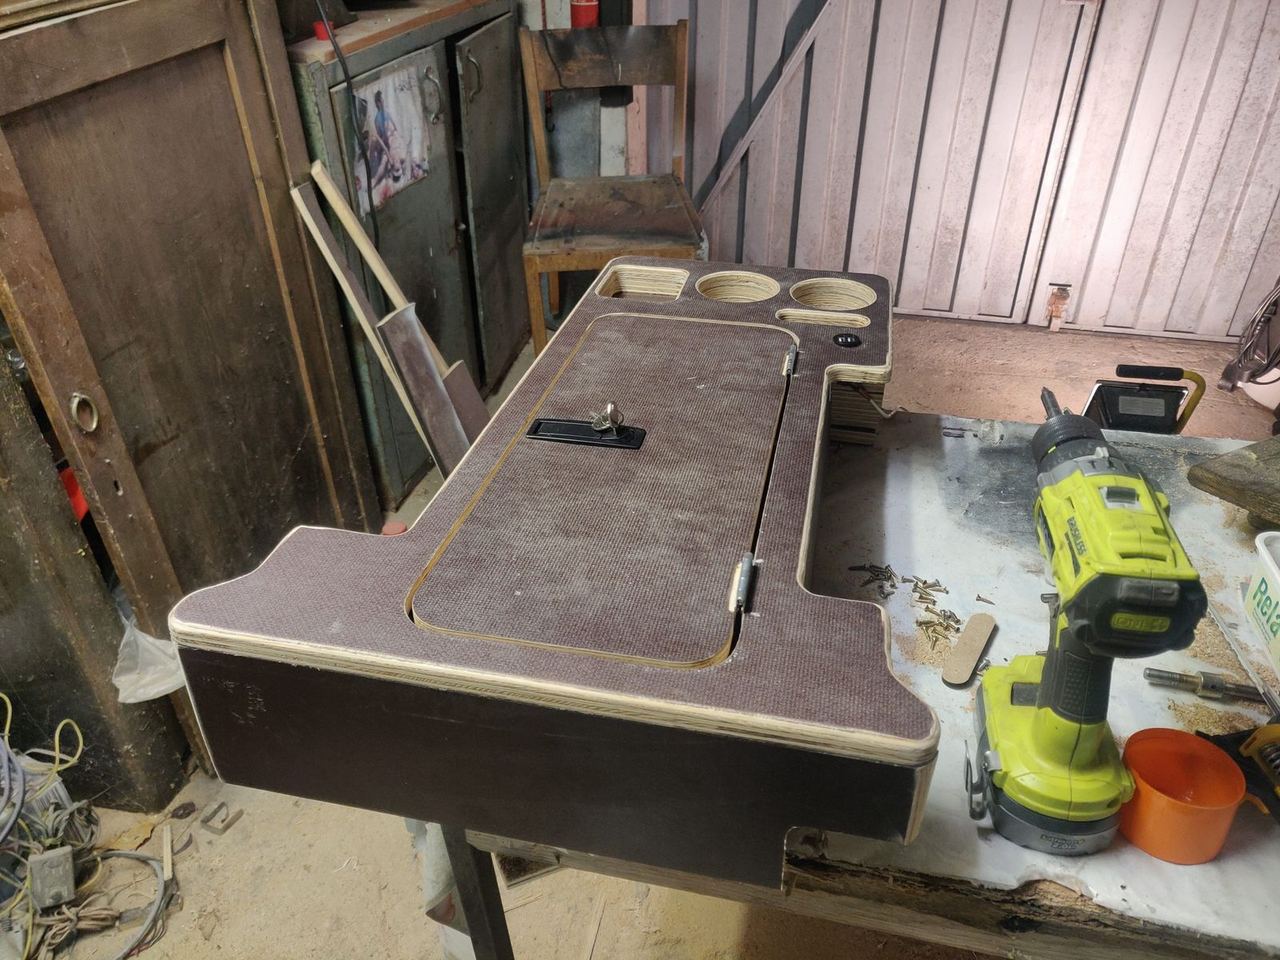
The seats swivel, and between them is a home-made console for extra storage.
2. Components and furniture
I was inspired by the conversion on this Instagram account.
Post on Instagram by @genathevanView on Instagram
I've uploaded the corresponding CAD and DXF files here.
The password is the website's domain followed by the year my T3 was built (e.g. google1998). If the Instagram creator can't be reached, I could provide the files (just get in touch via the contact form).
Roughly speaking, the furniture consists of five parts:
- The cabinet wall
- The bed / rear bench
- The kitchen unit
- The overhead shelf and spice rack
- The centre console
The Instagram user's folder also contains a CAD drawing of a toilet stool, which I found too bulky and not very useful. The trip also showed that such a stool for a portable toilet wouldn't really have helped if you live in the vehicle for longer periods, especially when it's below freezing.
3. CAD modelling and build
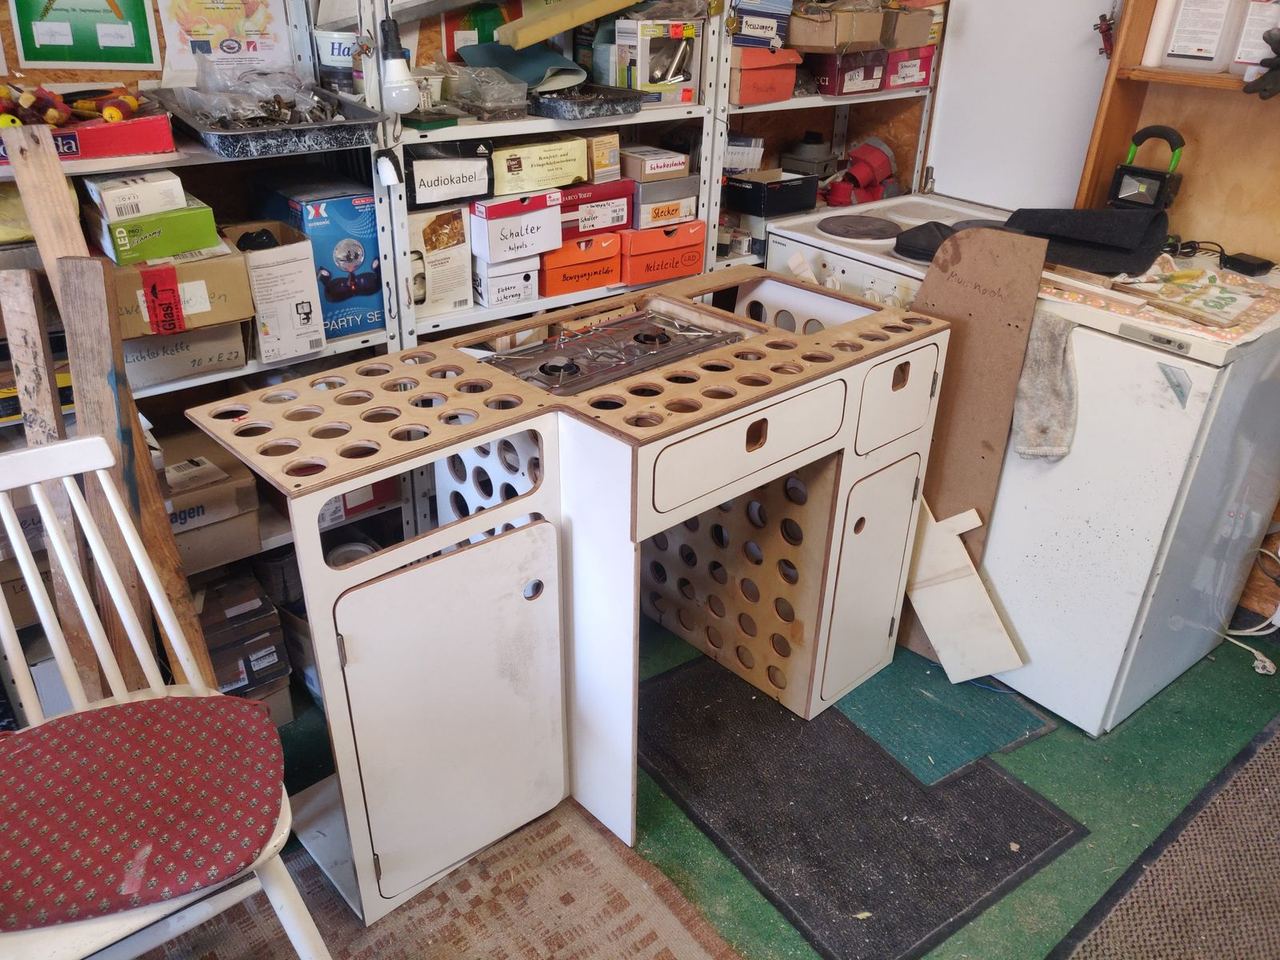
I took over parts of the design from the Instagram user. I designed the kitchen unit myself, though, so that the cut-out is big enough for the 60 l 12 V fridge.
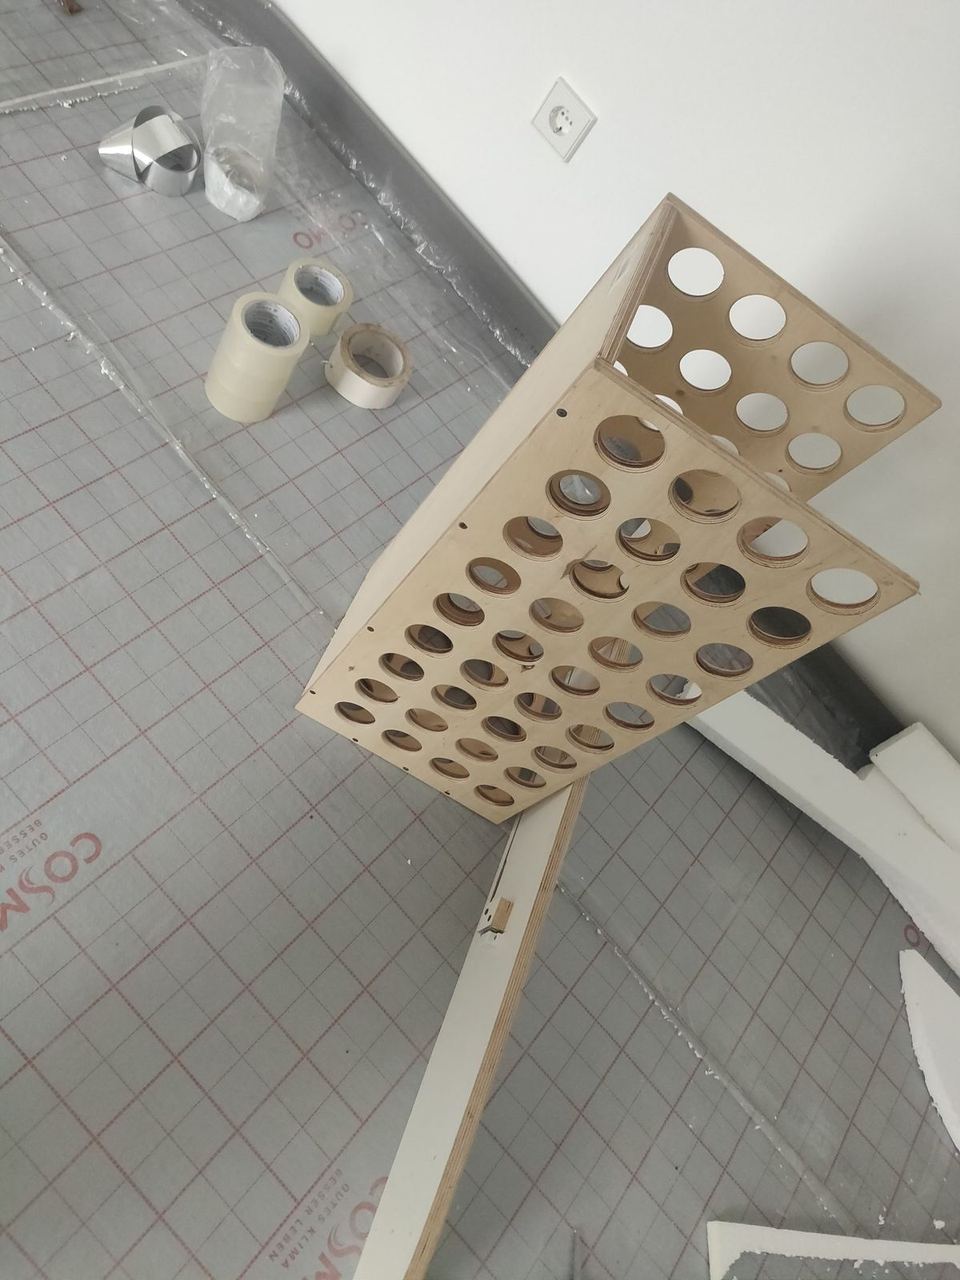
I can highly recommend the fridge (link). It's cheaper than the market leader's and it's certified too. Mobile 12 V or 24 V fridges aren't covered by the EU energy label, so with this one you can at least be sure it runs efficiently. Despite off-road tracks and 40 °C, the fridge always stayed cold and kept working.
This way the ORIGO 3000 spirit stove and the 32.5 cm × 26.5 cm sink also fit into the cut-out above the fridge.
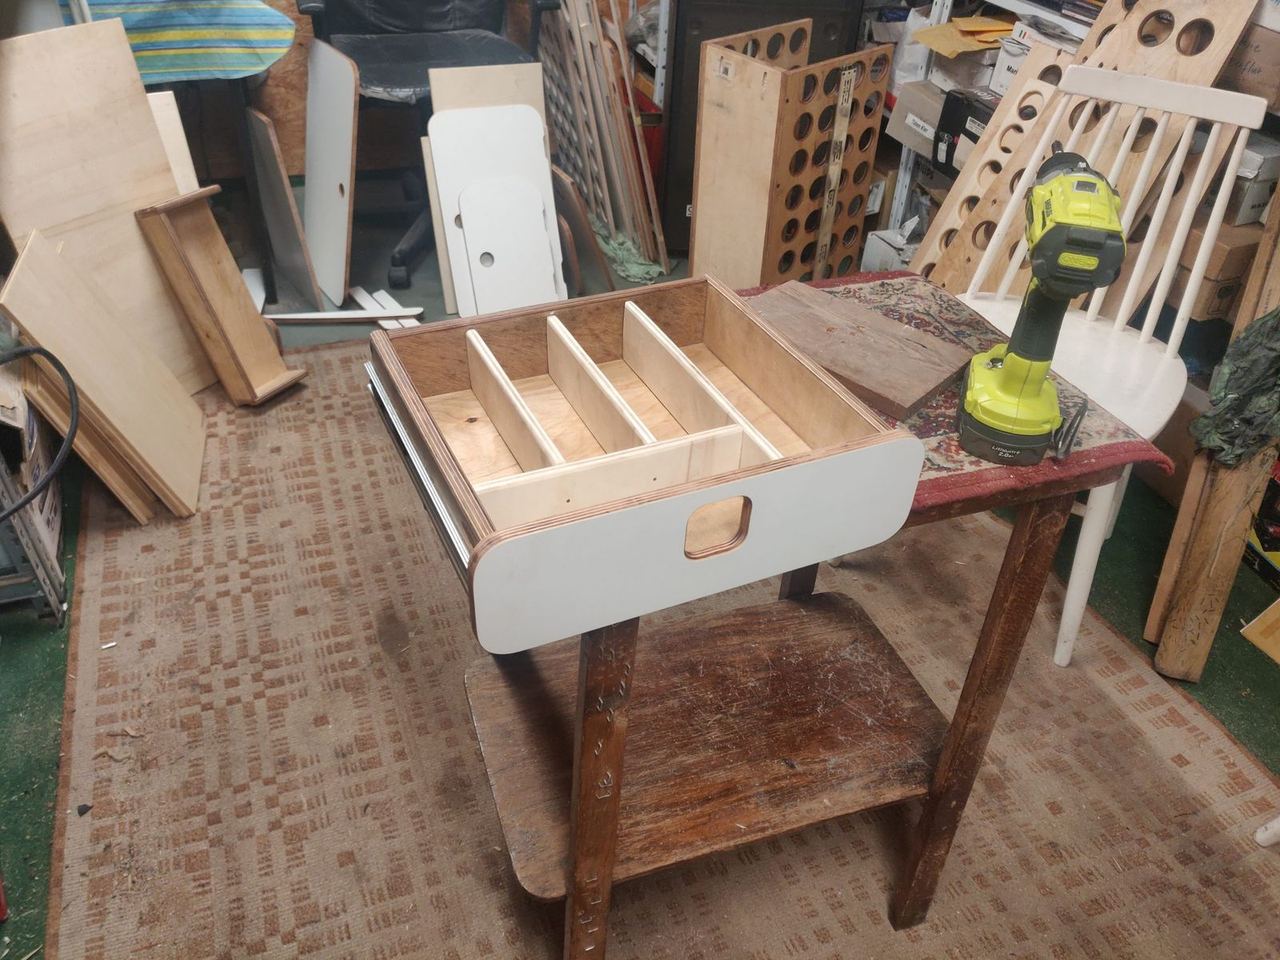
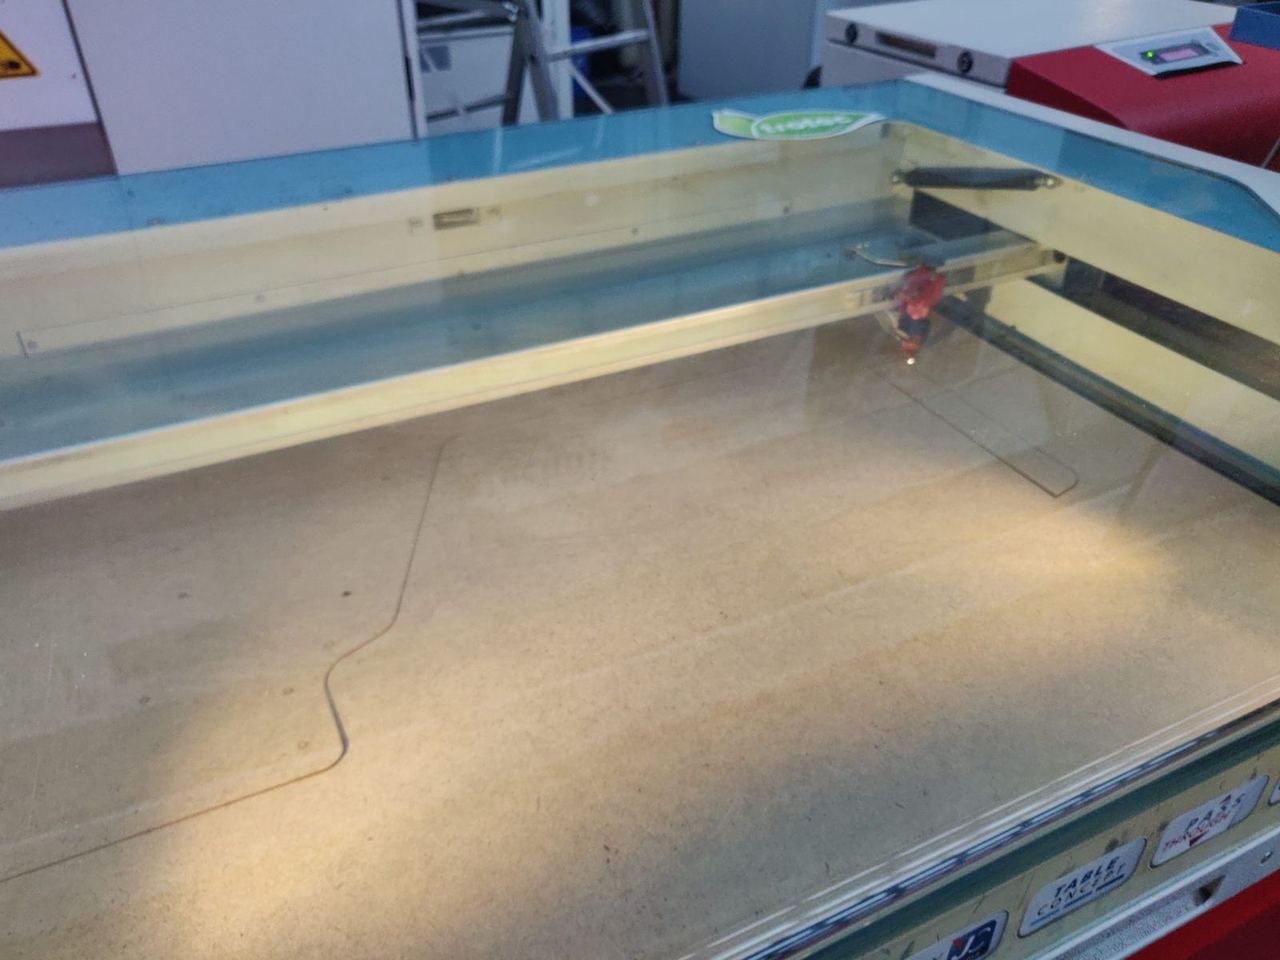
I couldn't have the individual wooden parts CNC-milled, as that would have blown my budget. So I had 4 mm MDF sheets laser-cut and fixed them to the raw boards as templates. The boards were 12 mm melamine-coated birch plywood.
For the drawers I used 10 mm plywood.
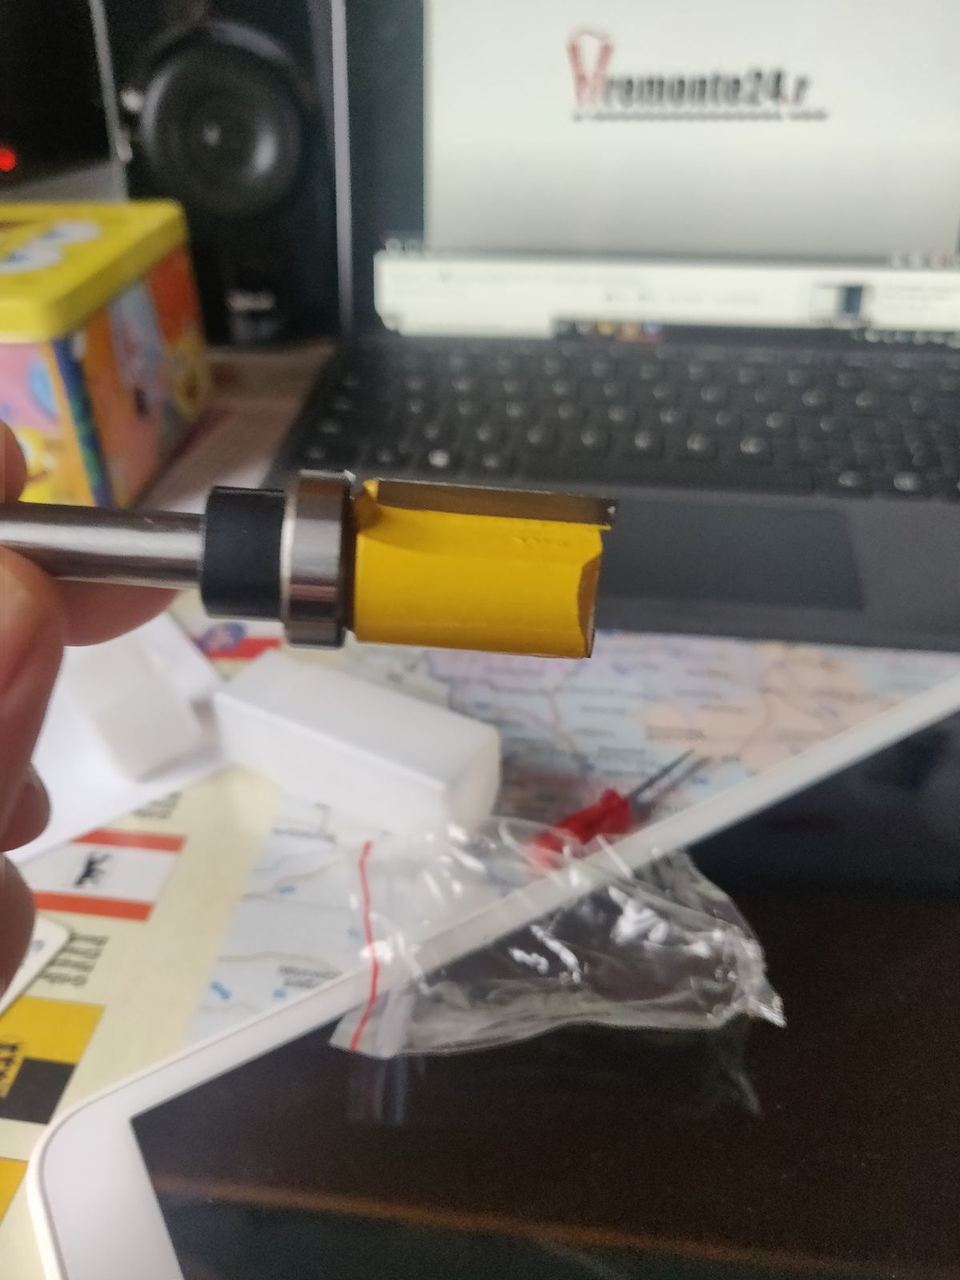
I cut the rough outline with a jigsaw and then made the final contour with a flush-trim bit in a router. On important edges I added radii with an edge-rounding bit.
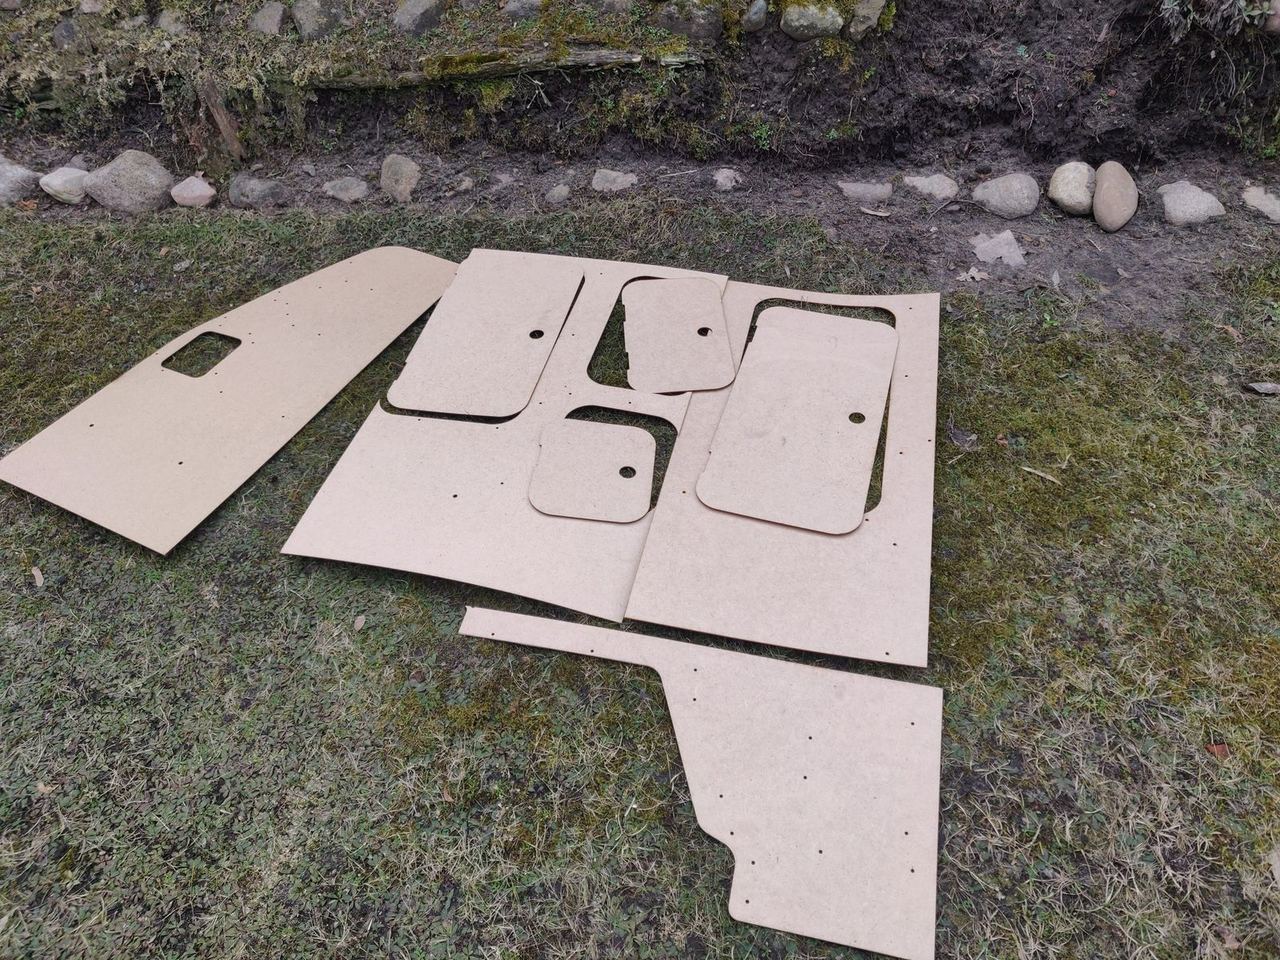
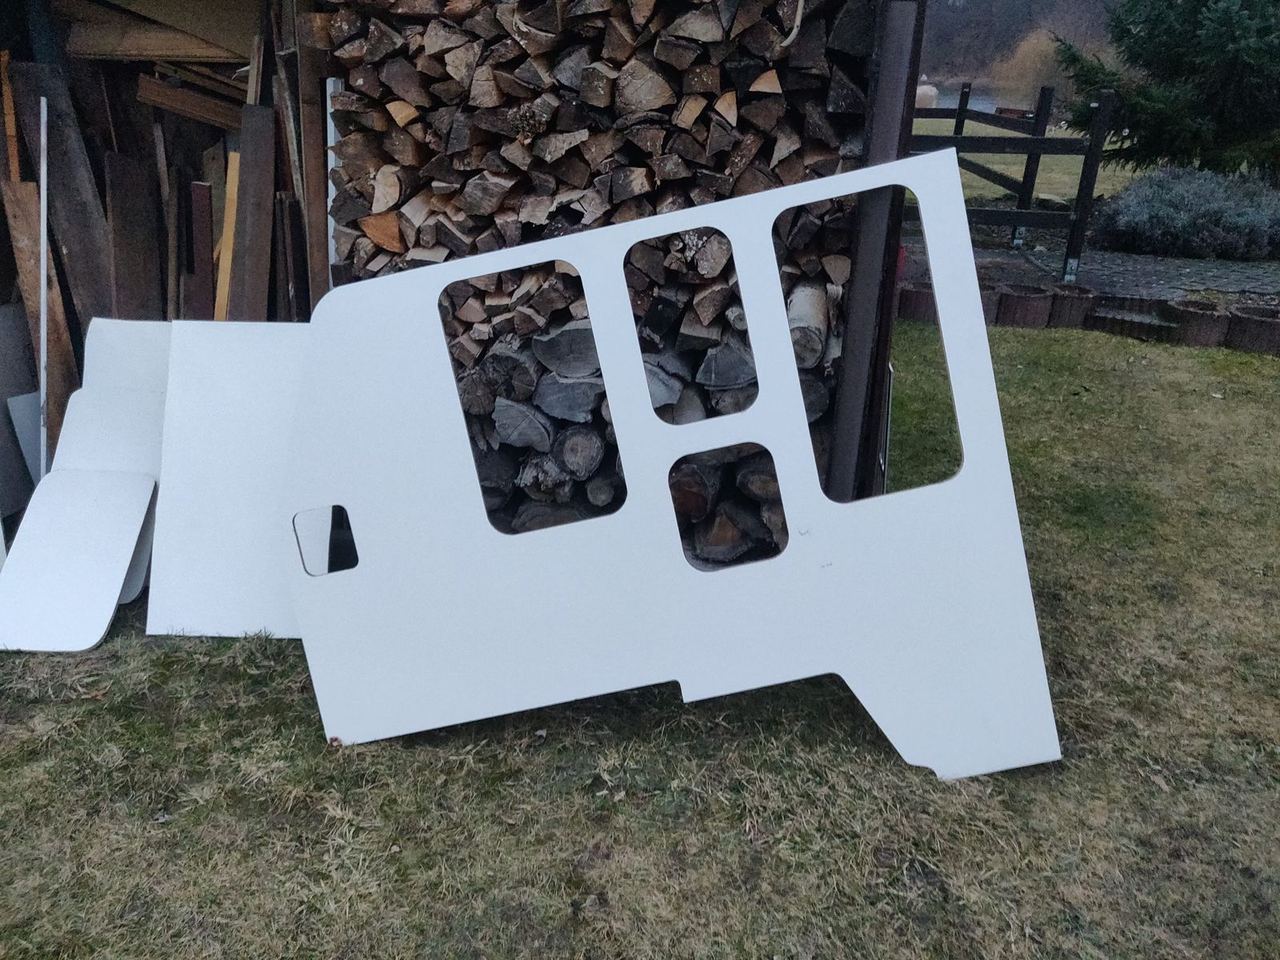
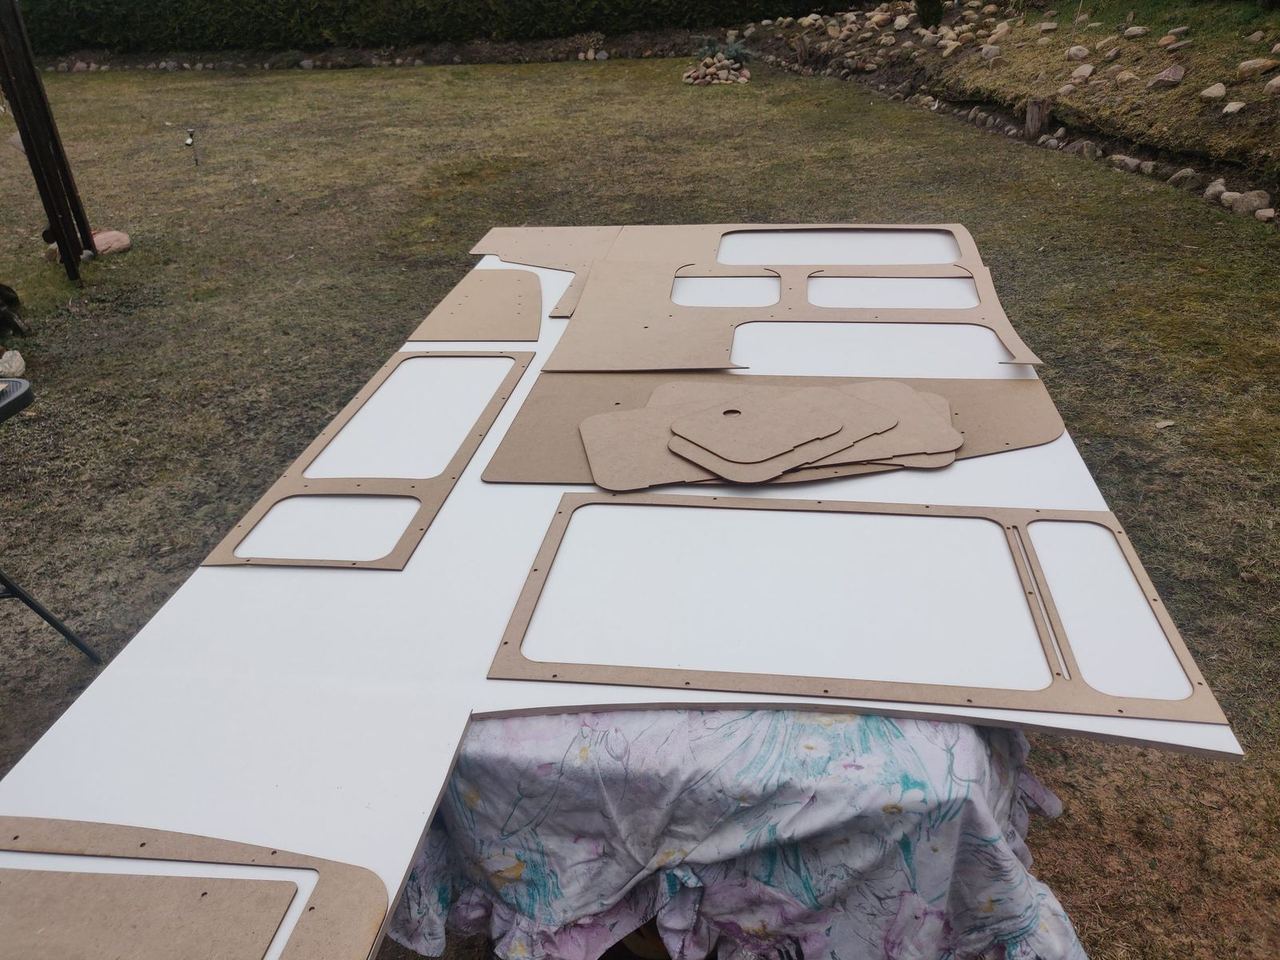
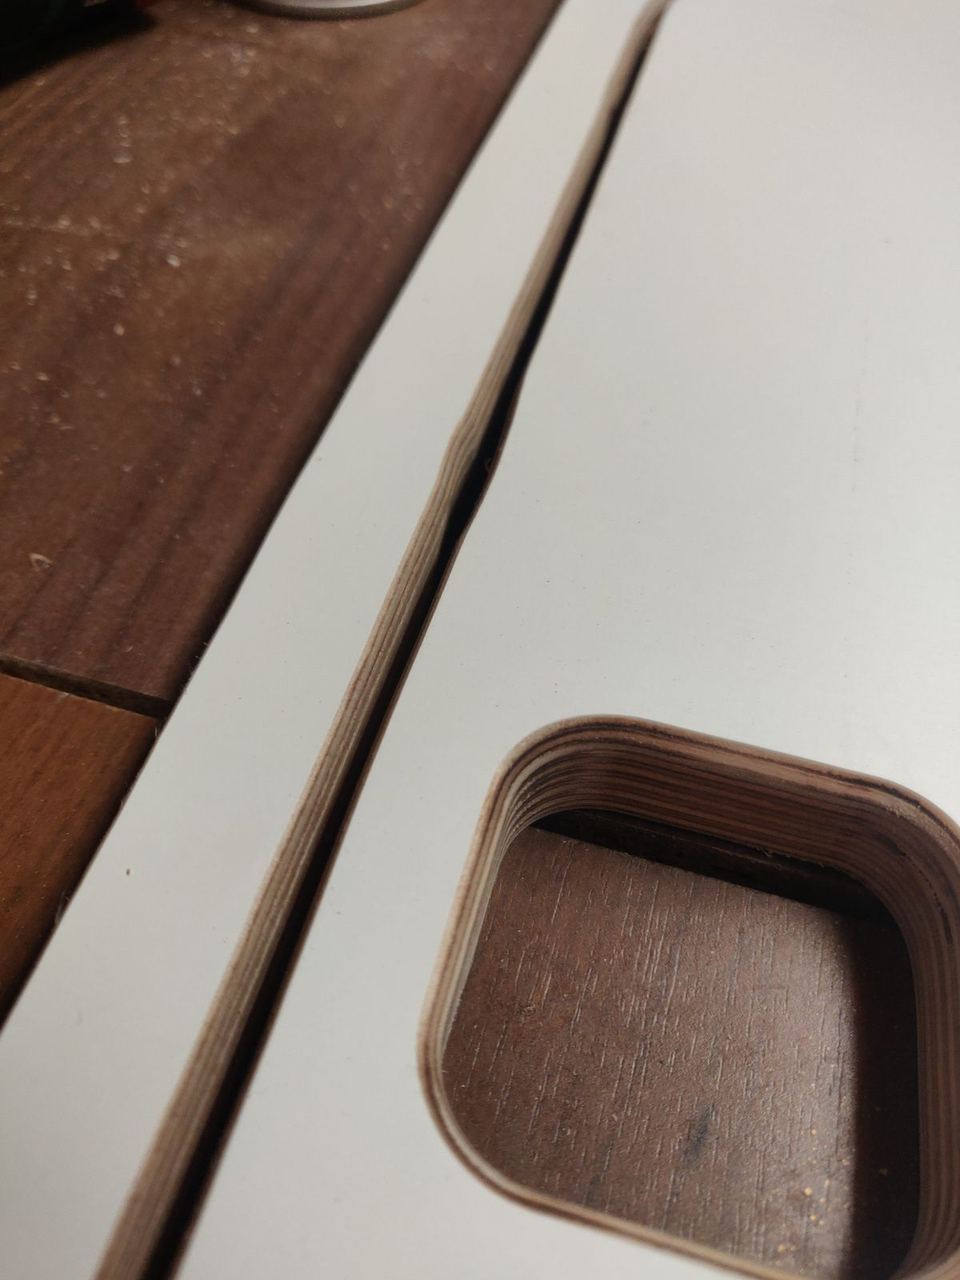
3D view
4. Water system
Under the vehicle there are two 45 l water tanks. The right-hand one (in the direction of travel) holds fresh water, the left-hand one grey water. The idea is to balance the weight a little, since the heavy cabinet wall is on the opposite side. I also planned to combine both tanks so that in theory 90 l of fresh water would be available, but I haven't managed that yet.
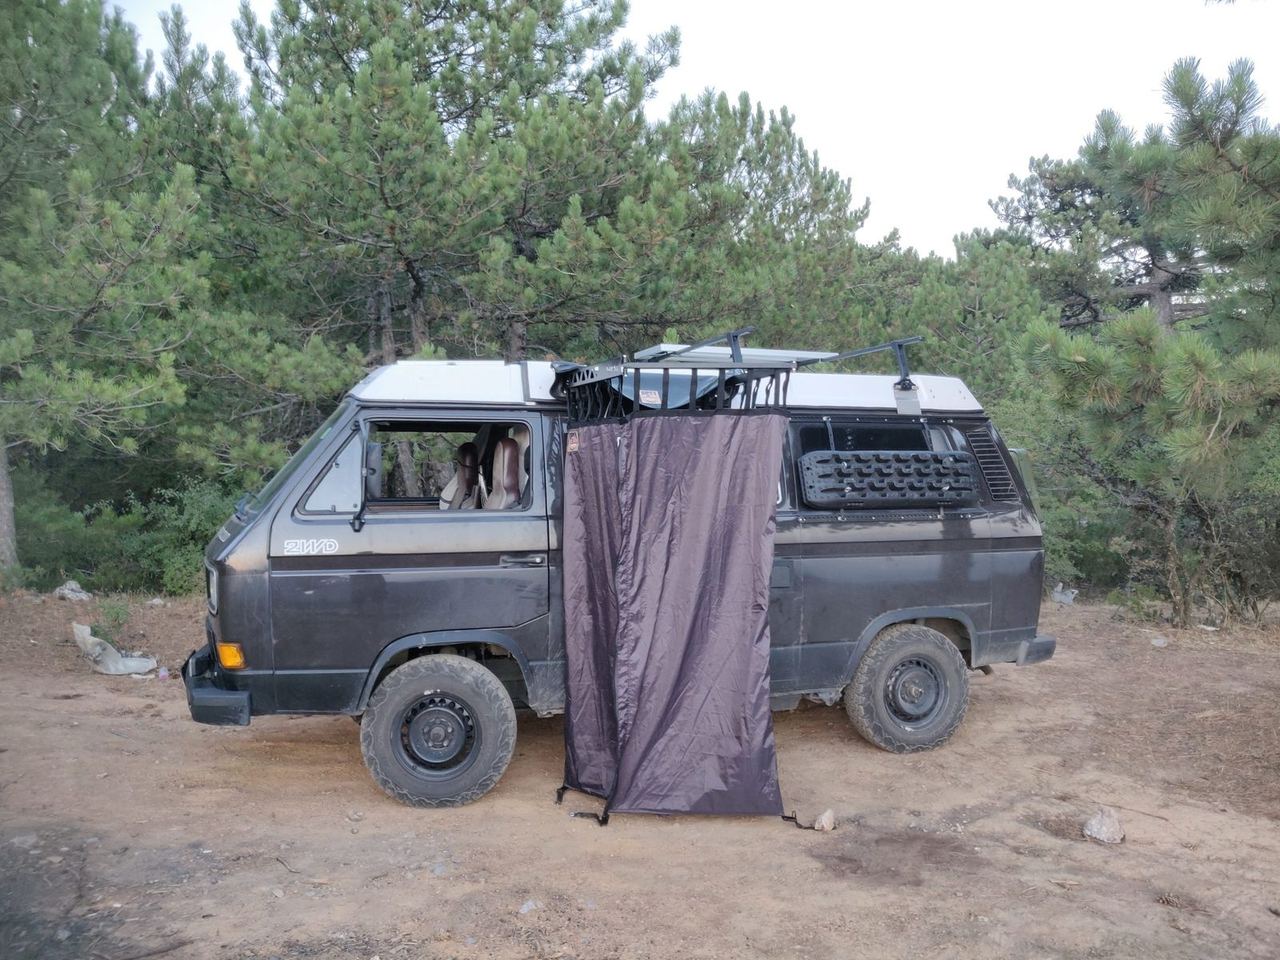
The tap I use is a household mixer tap with a pull-out head, so the spray head can also be used as a shower. That's why I installed an external 12 V pump (link, by Seaflow). The pump has its own switch.
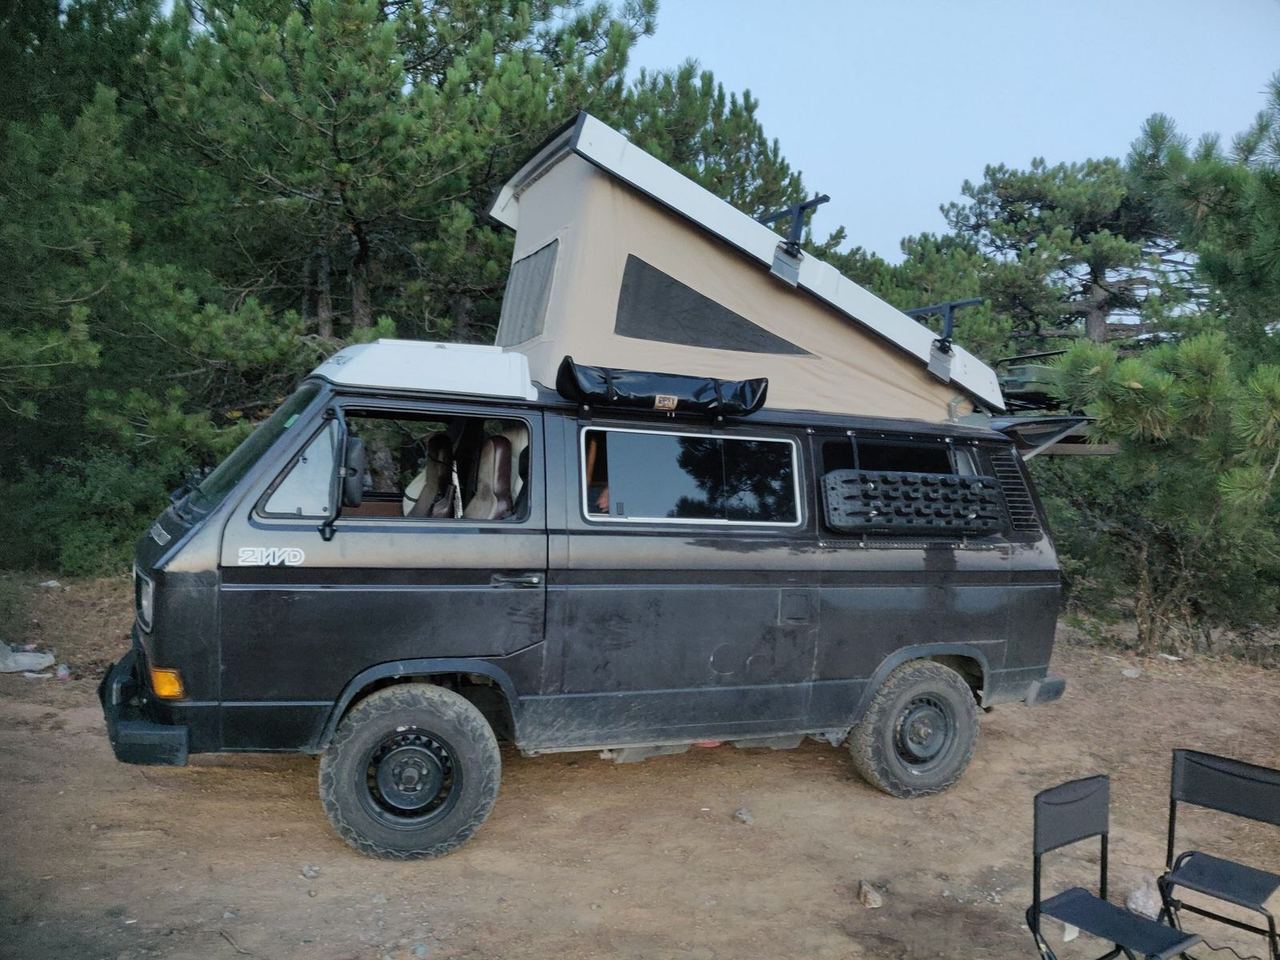
For the outdoor shower I also bought a shower tent, which in Izmir cost only a fraction of the German price (link).
5. Other bits
I also created storage space in the cavities of the sliding door and the tailgate – just right for books or clothes. And the tailgate can be opened from the inside: I simply tied a cord to the latch.
Here's some of it again in more detail.