Build Interior & add-ons
Experience report and build: Westfalia Mosaik pop-top roof
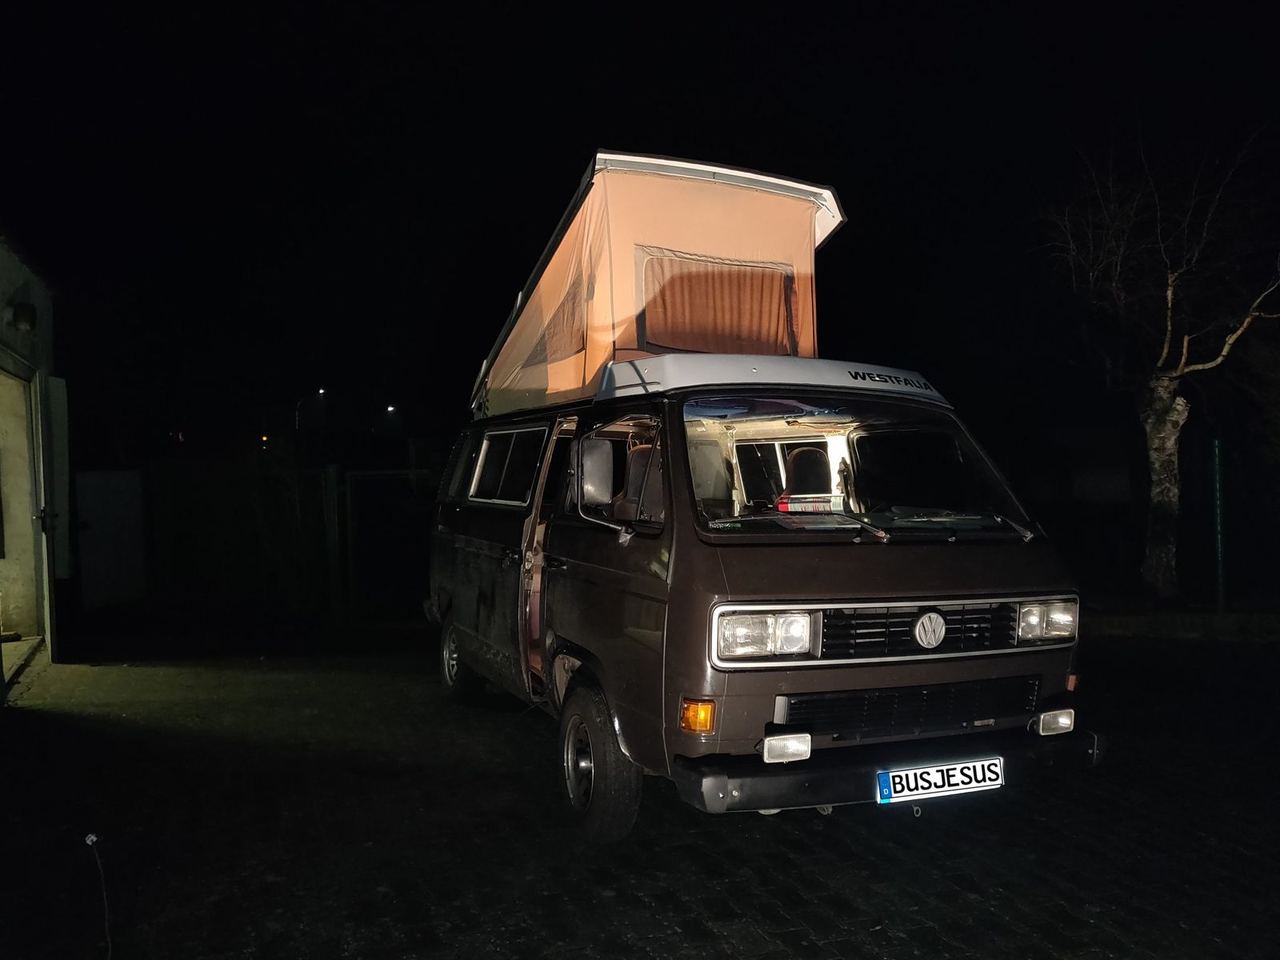
A pop-top roof has huge advantages: it only raises the vehicle's height slightly, so you can still stay under 2 m overall. Inside you get standing height, which makes cooking and living in the vehicle much better. And you end up with four sleeping places in total (two up, two down).
I've structured the build like this:
- Choosing the roof
- Preparation
- Fitting the roof
- Building the bed
- Fitting the tent fabric
Choosing the roof
There are various pop-top roofs for the T3. The ones I know are from Carthago, Reimo and Westfalia. There are also the Australian and British models that open to the side, but they're hard to get hold of here. A fixed high-top is interesting too, but I think a pop-top offers more advantages for a similar amount of work.
I found the Westfalia pop-top with the matching luggage tray (rather than the spoiler version) the most attractive. Similar-looking replicas are available new for around €2,500, for example from Spaceroofs and Kamper Projekt.
Preparation
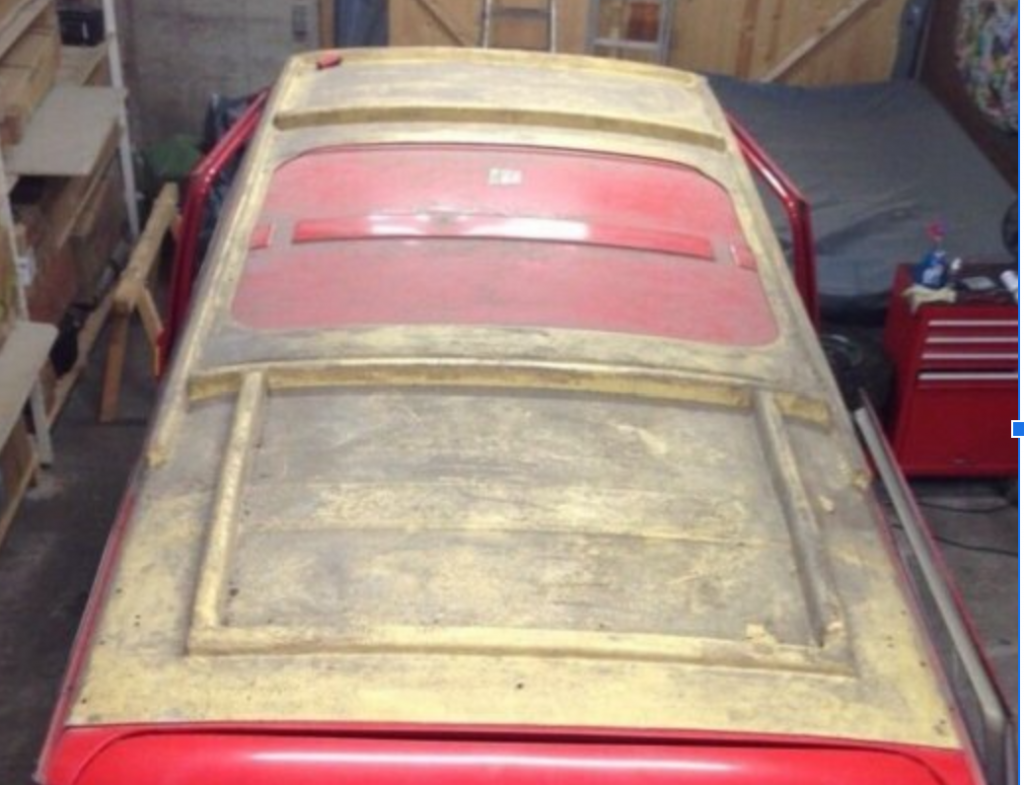
I bought my roof used, but it had already been partly restored: the roof had been repainted, the material inside removed and the metal parts galvanised.
I repainted the roof again, using white two-component boat paint. Painting with a roller worked really well. On the inside I applied spray adhesive, then glued on the velour headliner and cut out the opening.
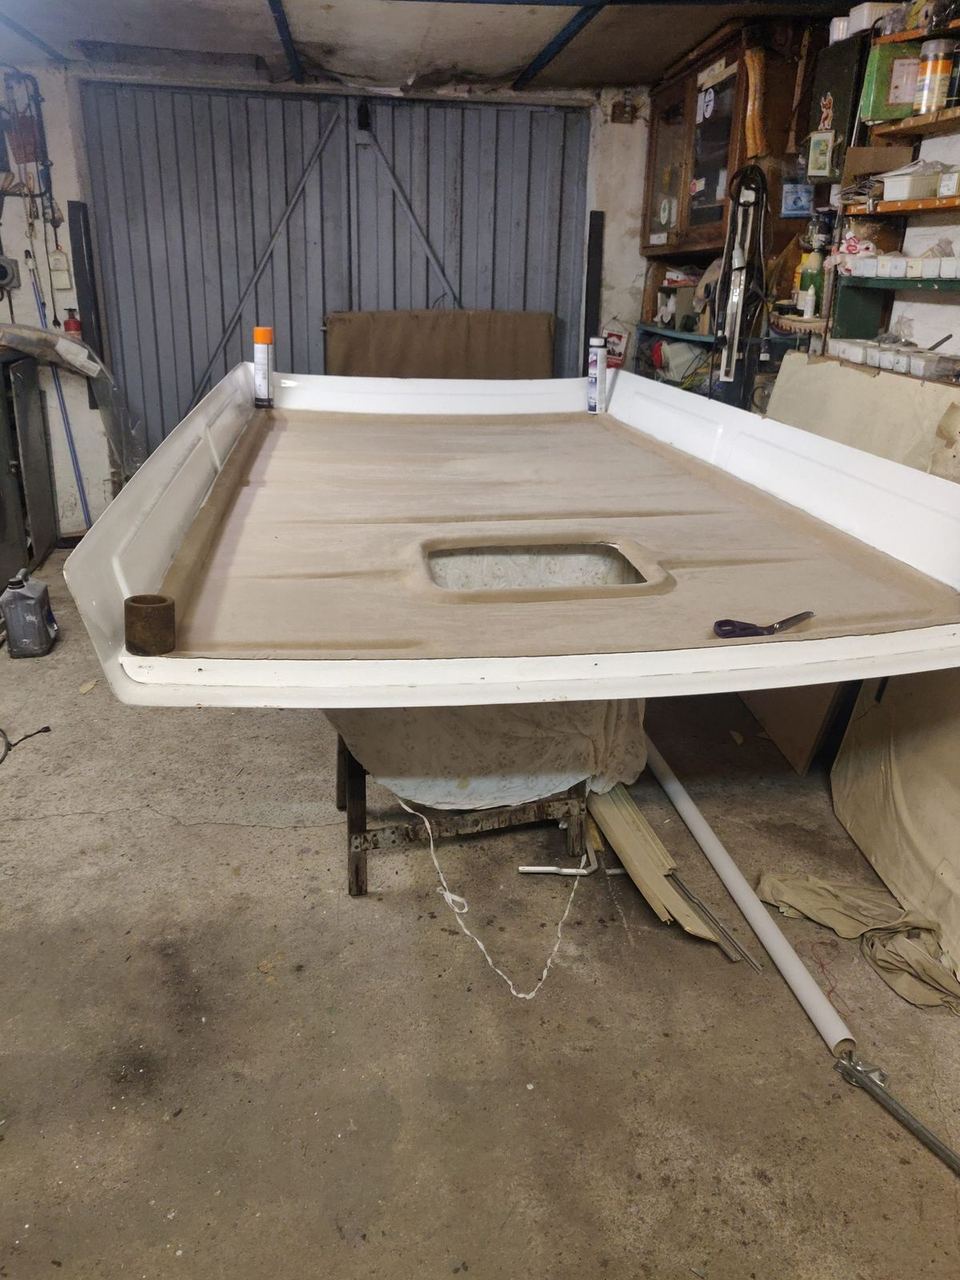
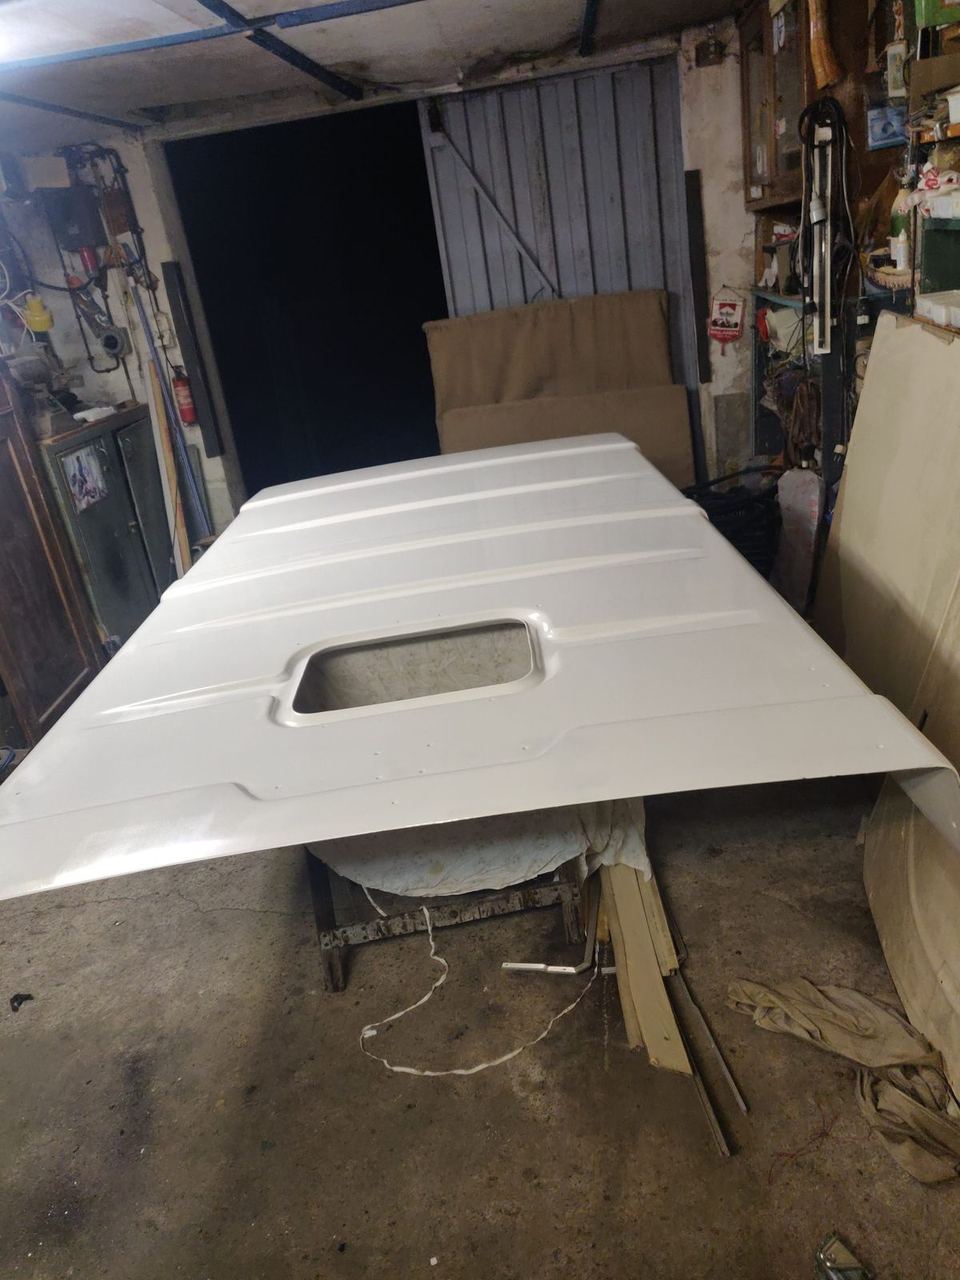
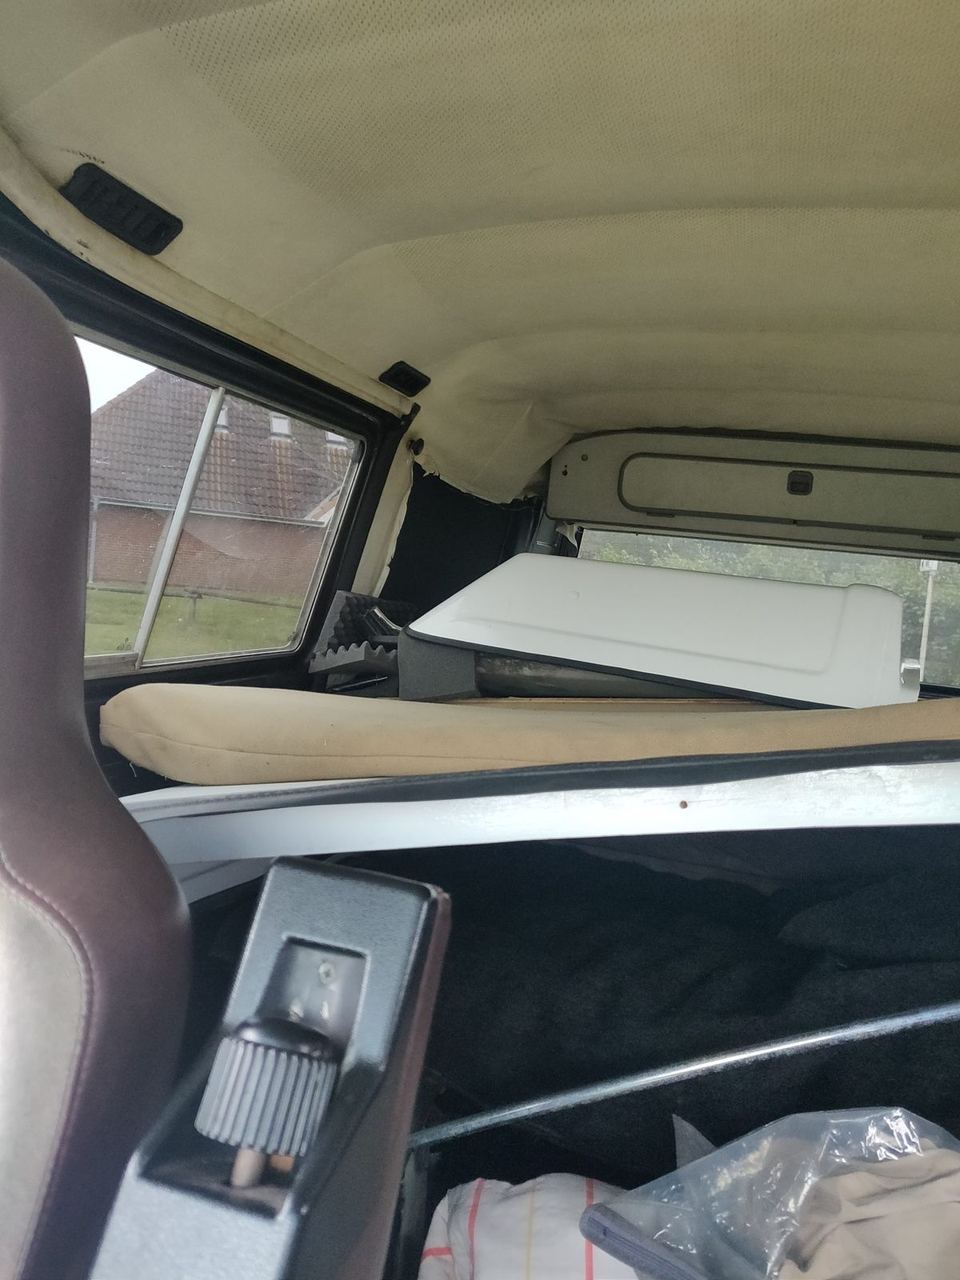
Cut the fabric roughly to size and work from the centre outwards.
There's a great guide for fitting the roof, which I'm sharing here again along with all the other helpful documents. Another guide that helped me is the one from tour de world (in German).
Guides and brochures
A similar guide for a Carthago roof
The most important one is probably this:
The roof opening needs a frame, which is later riveted to the body.
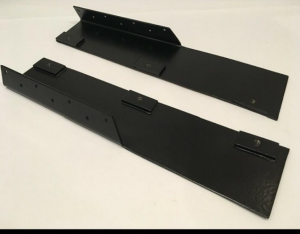
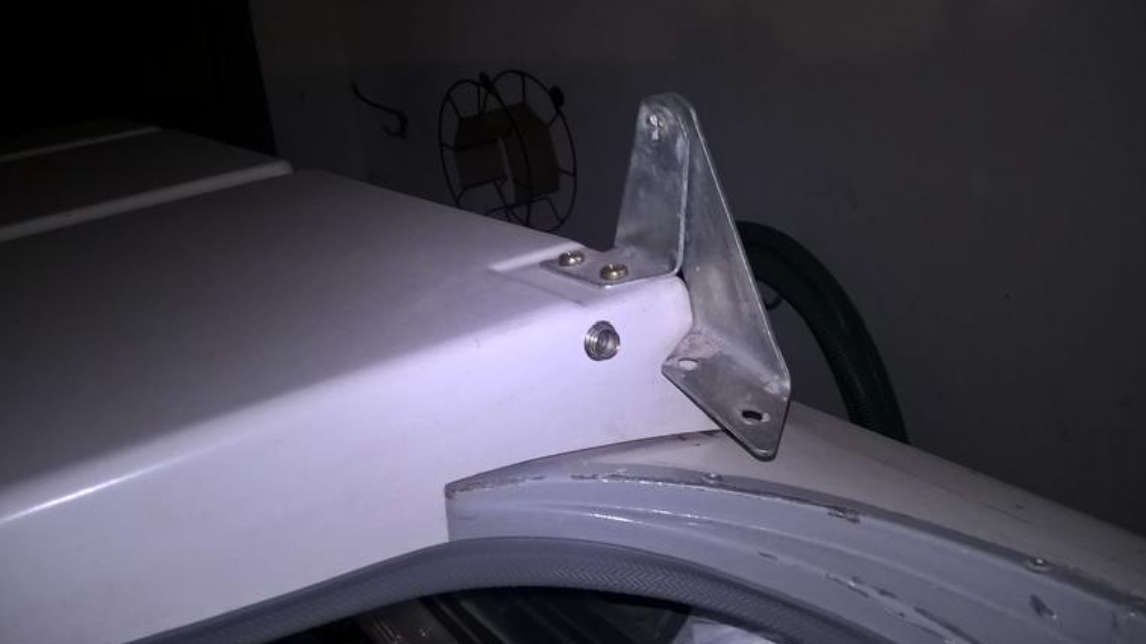
The roof hinge needs a backing plate that's riveted to the body. This angled plate gets three nuts or threads, because the hinges are fixed there. You can make this plate yourself – a bending jig helps – or buy it, for example here at westagon.com.
Before fitting, you should also get hold of a template, which you can sometimes borrow (for example here). For the holes in the original roof skin I had cut-outs from the donor roof, which fit perfectly thanks to the curvature and can simply be laid on top. For the roof opening I used the frame I'd bought as a template and went by photos. The template in the picture is an original Westfalia factory template, which you can borrow from westagon.com or order as a paper version.
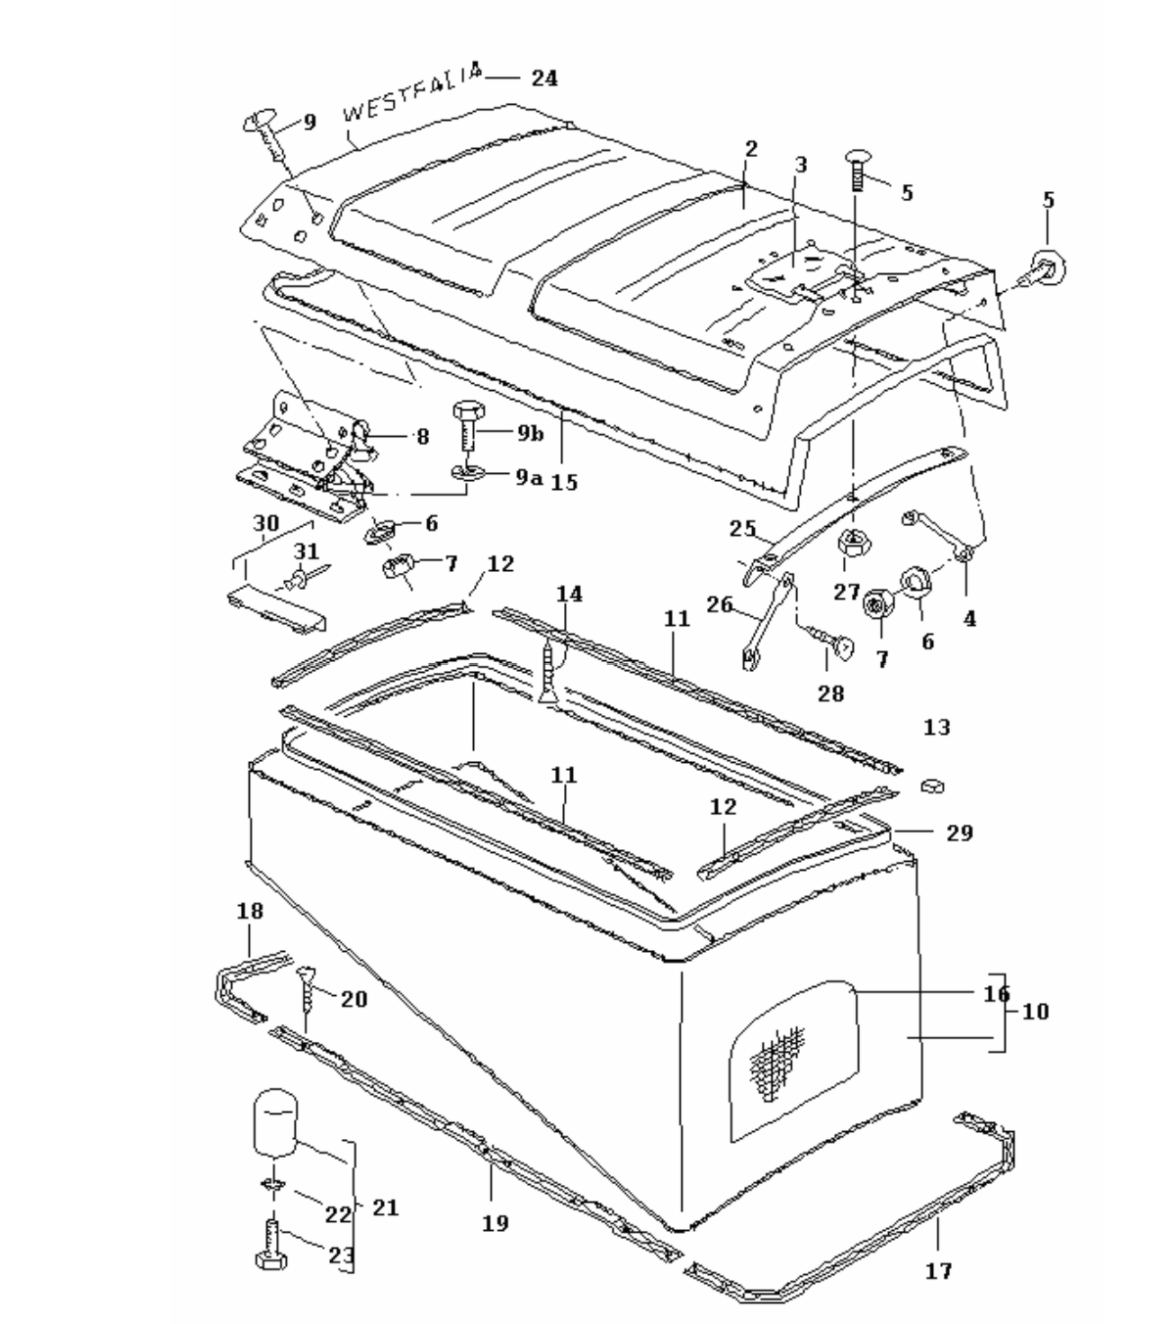
You should also check that all the screws, washers, nuts, nut covers and metal parts are there. Pay particular attention to the length of the screws, because otherwise they can block the hinge. All the seals were renewed as well.
Fitting the roof
First I transferred the holes for the hinges and the luggage tray using the templates from the donor roof. Then I cut out the roof opening with a jigsaw. Mask the panel with masking tape so the jigsaw doesn't scratch the paint. At first I used a nibbler, but I wasn't happy with the result because the curves didn't come out well, and the nibbler also bends the cut edge slightly. For the curves you can use a narrow, tapered saw blade.
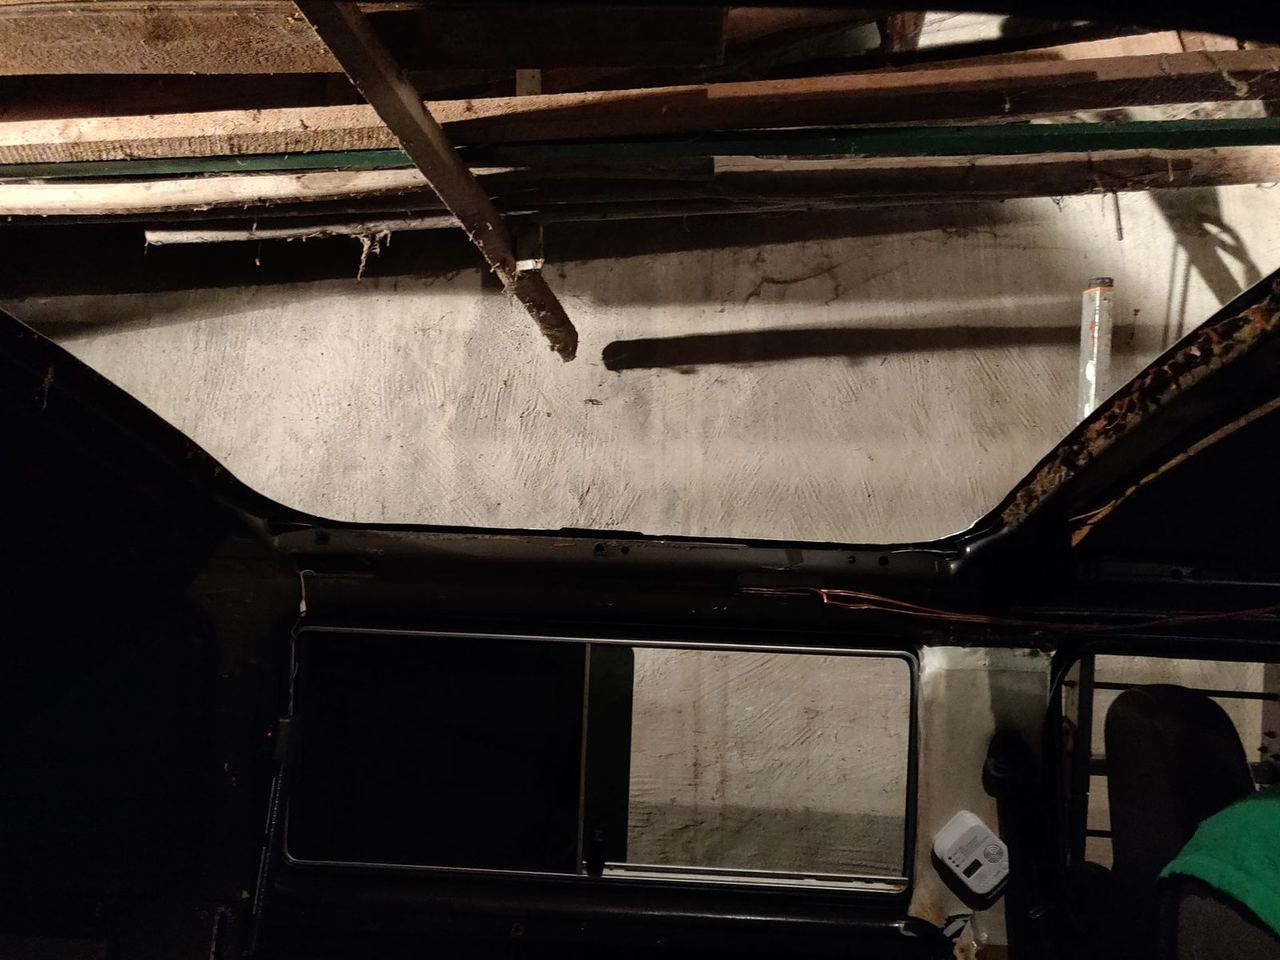
Next, all bare metal was painted with Brantho-Korrux "nitrofest". Then the frame for the roof opening was riveted in and bonded with Sikaflex. Again, this means drilling holes in the body, which should be sealed too. Condensation also forms inside the roof rail, which then has an easy job causing rust.
The luggage tray went on first. Make sure the screws are sealed, otherwise water can get into the interior – I coated all of them with Sikaflex. After six months I took the luggage tray off again because I fitted a solar panel in it, and it turned out to have stayed watertight.
Now the fittings can be attached to the fibreglass roof, and every screw used has to be sealed. With the roof hatch, make sure the seal sits properly. The fittings (roof hatch, hatch catch, lifting mechanism and roof latch) also include two metal struts about 5 cm long that go into the two corners of the fibreglass roof that will be visible later, adding torsional stiffness.
The hinges were fitted next. Before that, the backing plate has to be aligned so the three threads line up with the holes in the roof skin; then it's riveted to the body. Once each hinge is loosely attached to the roof with three screws, the fibreglass roof can be put on and the hinges screwed to it. I used props to hold the roof up. The lifting mechanism mounted on the fibreglass roof can already be roughly aligned at this point. As long as both hinges are connected to the fibreglass roof – with screws that aren't too long – the lifting mechanism can be fixed. For rough alignment I held it in place with clamps.
The hook that the roof latch clicks into can now also be roughly fixed (with clamps, for example).


Then the roof needs adjusting. Use the slotted holes in the hinges to move the roof towards the front or back of the vehicle, or up and down. The seal on the fibreglass roof should sit in the groove provided for it on the luggage tray at the top and sides.
The hook for the roof latch may need to be repositioned slightly. I moved the latch hole downwards, because otherwise the roof didn't close flush with the luggage tray. For that I had to shorten the top of the hook a little, weld up part of the existing hole and file it out further down.
Once the roof is adjusted, the lifting mechanism can be fixed for good, so that with the roof raised there's a right angle between the frame plate and the lifting mechanism.
Building the bed
Unlike a roof installation with the large roof opening, the folding bed here has to be in three parts: one large section of 120×120 cm and two smaller ones of 120×38 cm.
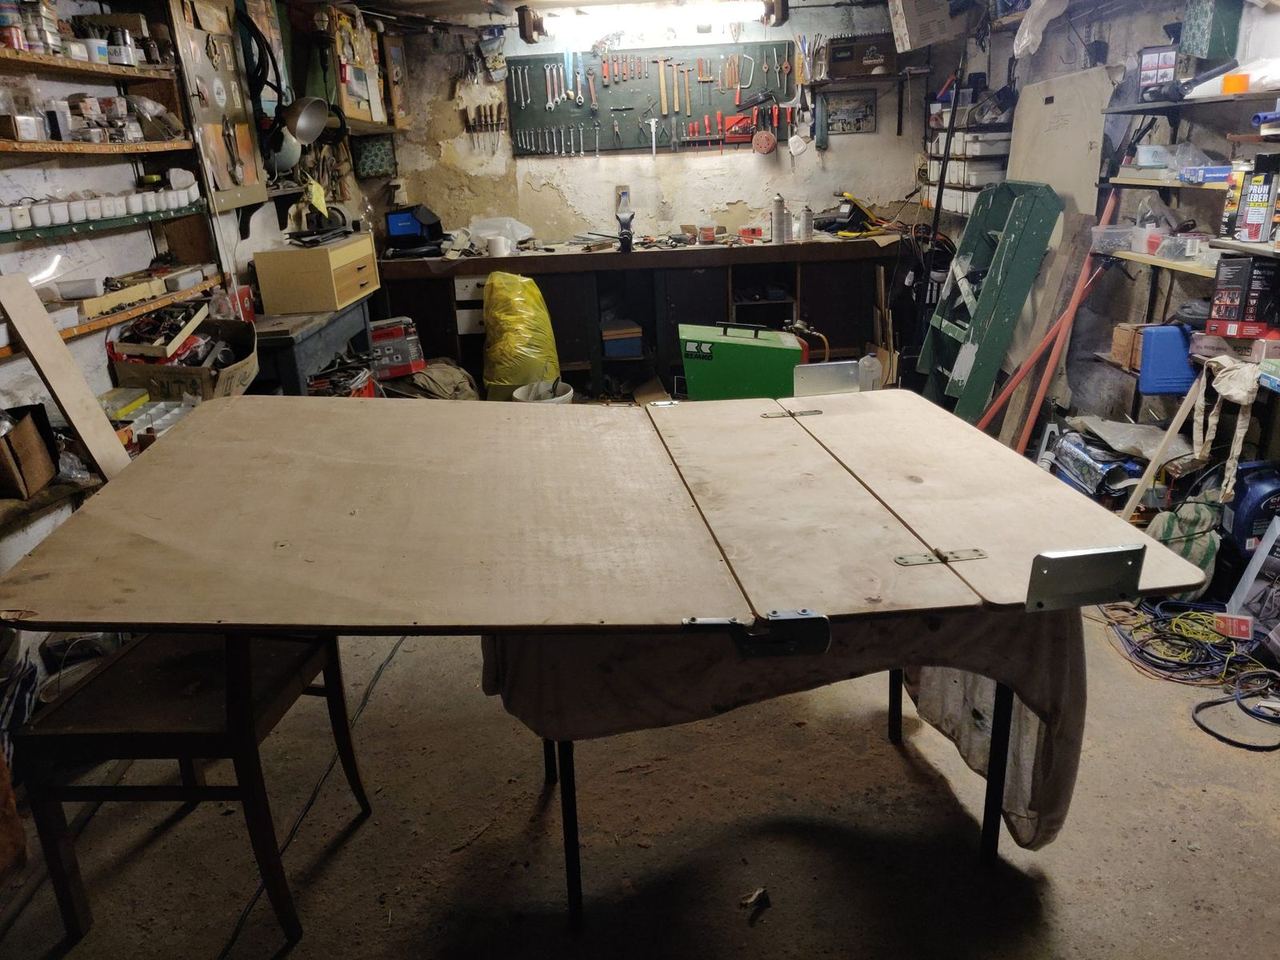
The large section is attached to the vehicle. I used 12 mm plywood. To make up for the curve of the original roof skin, I cut two battens at an angle so that, once fixed to the roof skin, they form a flat surface. I fixed the battens lengthways along the vehicle with machine screws; this means setting T-nuts into the wood and drilling the matching holes in the roof skin.
I added wooden panelling to the sides of the large sleeping area, and used the space created by the curvature for a bit of storage. The resulting larger base board is screwed to the longitudinal battens and rests on the highest point of the roof curve, where I used Armaflex tape for protection. The rest of the space was lined with 19 mm Armaflex AF as well.
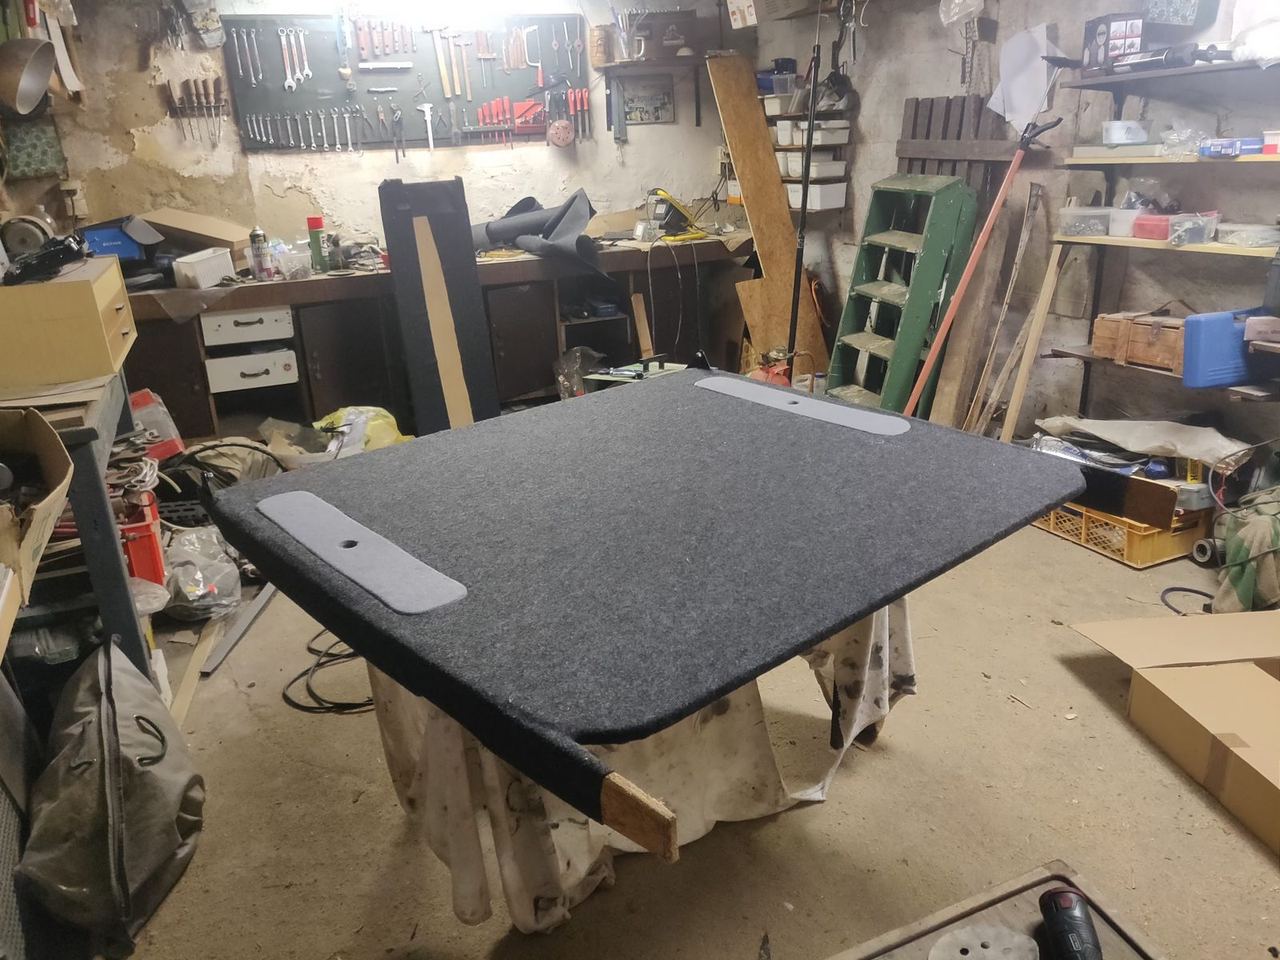
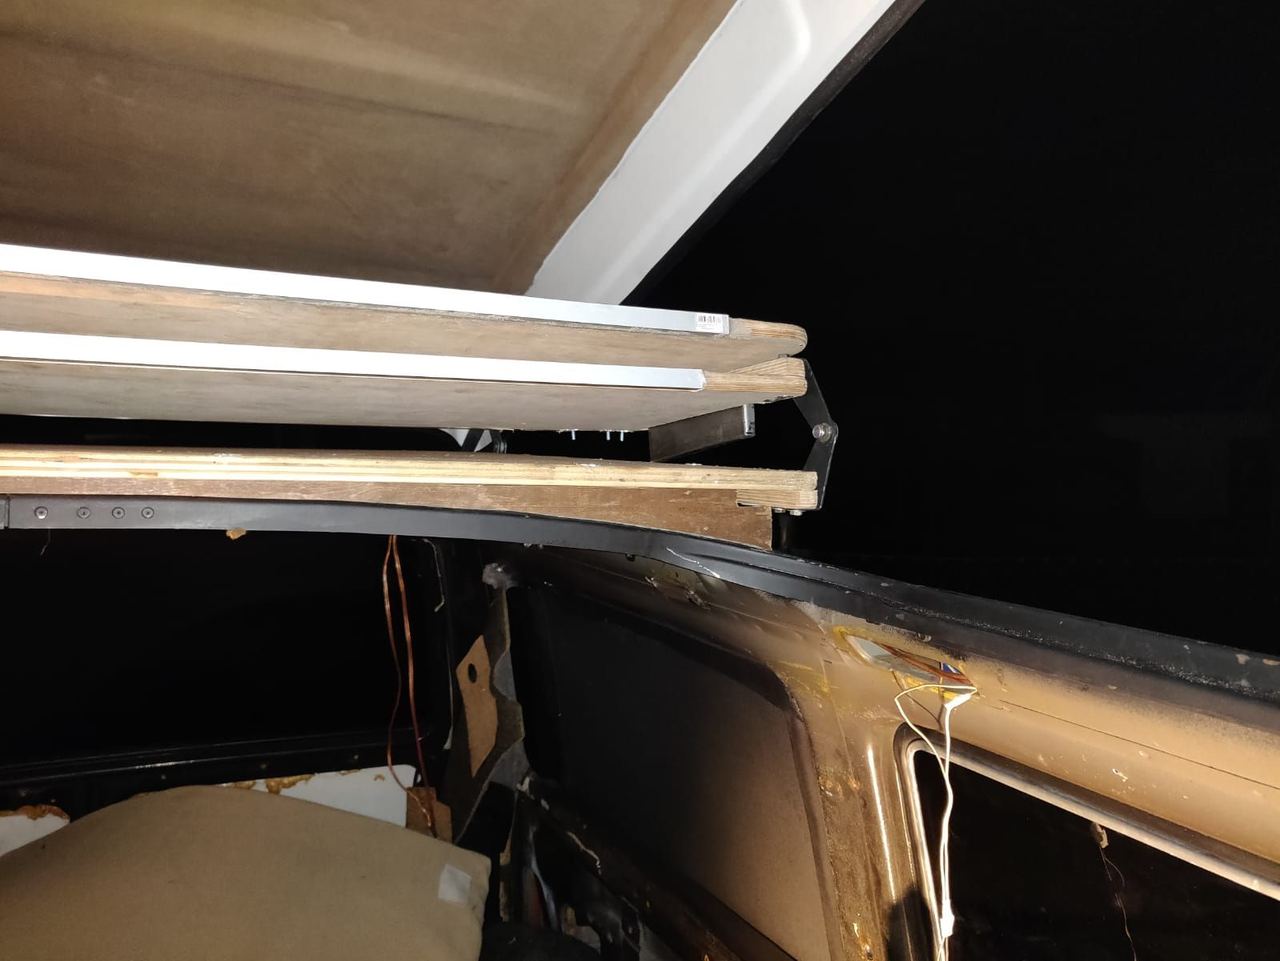
The two smaller boards are folded in when the roof is closed. To make them stiffer, I attached aluminium U-channels along their long sides. I joined the two boards with two ordinary hinges and a piano hinge, so they fold together and no gap opens up under uneven load.
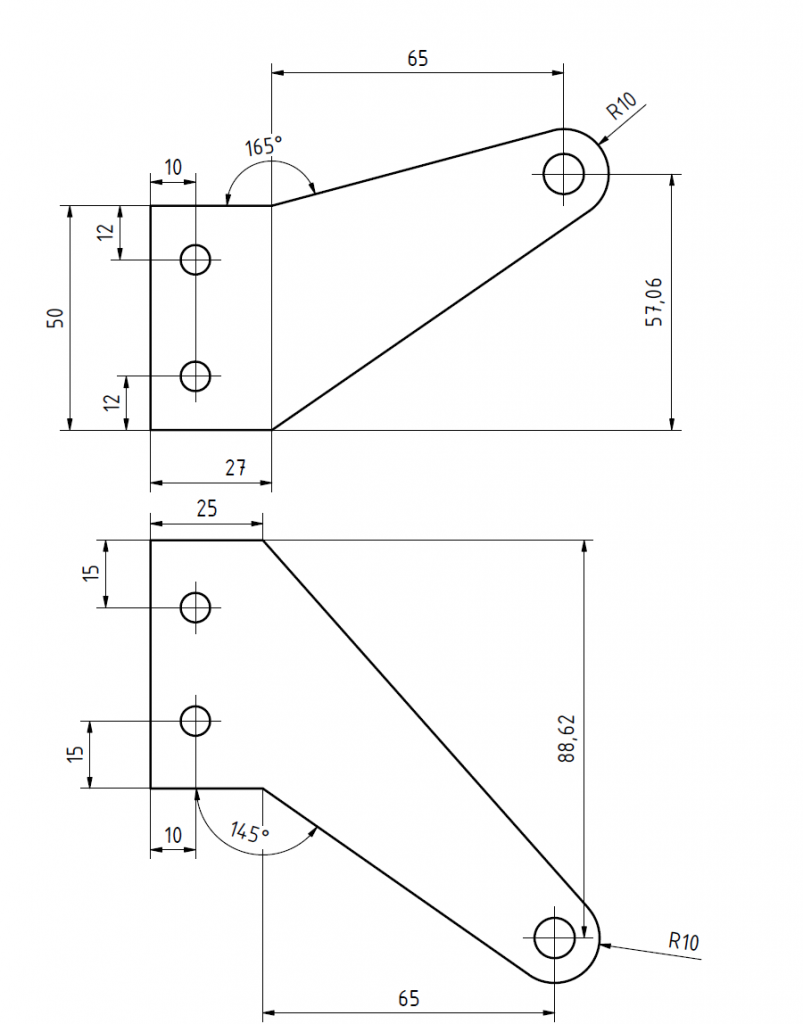
The two boards were then attached to the main board with hinges. The hinges needed here aren't a standard part, so you can either buy them at a high price or simply make them yourself. I used 2 mm sheet steel, cut it to my own drawing and bent it. These hinges must also be fixed with machine screws and T-nuts, because ordinary wood screws are too likely to tear out.
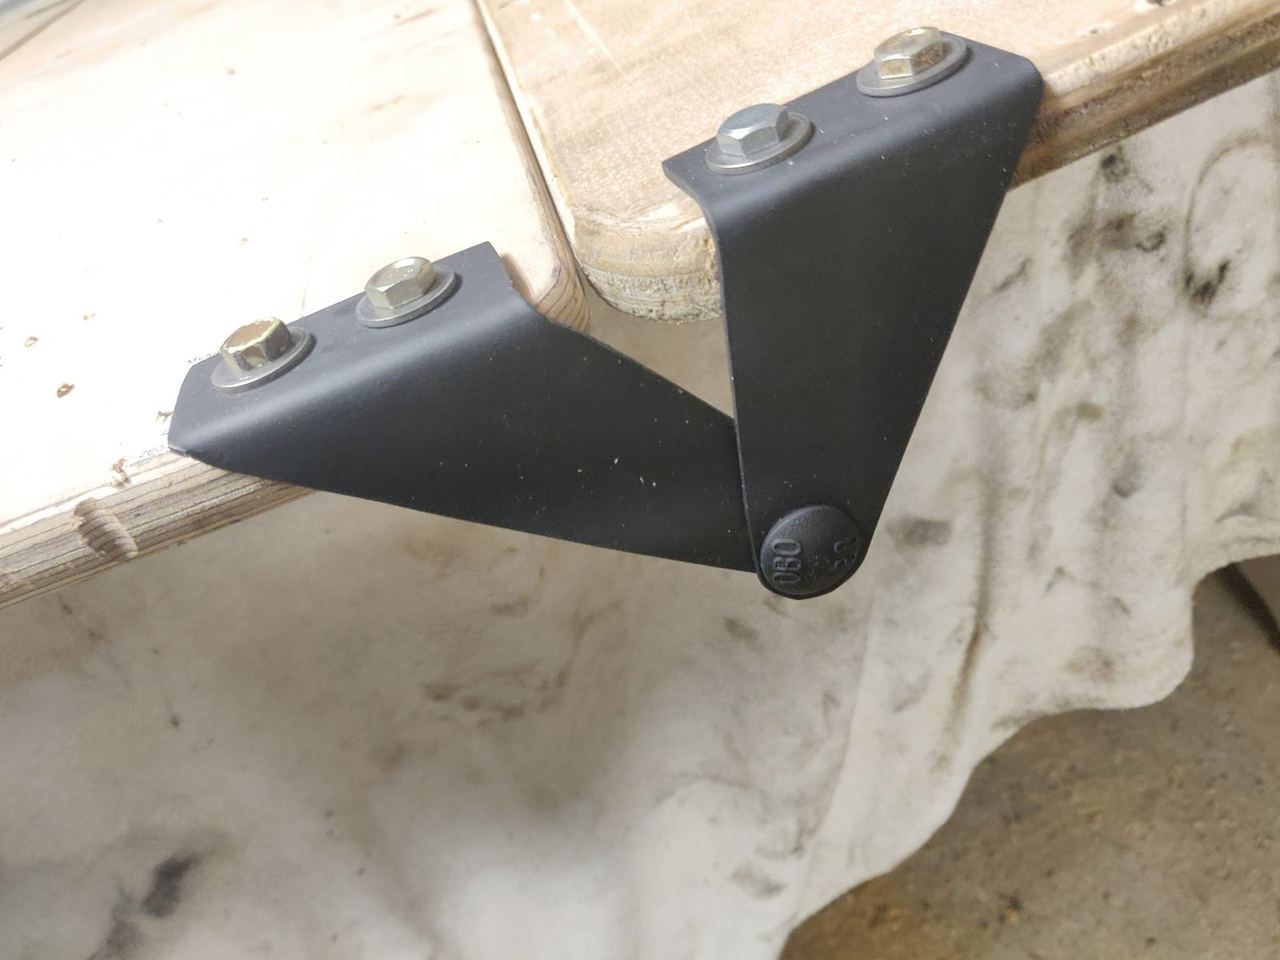
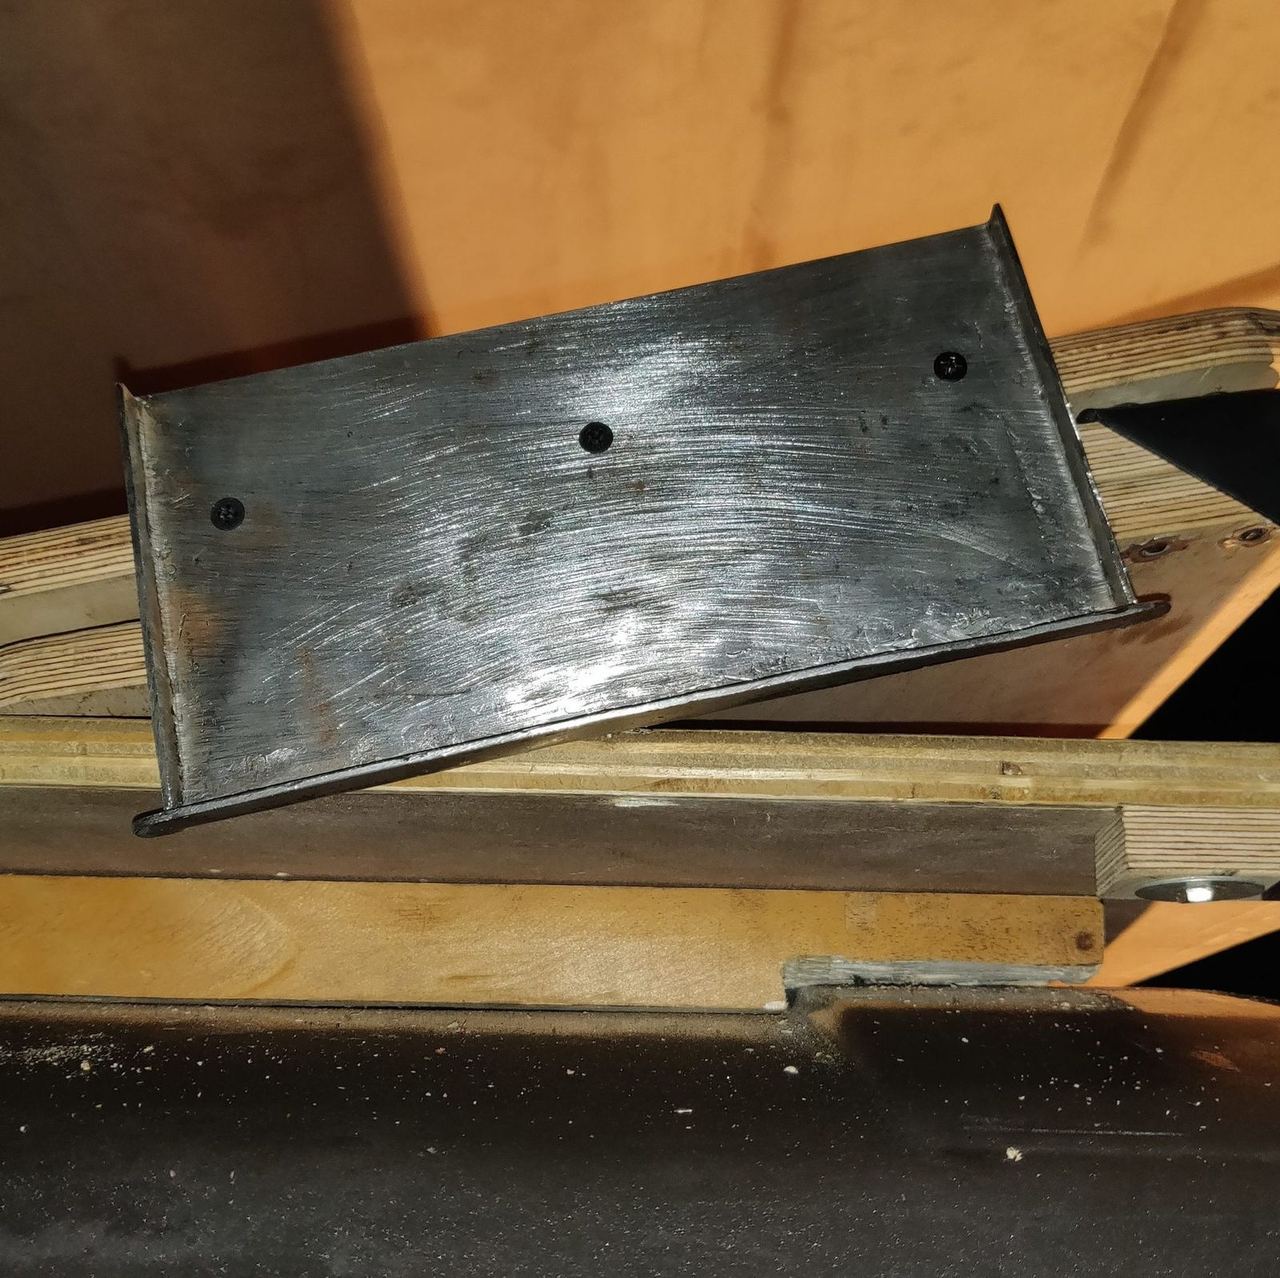
You also need to create a support point for the front-most board (in the direction of travel). As you can see in the picture, I made a metal bracket about 14 cm high and 16 cm wide for this.
Finally I painted the wood of all the parts and covered them with felt.
I had the mattress made by an upholsterer. It uses two different foams – a softer one on top and a firmer one underneath – so it's more comfortable even at only 5 cm thick (a thicker mattress won't fit). I had the covers made as well.
Fitting the tent fabric
The tent fabric I used wasn't new, but it was still in reasonable condition. I had it cleaned and then waterproofed it.
Fitting the tent fabric is tricky and a real test of patience. First of all I positioned the aluminium strips that hold the fabric against the body and drilled holes, so the rail can then be fixed with the appropriate self-tapping screws.

Then I attached the tent fabric to the body by clamping it under the aluminium strip. With the roof raised, the fabric is then fixed to the wooden frame of the fibreglass roof. For this you need a thick plastic strip, which in turn clamps the fabric. Depending on the age of the roof, the frame may look different. I fixed the plastic strip and fabric to the frame with screws and T-shaped staples. Especially at the rear end of the roof, space is tight, so you may need to work with a small cordless screwdriver.
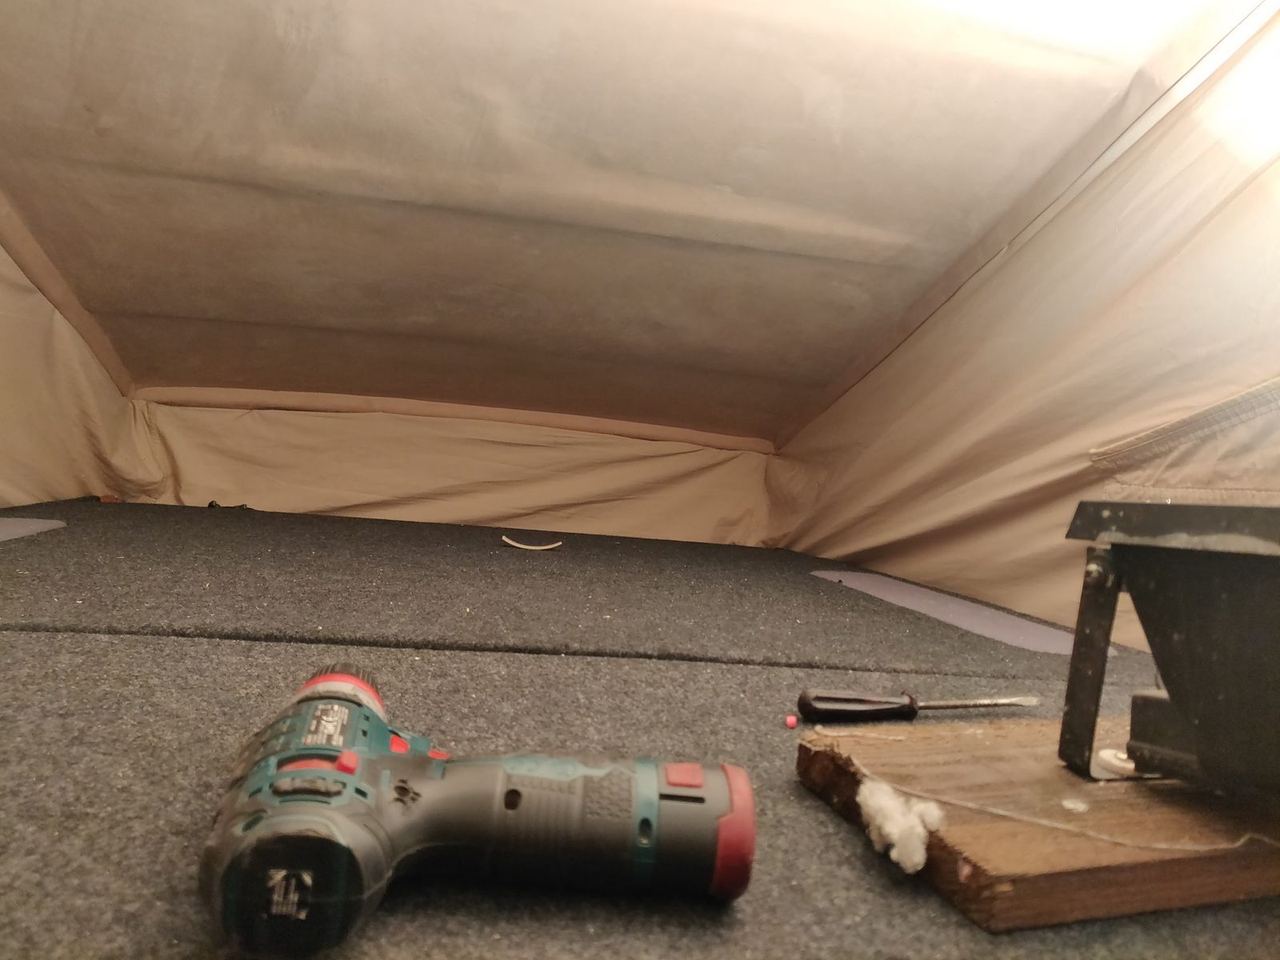
Now, if you like, you can also cover the metal frame of the opening and the rest of the visible metal of the original roof skin with felt.