Build Electrics & heating
Diesel parking heater – fitting it and moving it under the driver's seat
Since the vehicle is also used for living in during winter, I decided to fit a parking heater. The engine runs on diesel anyway, so a diesel heater was the obvious choice.
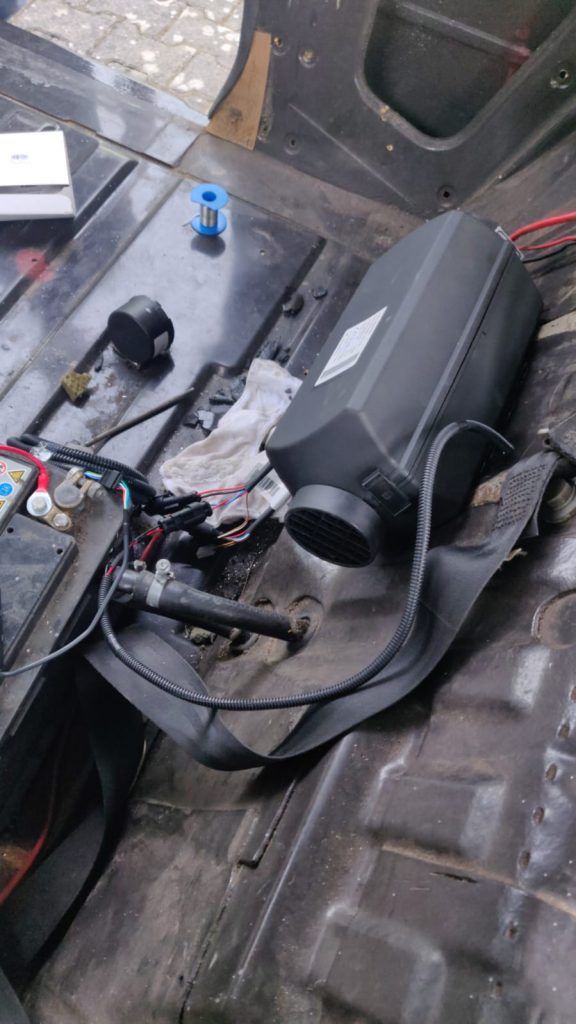
There are cheap Chinese parking heaters on the market for less than €150. However, they don't have type approval, so they can't pass the German roadworthiness test (TÜV). In my experience, though, they do work reasonably well.
I went for a 2 kW Autoterm heater, which I bought directly from the manufacturer's website. It's type-approved and, at around €500, fairly cheap compared with Eberspächer or Webasto units. There are now cheaper alternatives, such as the 2 kW heater from G-Parts, which costs only around €340 as a kit.
Installation
There are several options for fitting it. Space in a T3 is limited, so the heater should be placed as efficiently as possible. Some T3 owners put the heater under the dashboard on the passenger side. That way it definitely doesn't take up storage space, but depending on the position the cables to the control unit can be awkward to route, and the warm-air outlet then has to be at the front as well. Another option is to put the heater underneath the vehicle in a weatherproof box, so only the warm-air outlet is routed inside. That's quite a lot of work, though, and hard to do without a lift.
I decided to install the heater inside, on the sloping panel above the engine.
For better air circulation it makes sense to take the intake air from outside the cabin as well. That lowers the moisture content of the air and so reduces condensation, which is very common in vehicles with poor ventilation.
Unfortunately, I only found that out after the installation.
Roughly speaking, the heater consists of these components:
- Fuel line
- Fuel pump
- Exhaust pipe
- Exhaust silencer
- Heater unit
- Control panel
- Warm-air ducting
- Warm-air outlet
For the installation I also used a metal plate that serves as a counterpart for the heater and is bonded in from the inside. That makes marking out much easier.
The fuel pump is mounted behind the engine, and I take the diesel before the fuel filter using a T-piece. A separate tank sender pick-up isn't necessary on the T3, because the engine's fuel pump isn't inside the tank – it comes after the fuel filter. That makes installation easier.
The exhaust and silencer end under the vehicle at the left rear wheel arch.
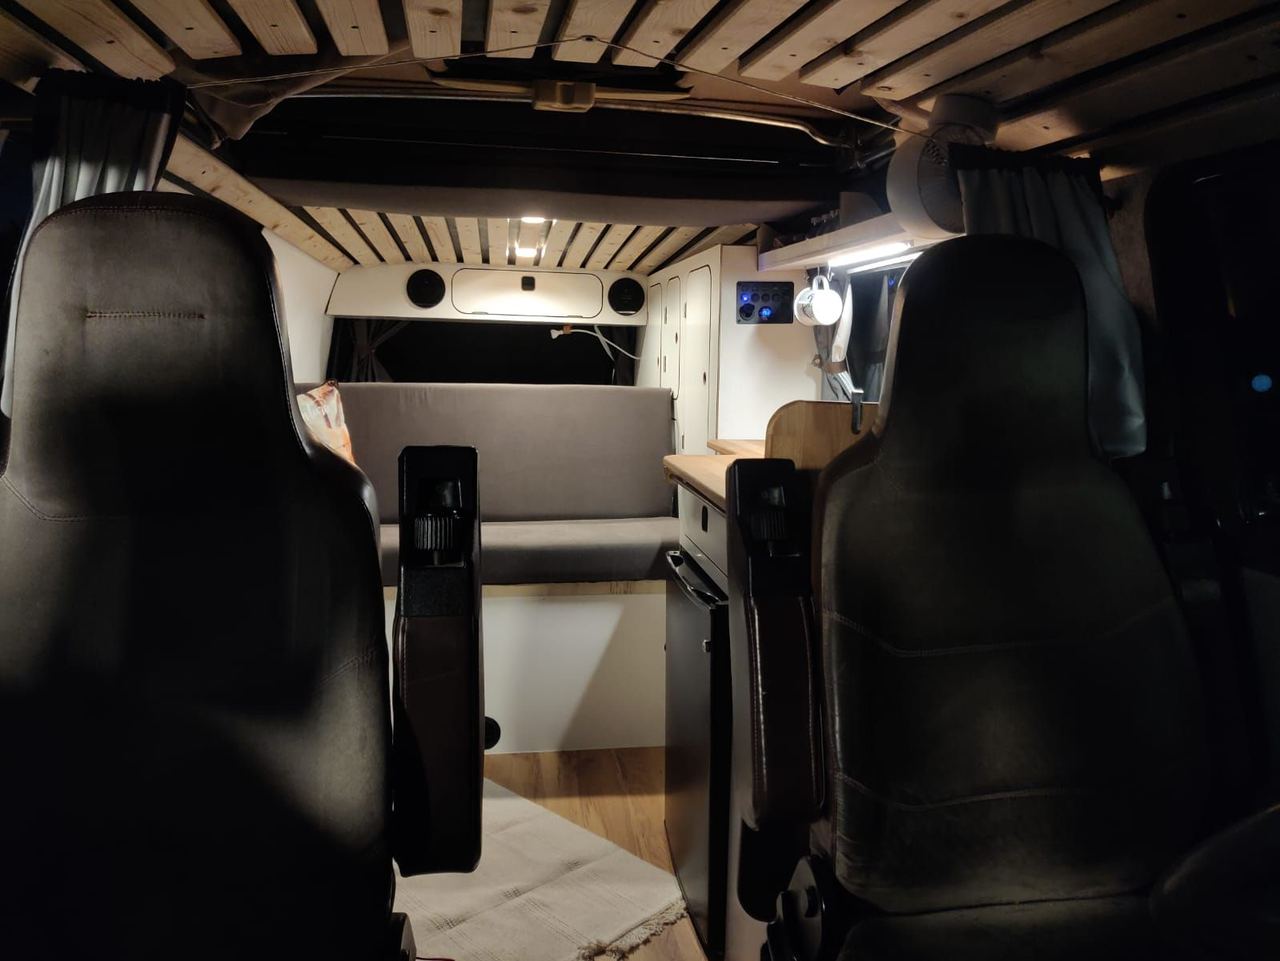
Power comes from the leisure battery. The warm-air outlet and the control panel were located under the rear bench.
A good article on the subject (in German):
https://schrauberlaube.de/?p=3441
Fitting it takes about half a day – if you have a lift or a pit, it goes faster 😀
Update: moved under the driver's seat
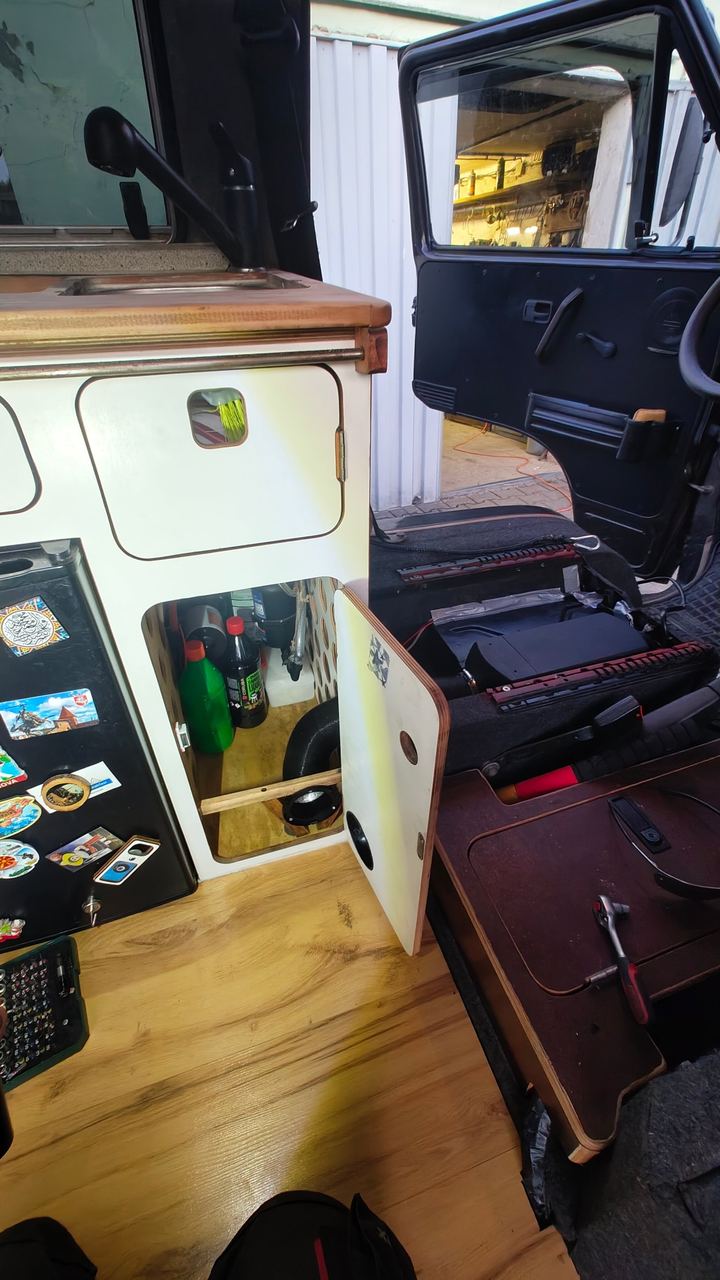
Because of the Syncro conversion, the parking heater had to move – from its old place under the rear bench to under the driver's seat.
To do this, I cut away some sheet metal in the seat box under the driver's seat, made my own mounting plate for the heater and bonded it in.
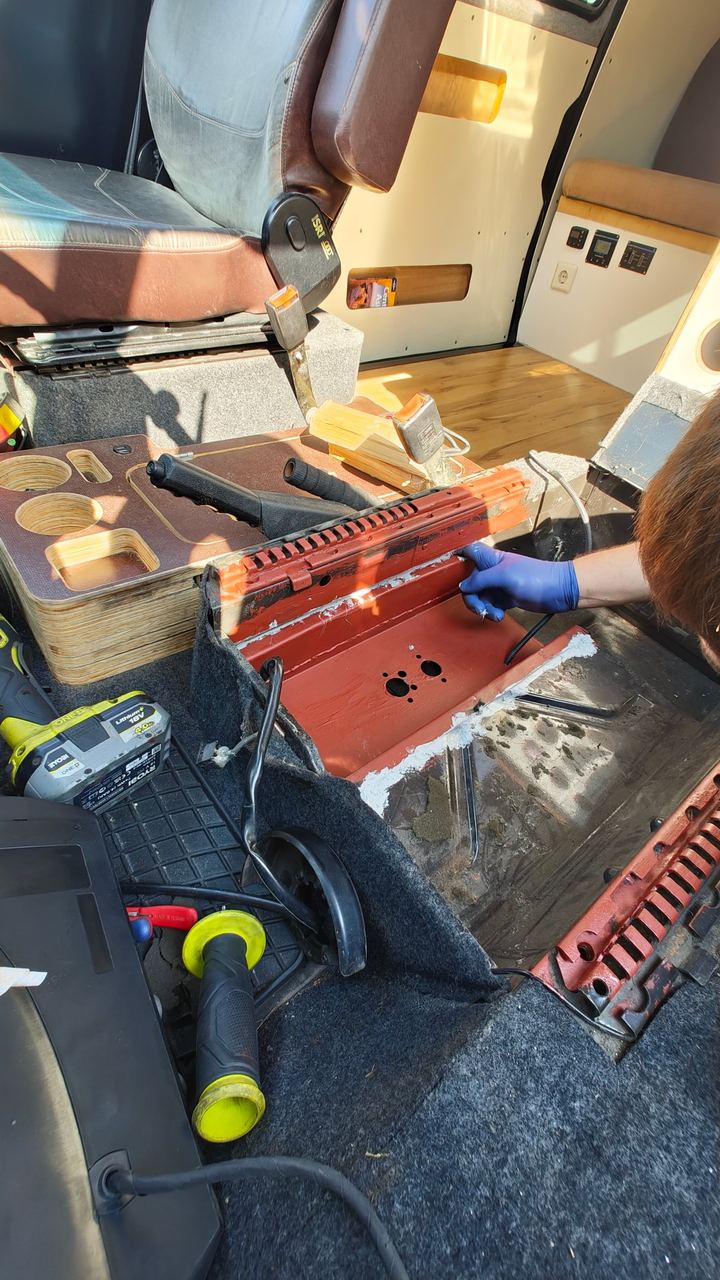
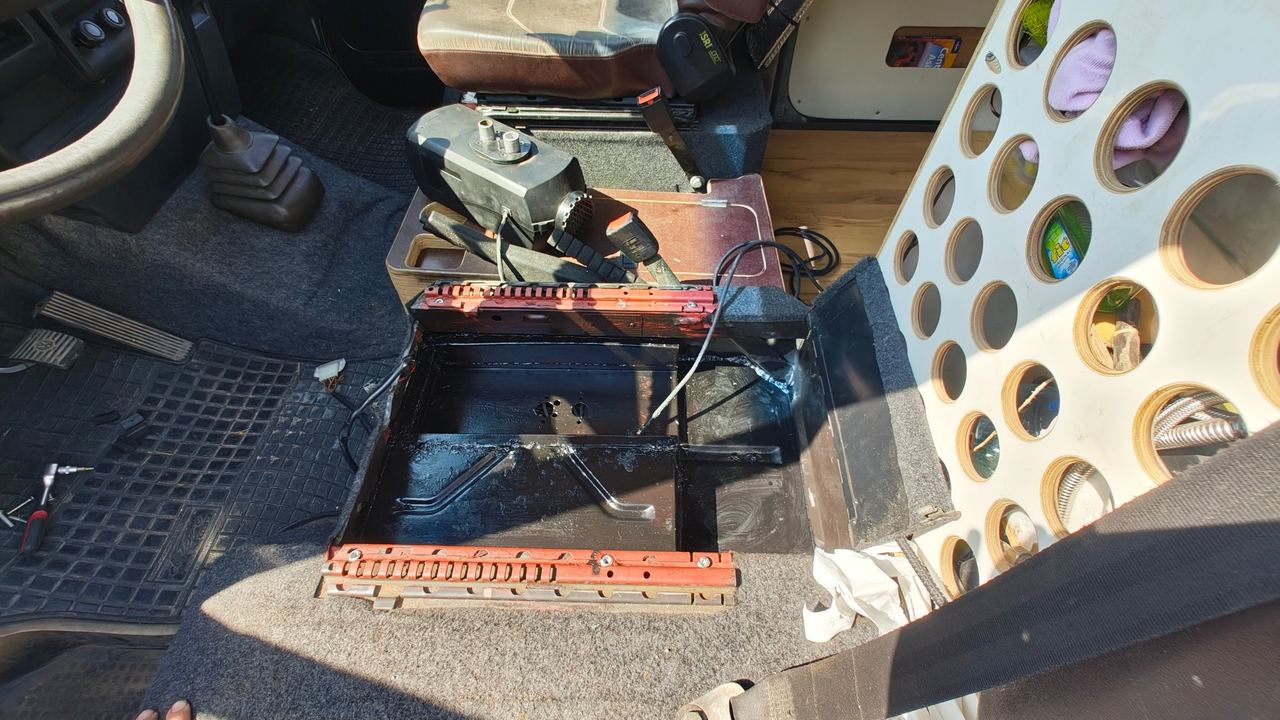
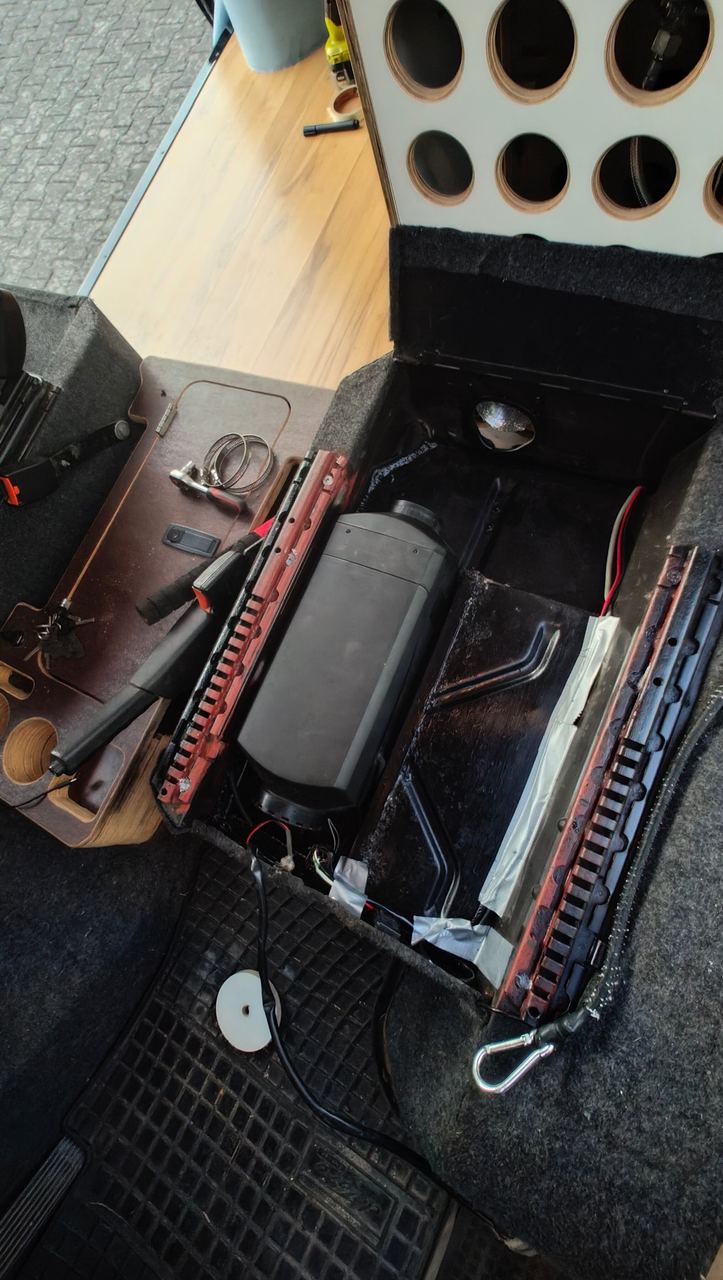
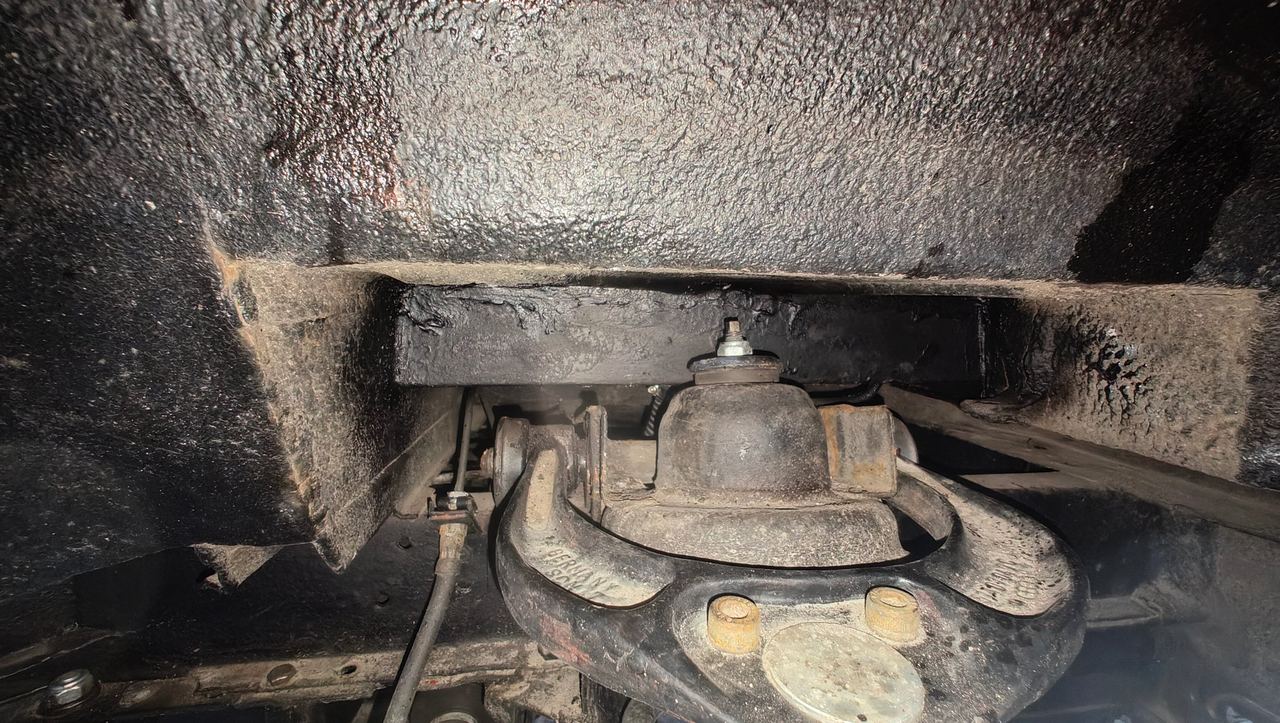
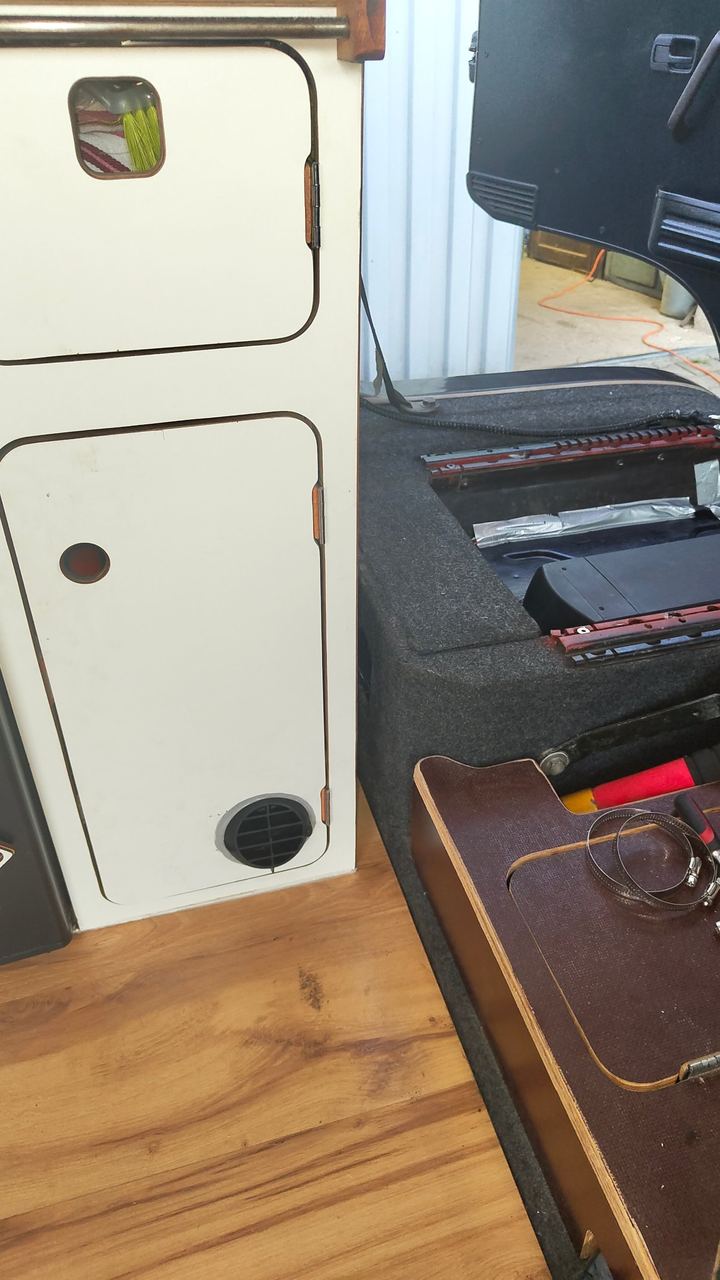
The warm-air outlet is now in the kitchen unit under the sink.
The Y-piece in the fuel line also had to be changed because of the Syncro conversion. But that's no problem and very easy.
These days I have a 4 kW parking heater fitted.
Downside: with the 4 kW heater, the swivel base for the driver's seat no longer fits. I never used it anyway, though.