Build Drivetrain & chassis New
From Finnish scrapper to four-wheel drive – my T3 Syncro conversion
A Finnish Syncro panel van as parts donor, a new front axle in the 2WD frame, AVK gearbox, 70-litre tank and pneumatics for the diff locks – and finally the switch to selectable four-wheel drive.
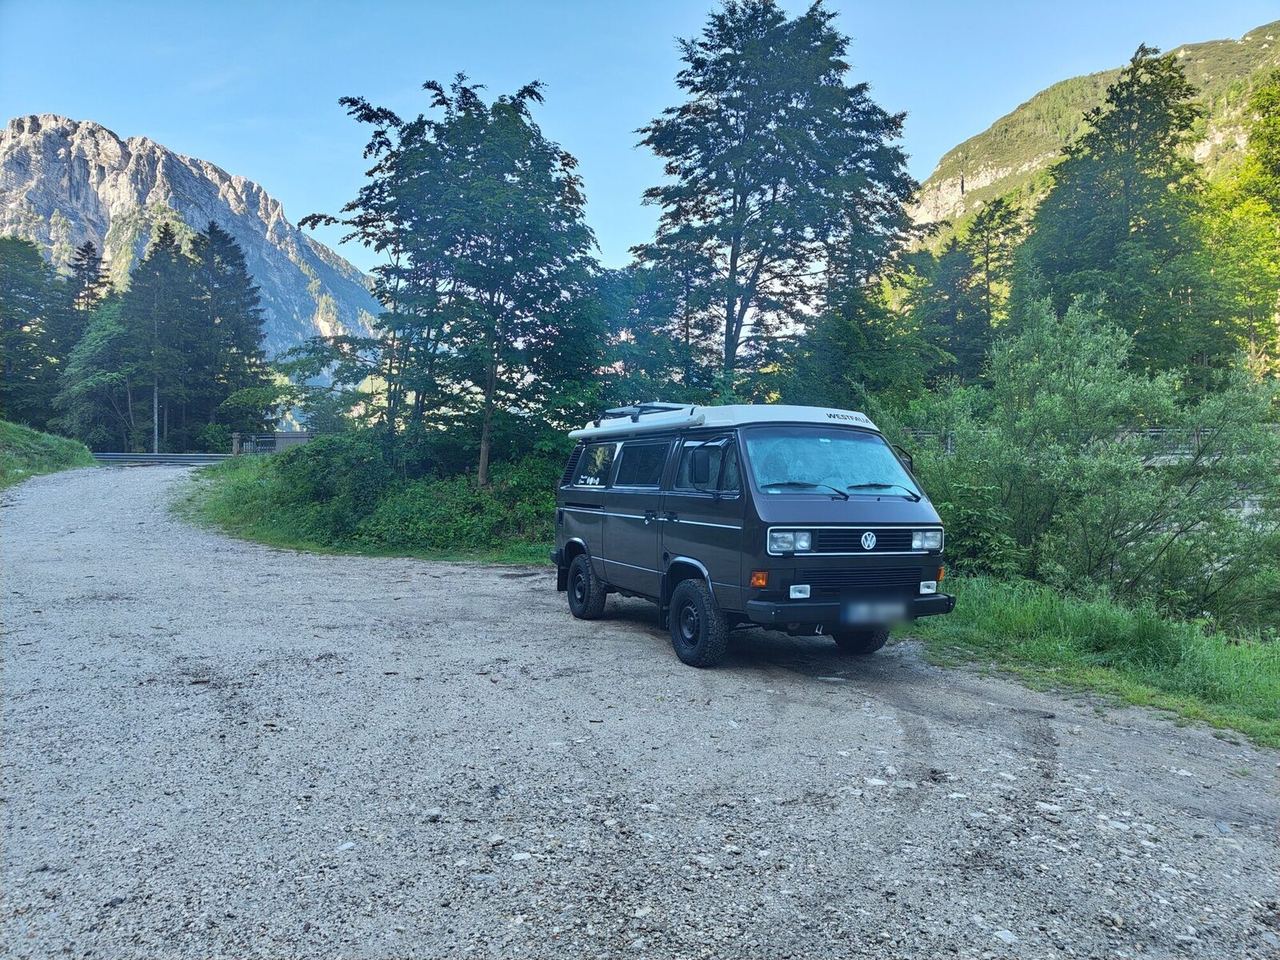
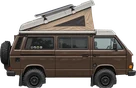
In spring 2025 my rear-wheel-drive T3 became a Syncro – four-wheel drive with diff locks front and rear. All the running gear comes from a Finnish Syncro panel van that I bought as a donor and stripped.
In this post I show what sets a Syncro apart from a 2WD, which parts I refurbished and how I got the front axle, gearbox and tank into the 2WD body. At the end you'll find part numbers, suppliers and the links that helped me most.
How this post is structured
- The donor vehicle
- What sets a Syncro apart from a 2WD
- Preparation: refurbishing everything
- Front axle conversion step by step
- At the rear: gearbox, tank and filler neck
- Pneumatics and electrics
- Registration
- The result
- Update: switching to selectable four-wheel drive
- Parts and suppliers
- Thanks to the Syncro community
The donor vehicle
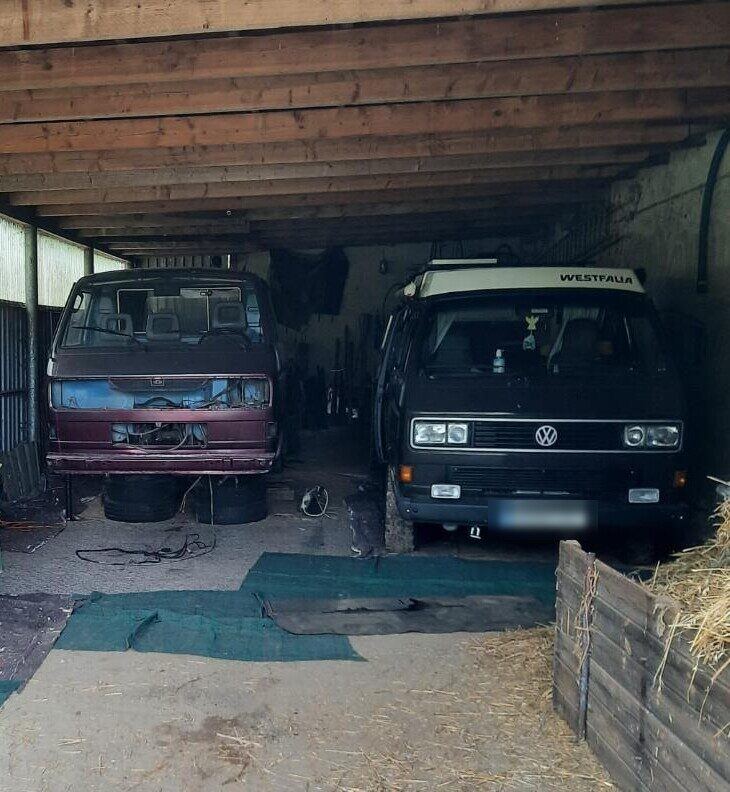
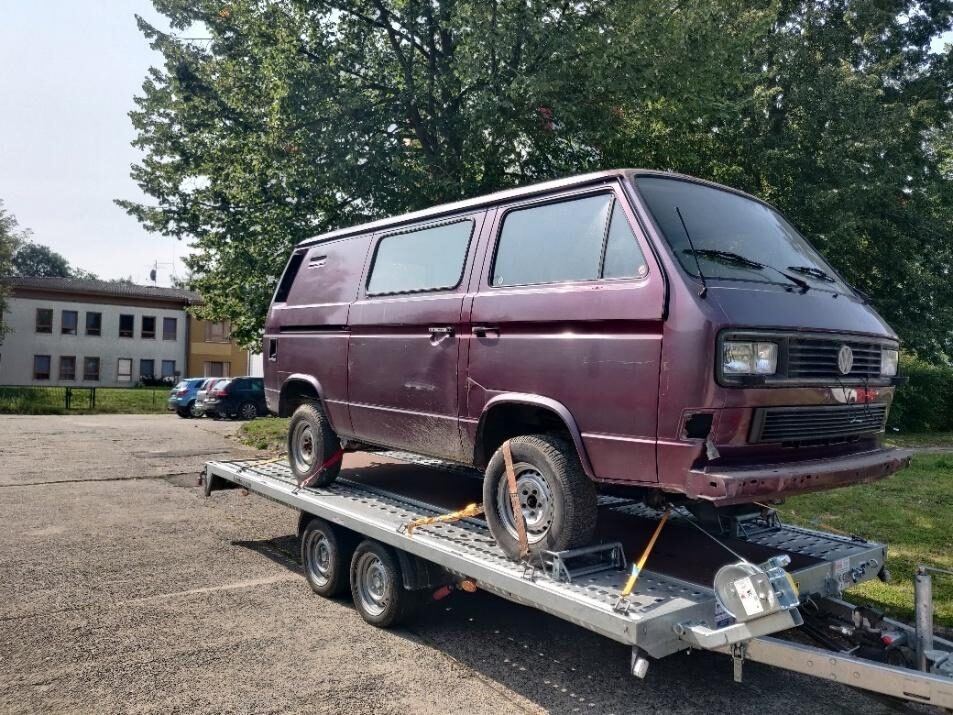
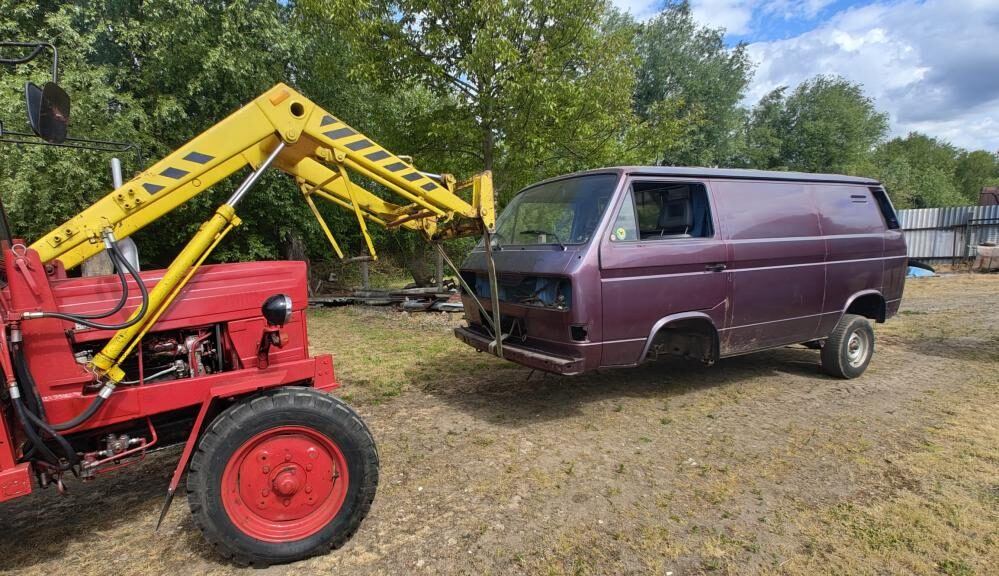
The donor is a Finnish T3 Syncro panel van, built in 1990, with the 1.6-litre JX turbodiesel (69 hp). Cosmetically it was finished, but the Syncro running gear underneath was complete – and that's exactly what I needed.
I have a translation of the Finnish vehicle documents – handy as proof of where the parts came from.
What sets a Syncro apart from a 2WD
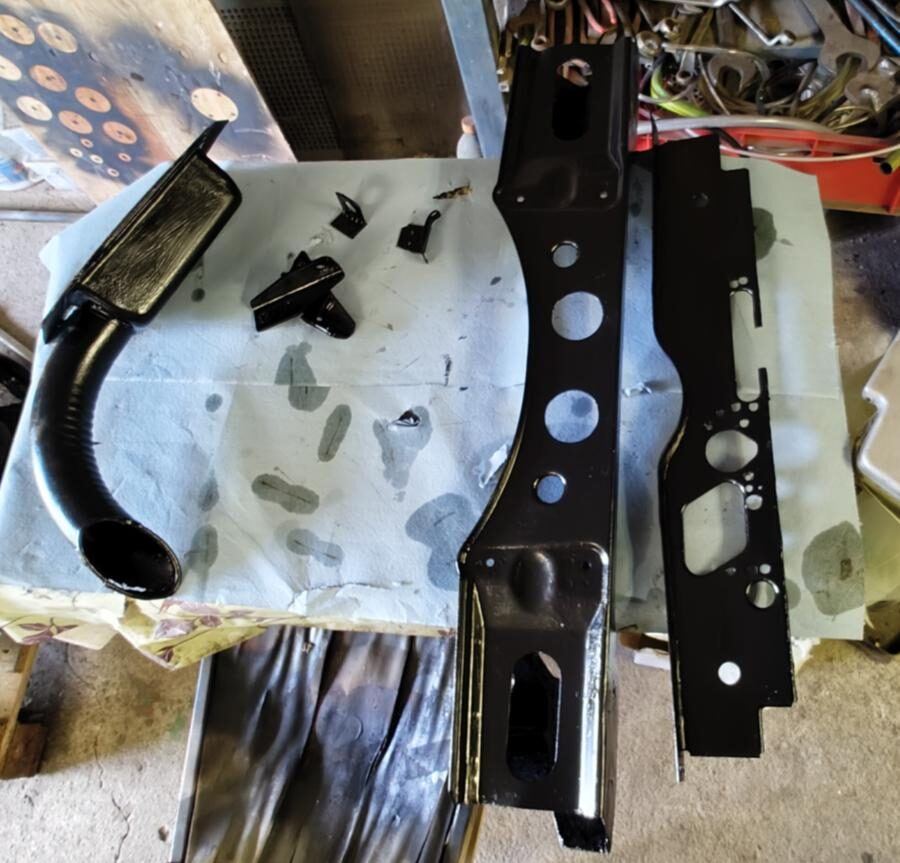
A Syncro is more than a 2WD with an extra front axle: the frame, floor and rear differ in several places. VW sent part-finished bodies without certain frame panels and without a front axle to Steyr-Daimler-Puch (SDP) in Austria, where the four-wheel-drive conversion was done. These are exactly the differences you have to recreate yourself when converting.
| Area | What's different on a Syncro |
|---|---|
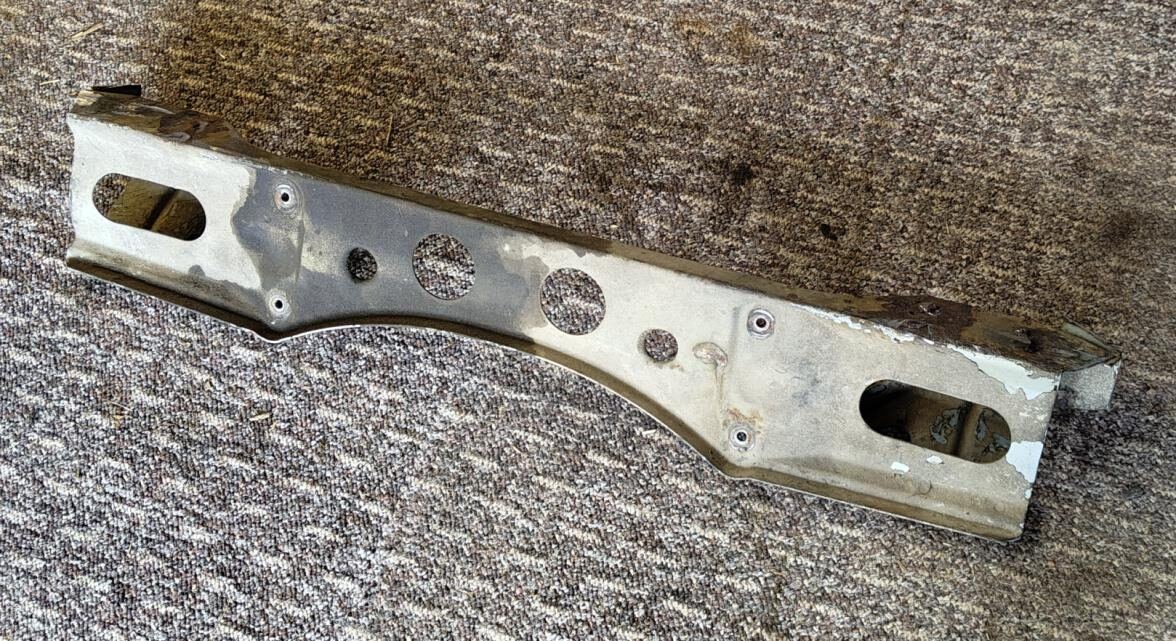
| Front axle | Axle carrier bolted to the frame; its own steering box plate; reinforcement plates in the frame; its own springs, shocks, anti-roll bar, wishbones, hub carriers, brakes and drive shafts; 6N front differential with lock; brake lines routed differently; shift housing and linkage |
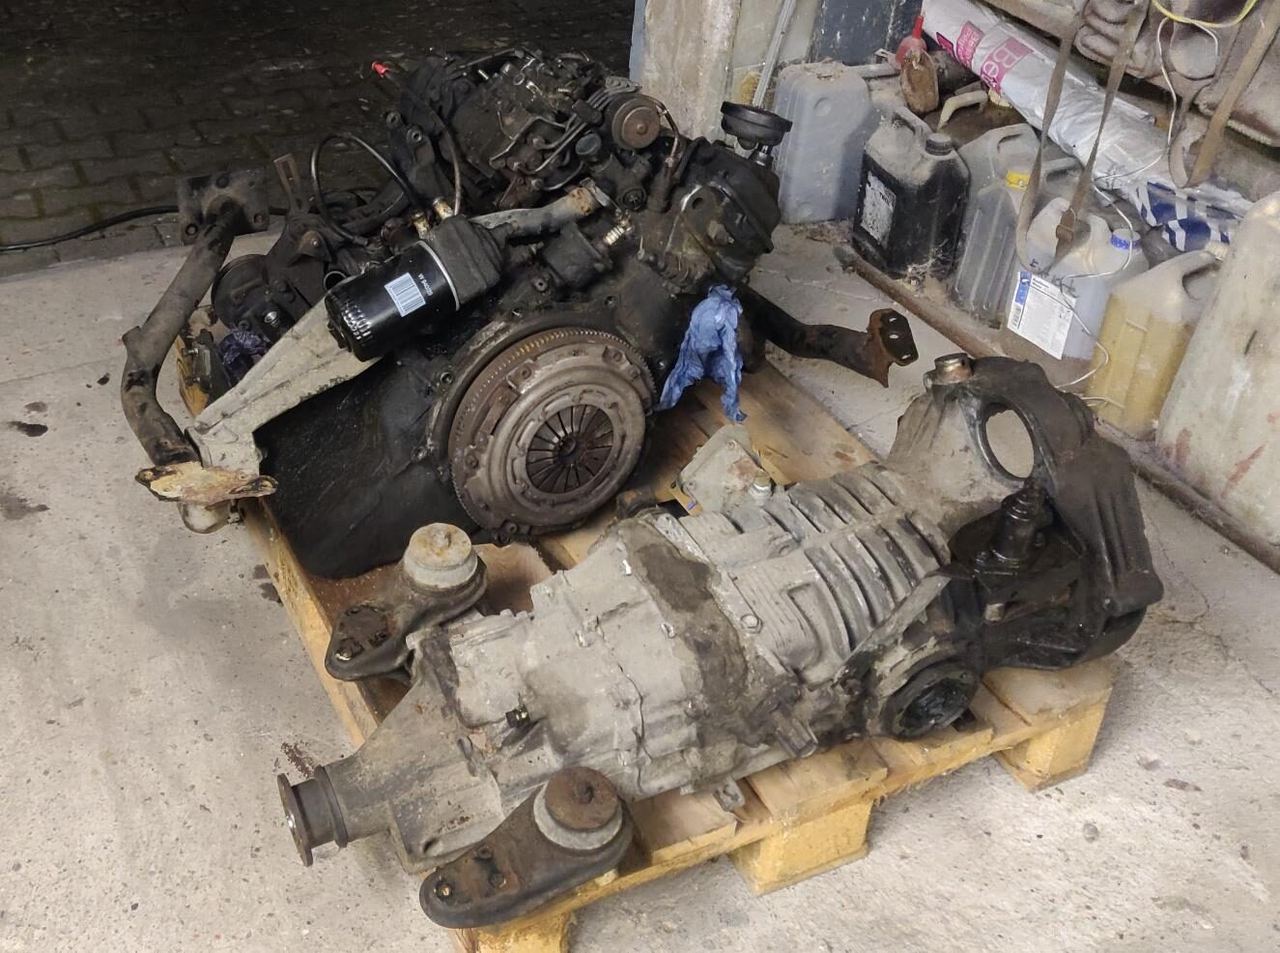
| Rear gearbox | AVK gearbox with diff lock; different gearbox mounts; brackets for the skid plate, clutch line and coolant pipes |
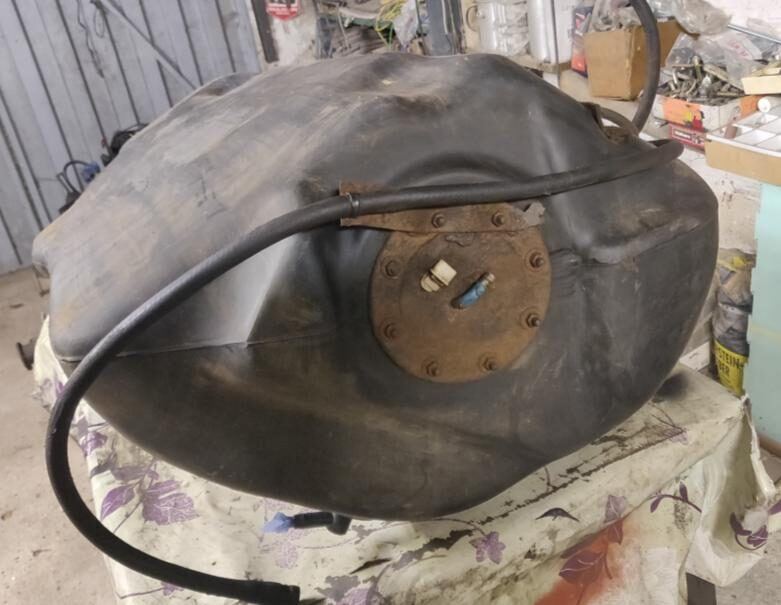
| Tank | 70 l plastic tank at the rear; filler neck at the rear; tank support plate |
| Other | Propshaft, pneumatic lines for the diff locks, switch panel |
Preparation: refurbishing everything
Before anything went into the bus, I stripped, de-rusted and overhauled every donor part.
Front axle
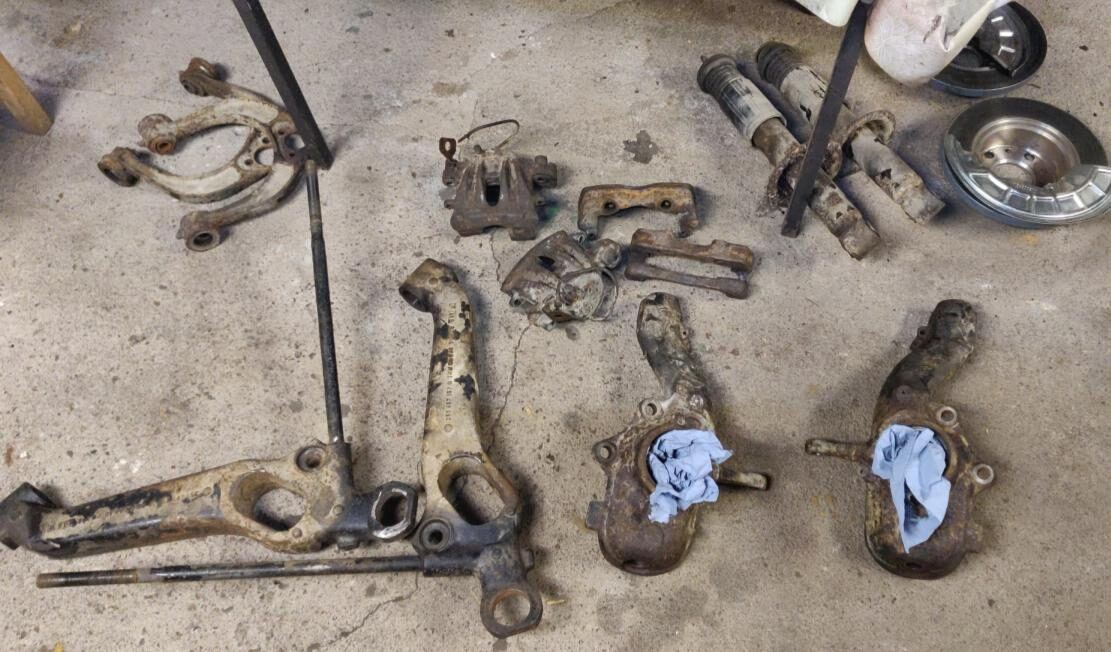
- Removed all relevant parts
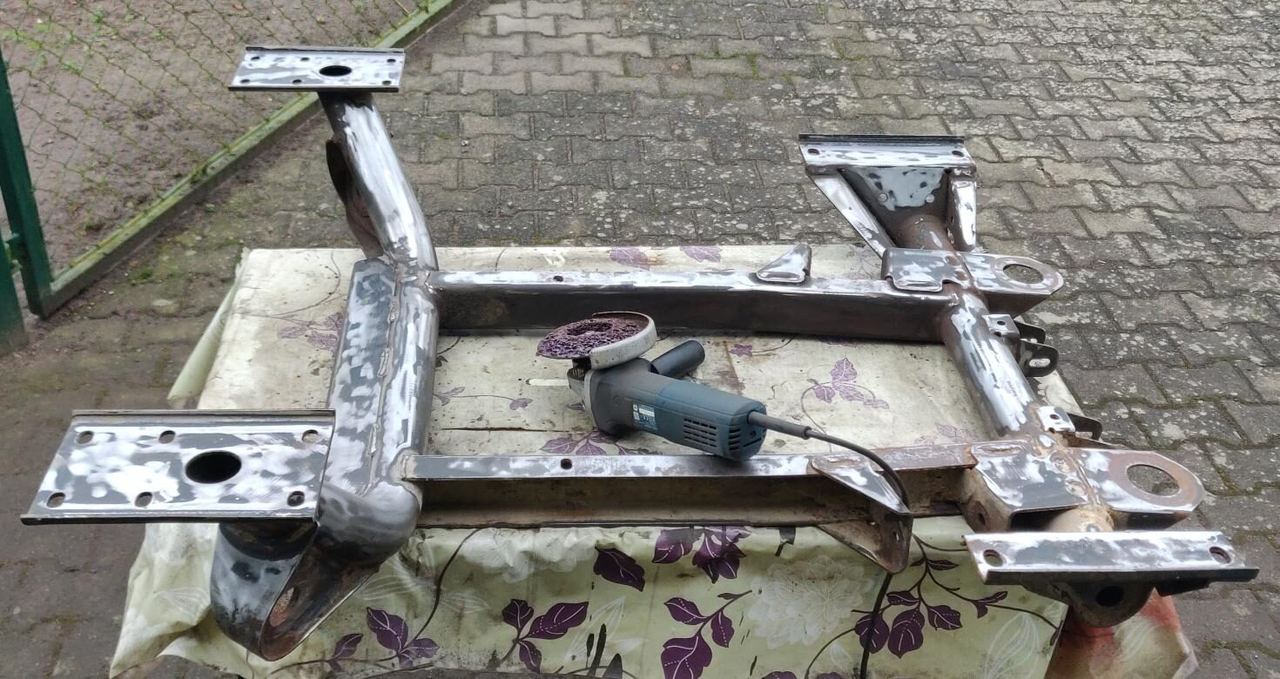
- De-rusted the axle carrier, sandblasted the axle components
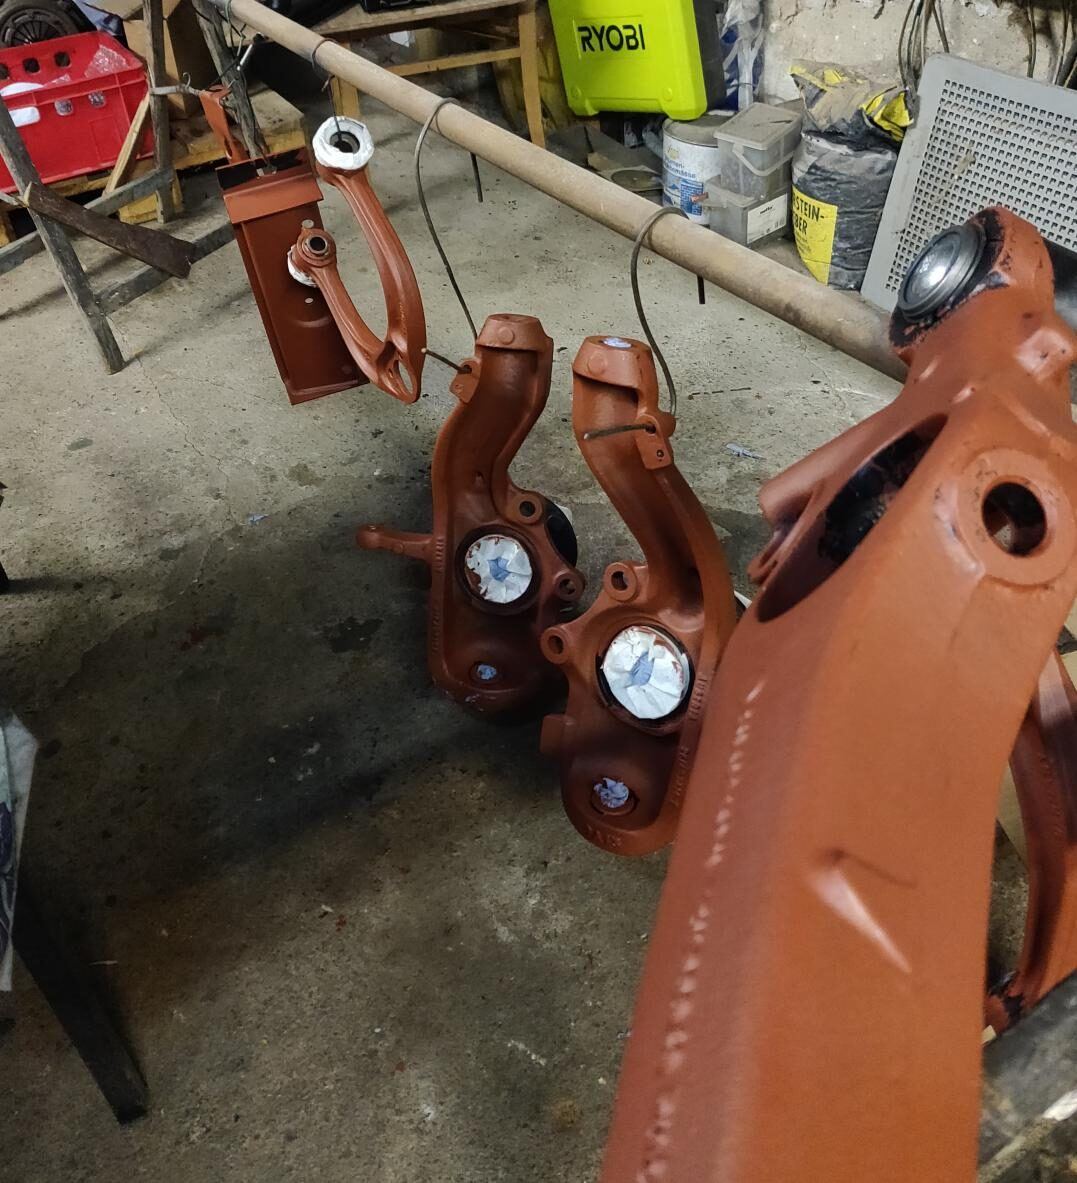
- Repainted everything
- Pressed in new rubber bushes, ball joints and wheel bearings
Tank and propshaft
- Overhauled the tank sender, replaced the tank hoses, cleaned the tank
- Overhauled the propshaft: new universal joints, a new flex disc (Hardy disc) for decoupling, repainted
Gearboxes
The front differential (6N) got a new viscous coupling (since replaced, see the update), and I got the diff lock working again.
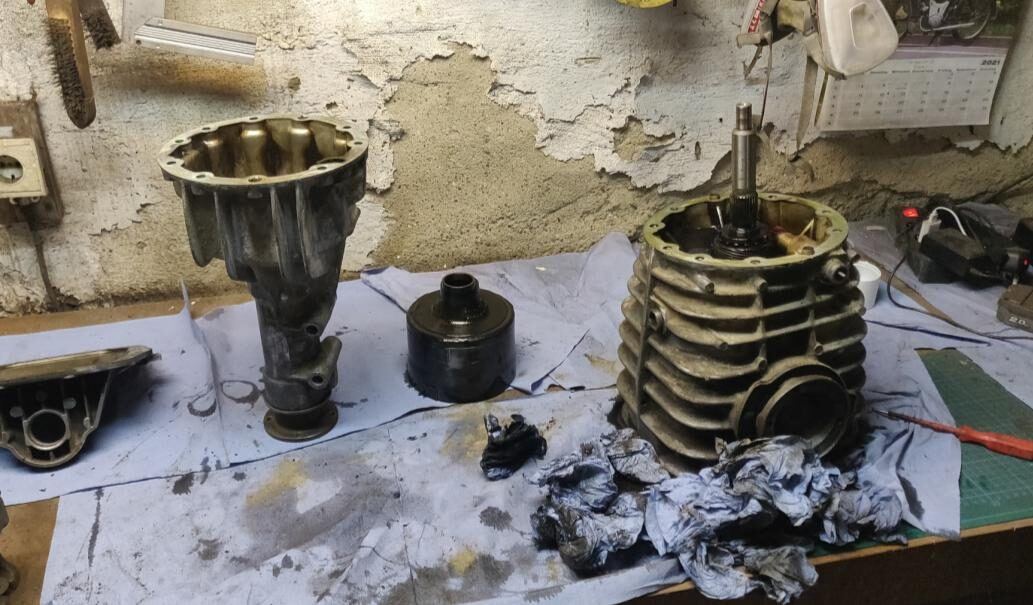
I had the rear AVK gearbox rebuilt by TH Parts & More: new bearings and synchro rings, seals, a reinforced synchro hub for 3rd/4th gear and more. Including shipping, that came to around €2,300.
Note: the gearbox comes back without oil. Both gearboxes got new oil and new seals.
Front axle conversion step by step
The biggest job was the front axle: a 2WD lacks the mounting points for the Syncro axle carrier, so 2WD panels have to come out and Syncro panels go in.
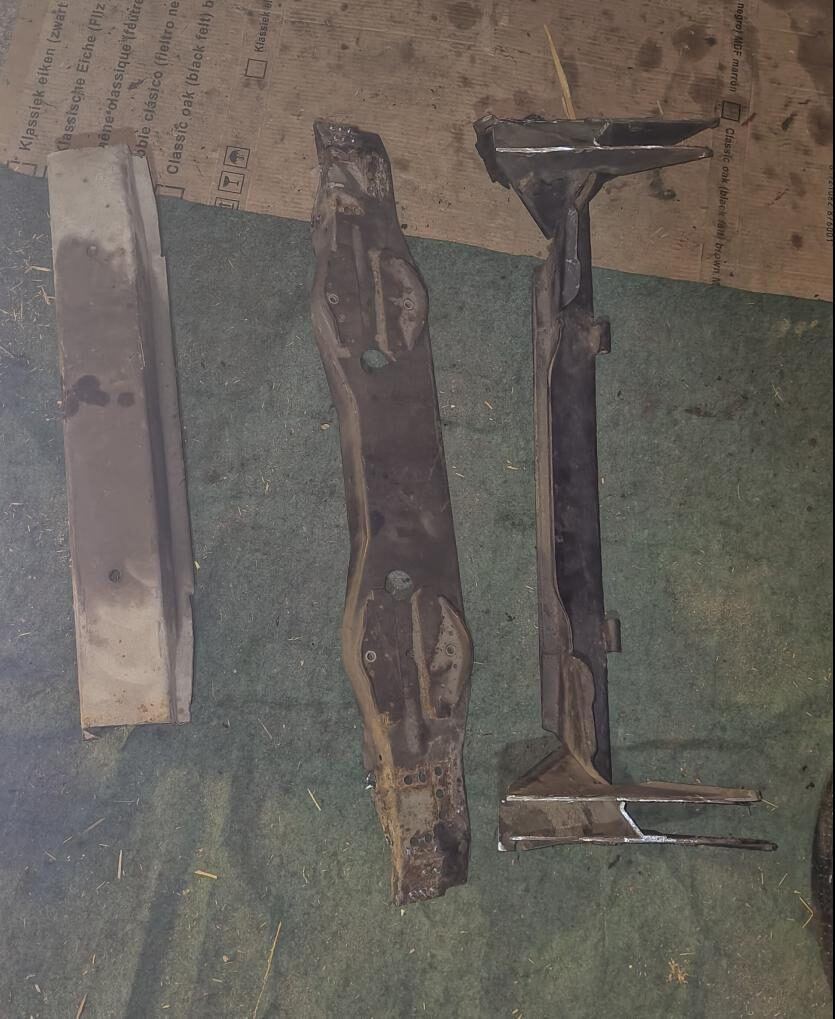
1. Cutting out the 2WD panels
First, the panels that only the 2WD needs come out.
2. Opening up the frame
The frame is cut open so the reinforcement plates for the axle carrier fit inside.
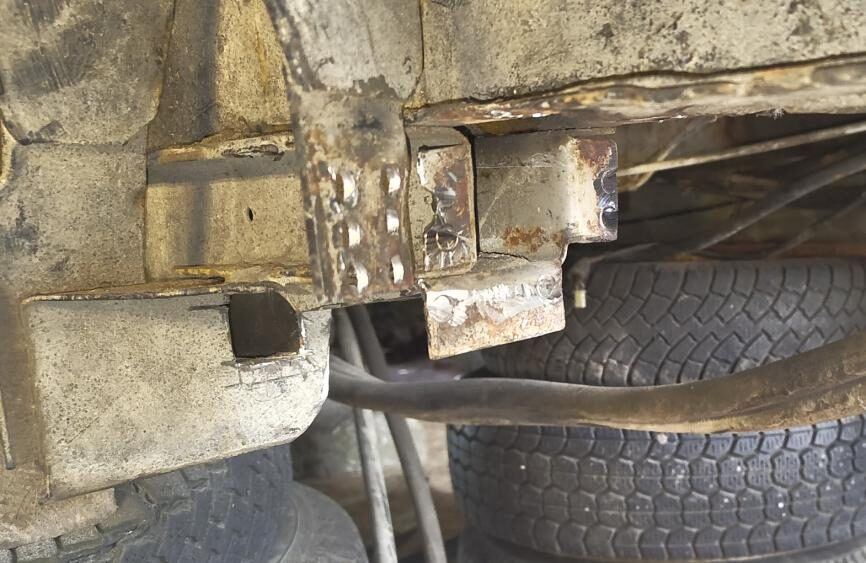
3. Welding in the reinforcement plates
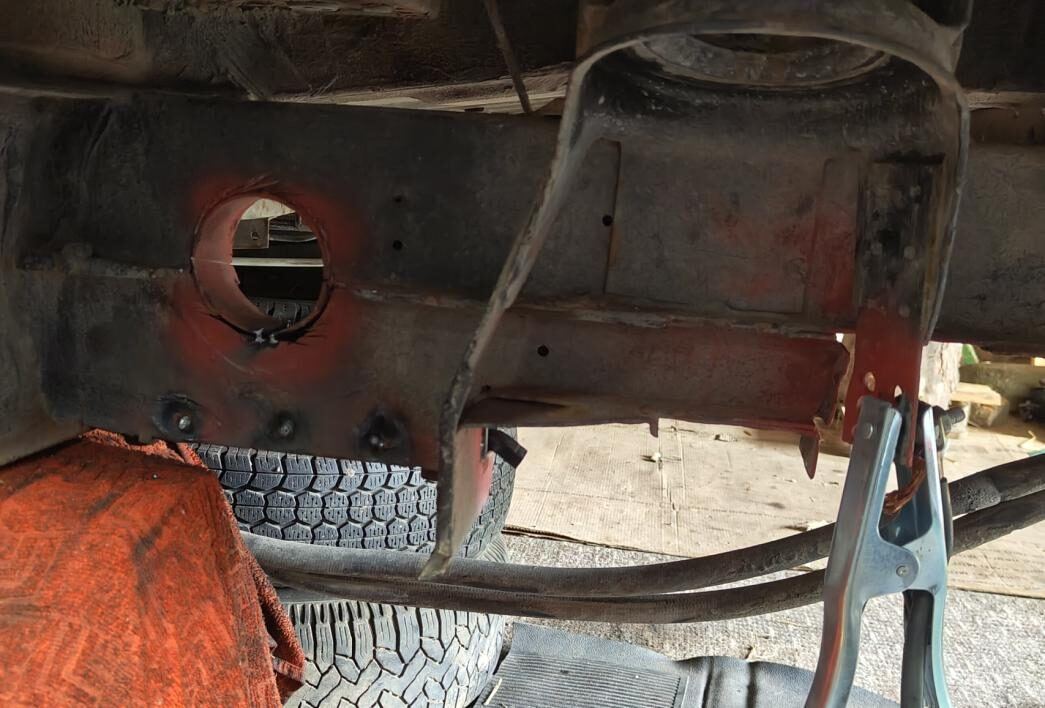
4. Fitting the steering box plate
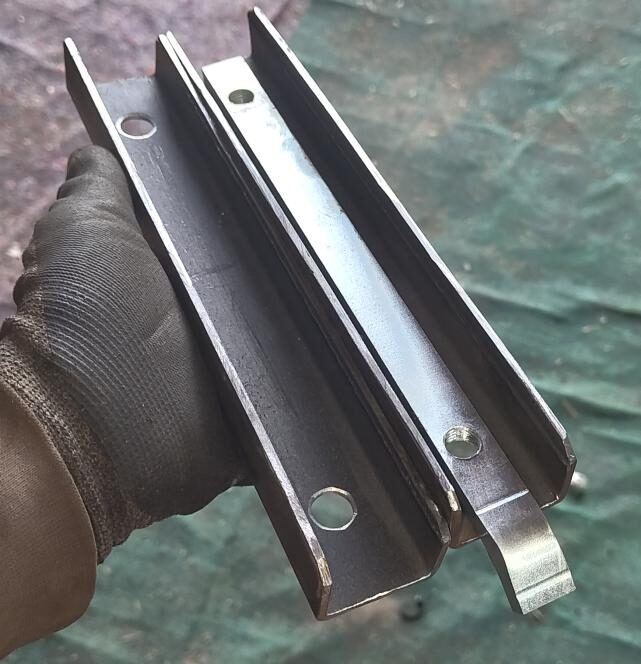
I welded in the steering box plate and additionally fixed it with four M12 bolts.
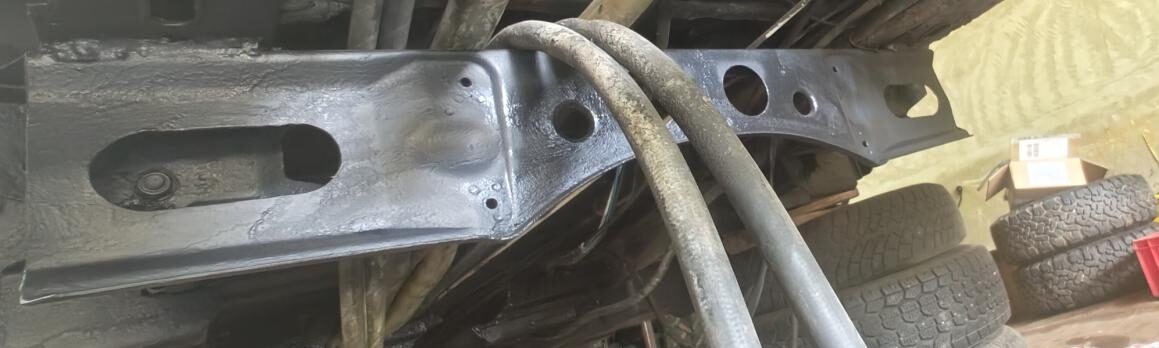
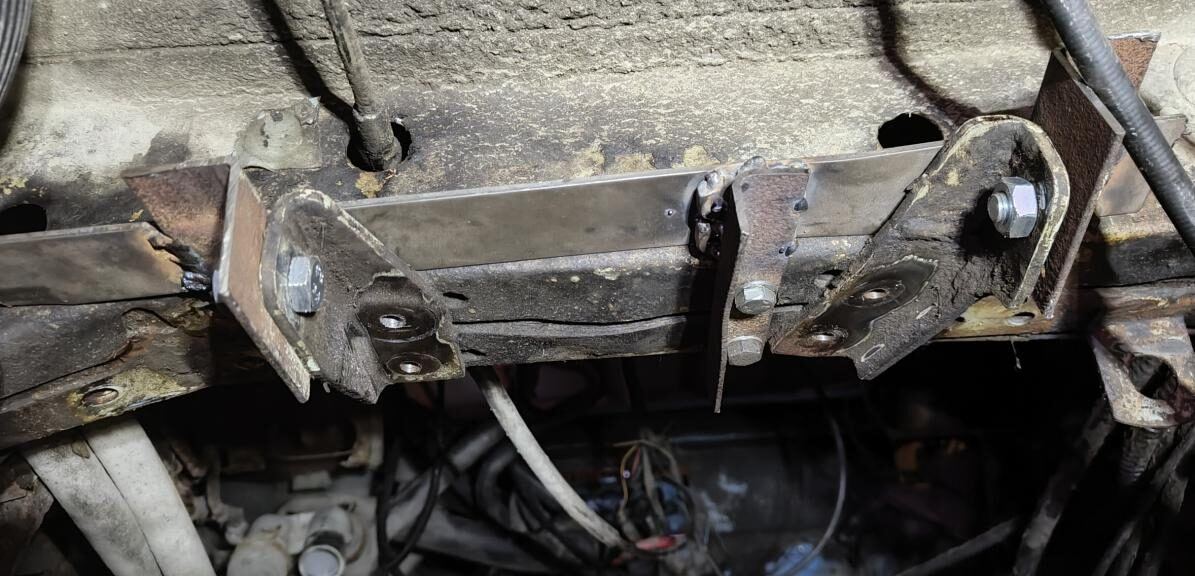
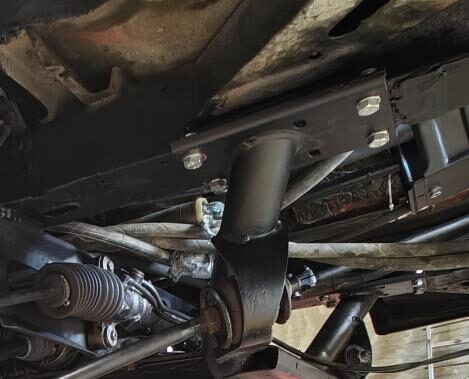
5. Front axle carrier mount made from flat steel
For the front mounting of the axle carrier, I welded in flat steel and additionally fixed it with eight M12 bolts.
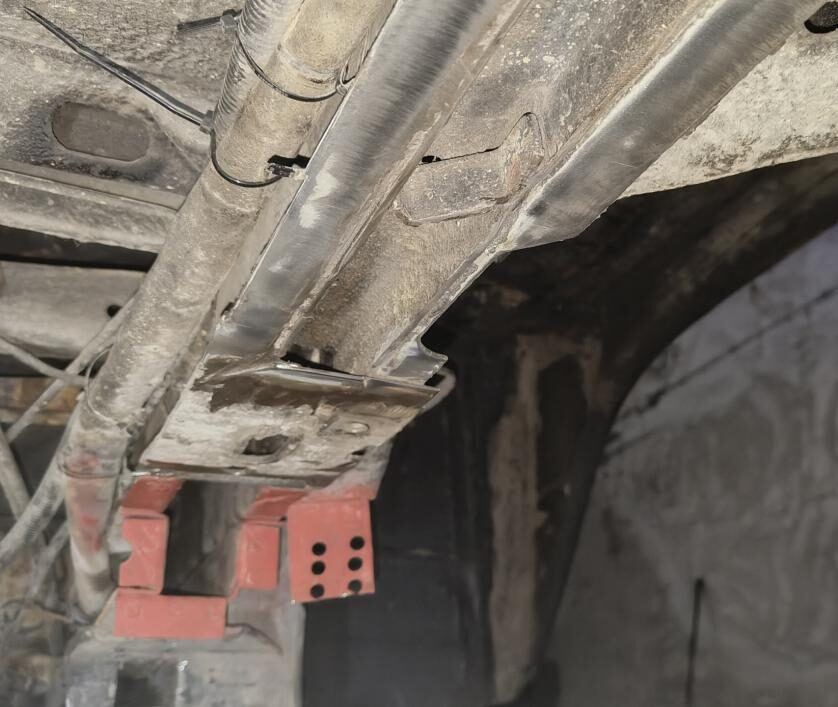
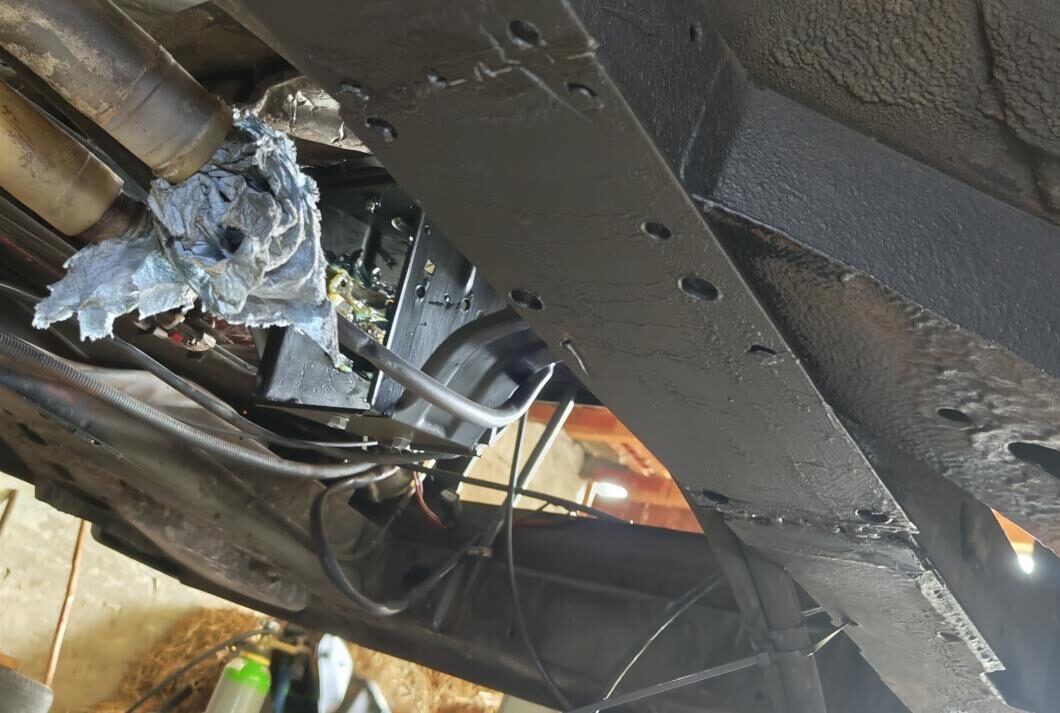
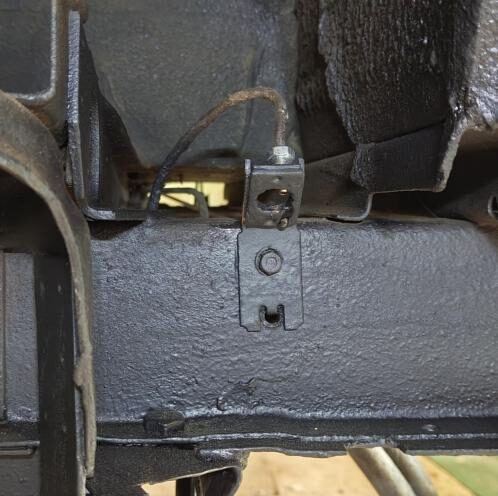
6. Re-routing the brake lines
On a Syncro, the front brake lines run in a different place, so I re-routed them.
7. Adapting the coolant pipe bracket
To make room for the propshaft, the bracket for the coolant pipes had to be modified.
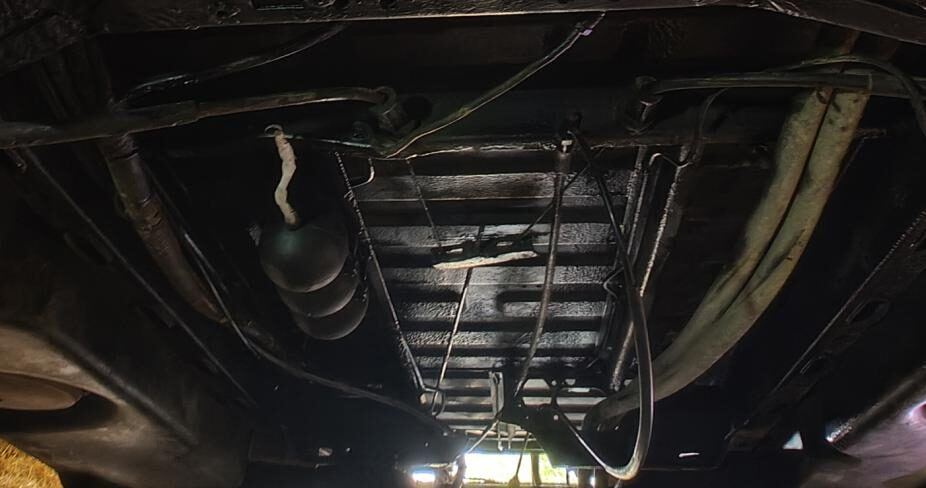
8. Fitting the axle
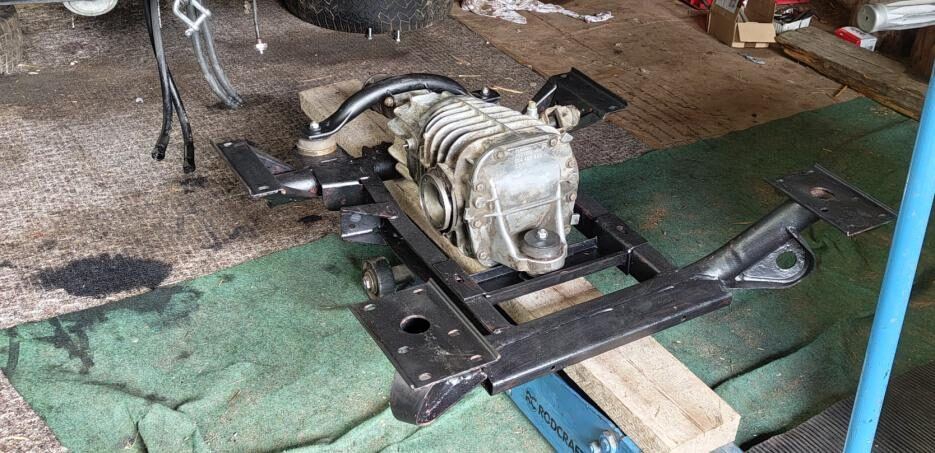
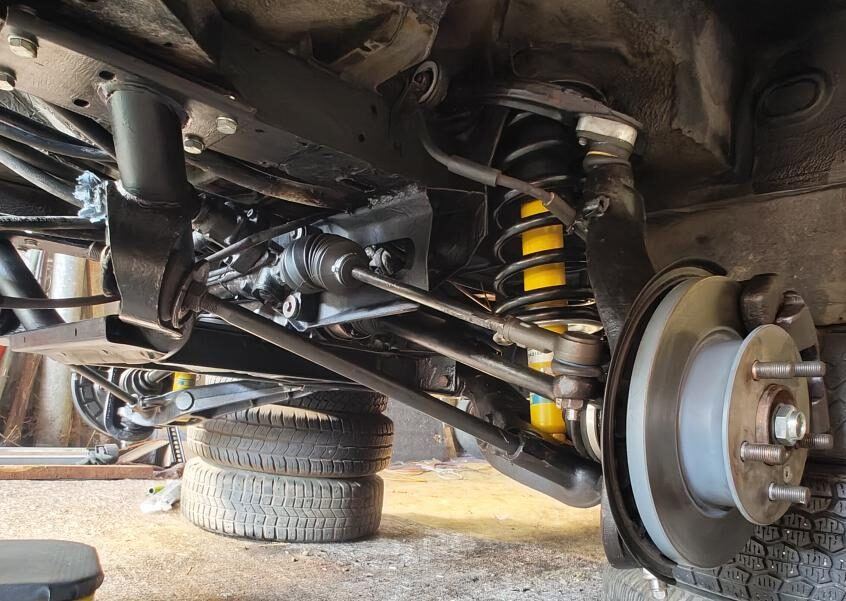
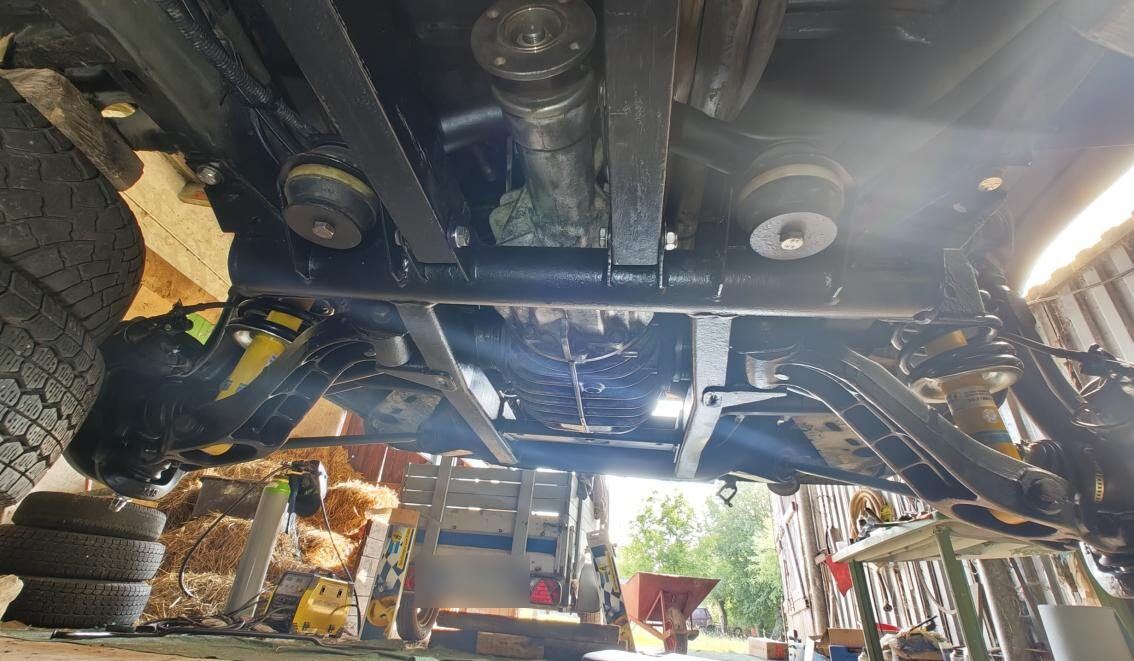
At the rear: gearbox, tank and filler neck
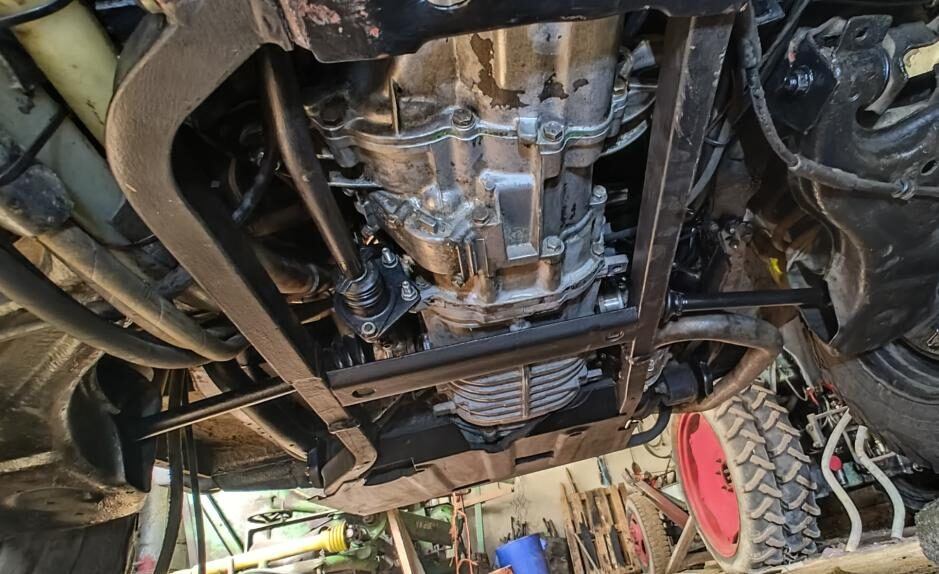
At the rear, the Syncro needs new gearbox mounts, a tank mounting and a filler neck in a different place.
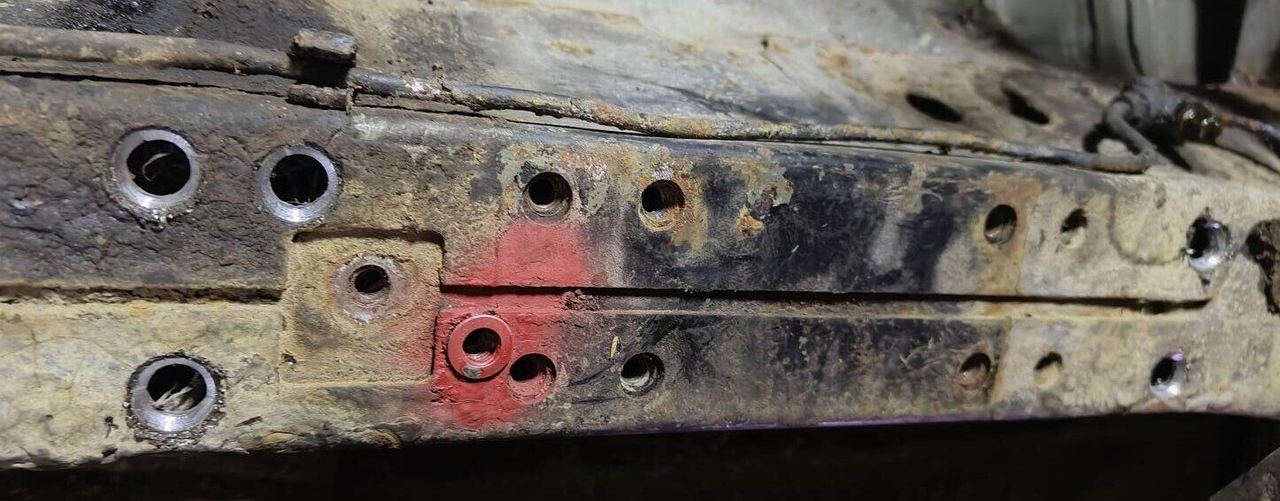
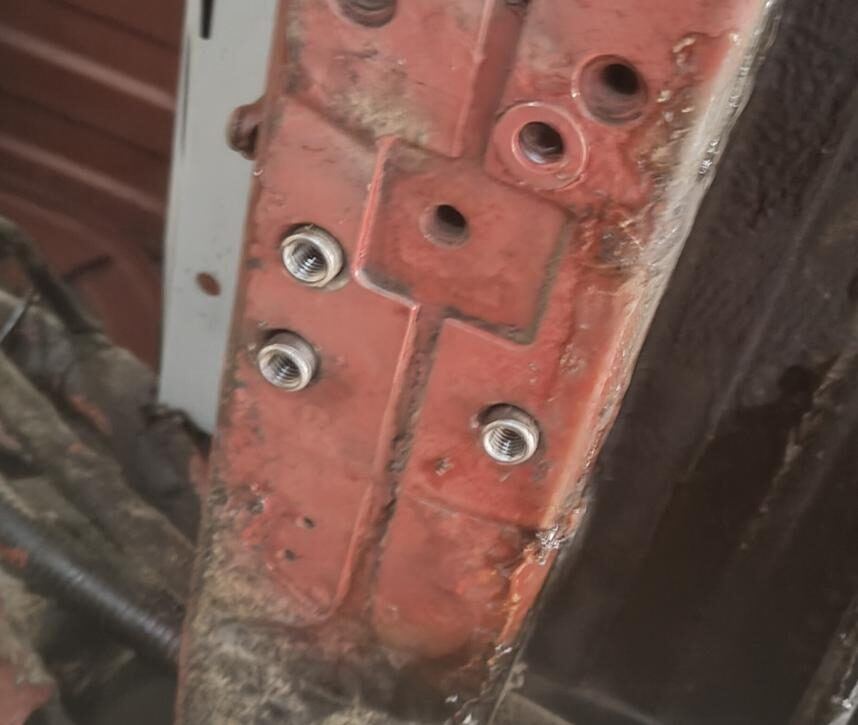
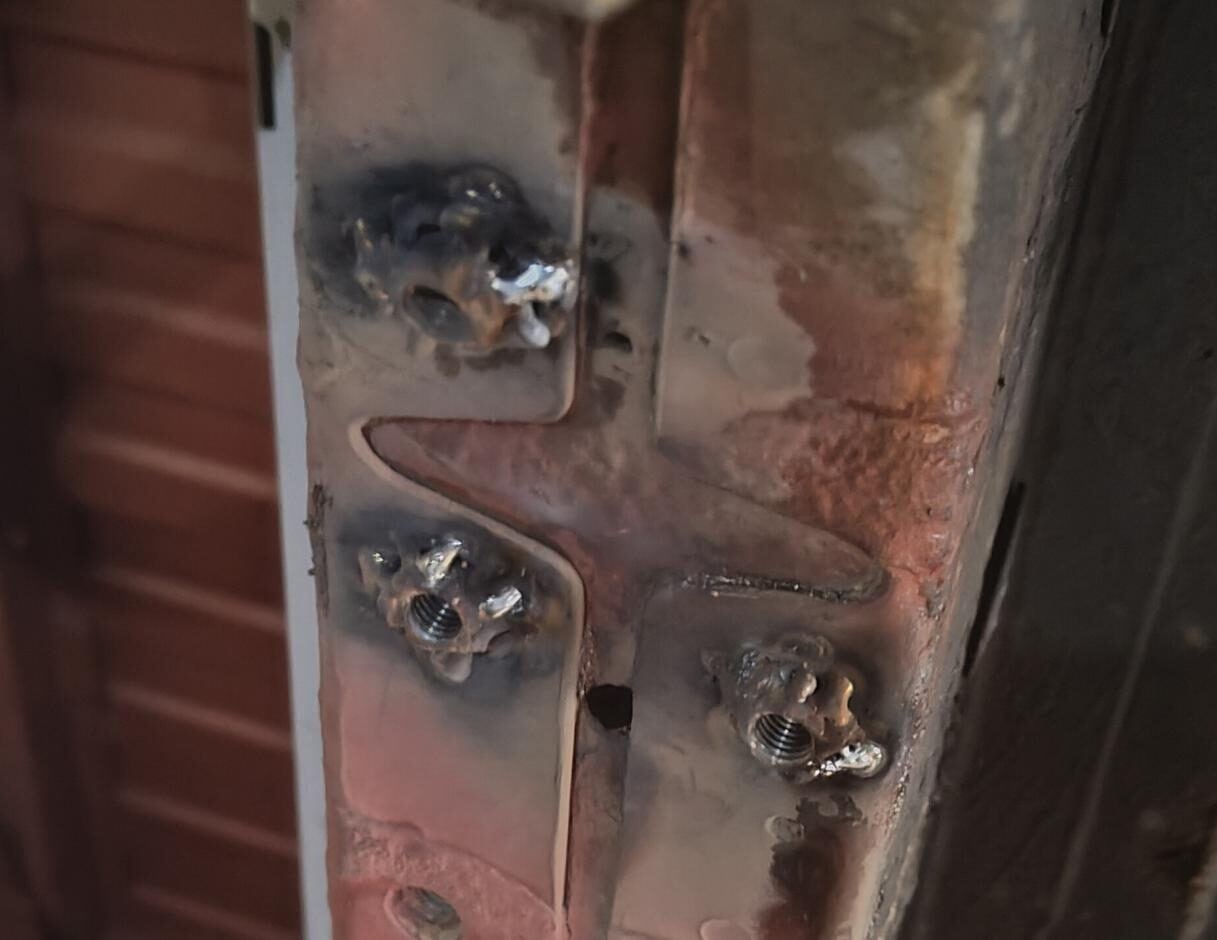
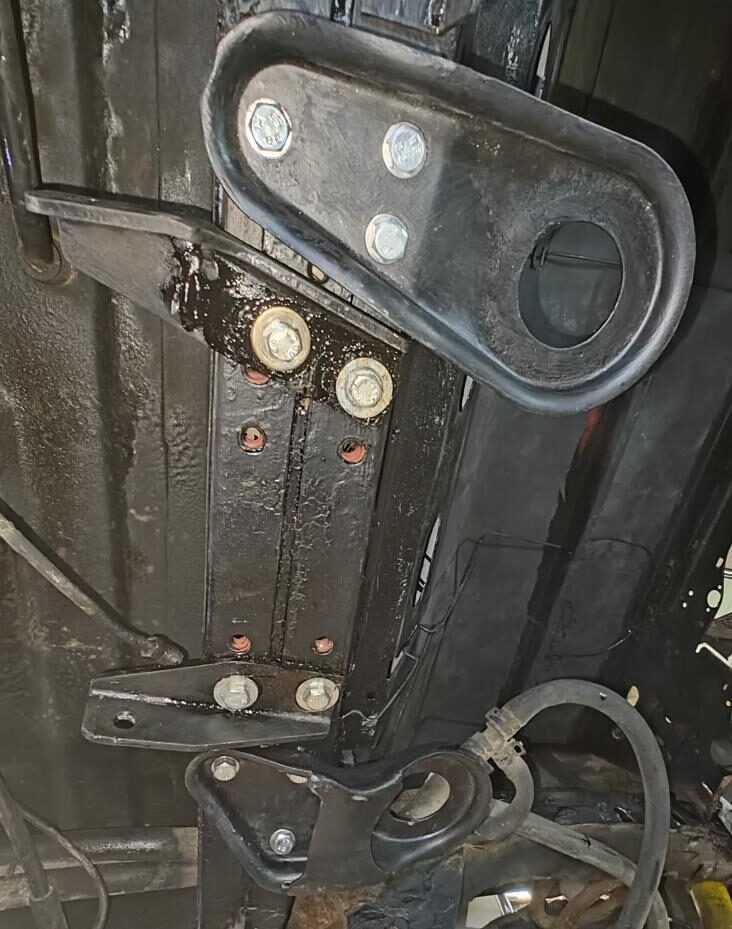
Gearbox mounts with weld nuts
My gearbox mounts sit on M8 steel weld nuts. On paper, press-in nuts would have been enough:
- An M8 steel press-in nut holds approx. 6,000 N.
- The gearbox weighs approx. 50 kg; engine and gearbox together approx. 130 kg.
- The gearbox hangs on six M8 (8.8) bolts. With a load of approx. 65 kg, that's around 10 kg per bolt.
I still went for weld nuts, because the weight sits on a 4 mm shoulder. A weld spot on each nut also stops it from turning.
Skid plate and small brackets
- The skid plate bracket fits existing holes; I drilled one new hole and fitted a press-in nut.
- The brackets for the clutch slave cylinder line and the coolant pipes are bolted on.
Tank mounting
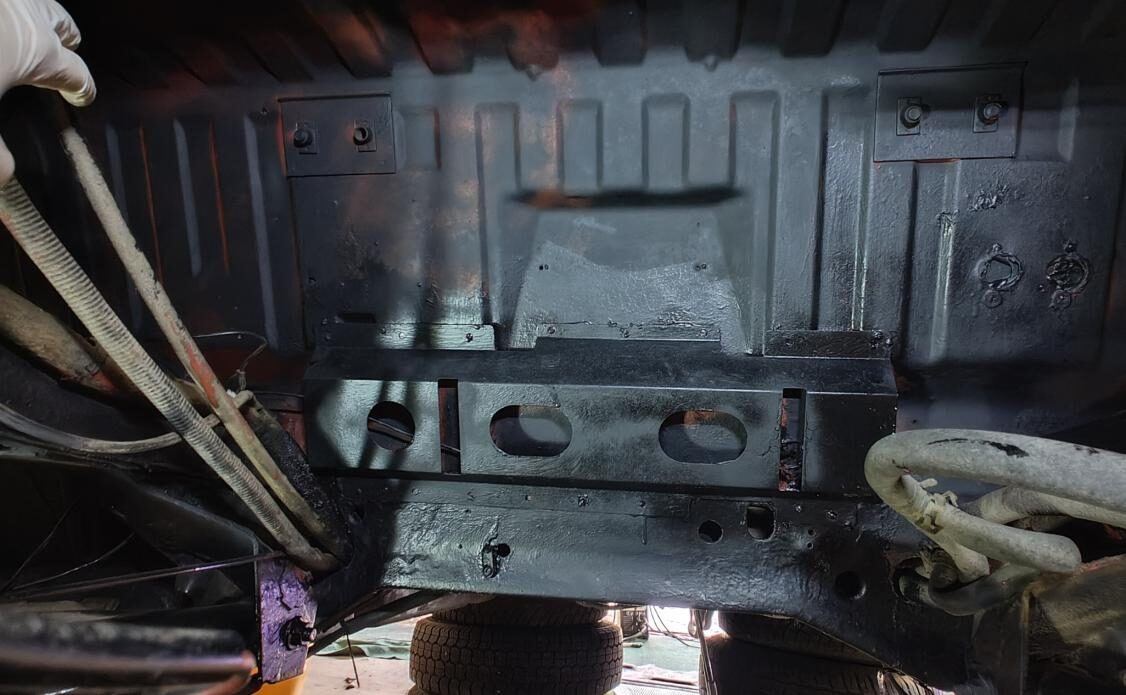
- De-rusted and painted the engine bay and tank area and added insulation mats
- Prepared the tank support plate for the tank straps, spot-welded it at 8 points and riveted it at 4
- De-rusted the tank straps and gave them several new coats of paint
- Fixed the tank strap mount in the engine bay to the panel with an M8 bolt, as original
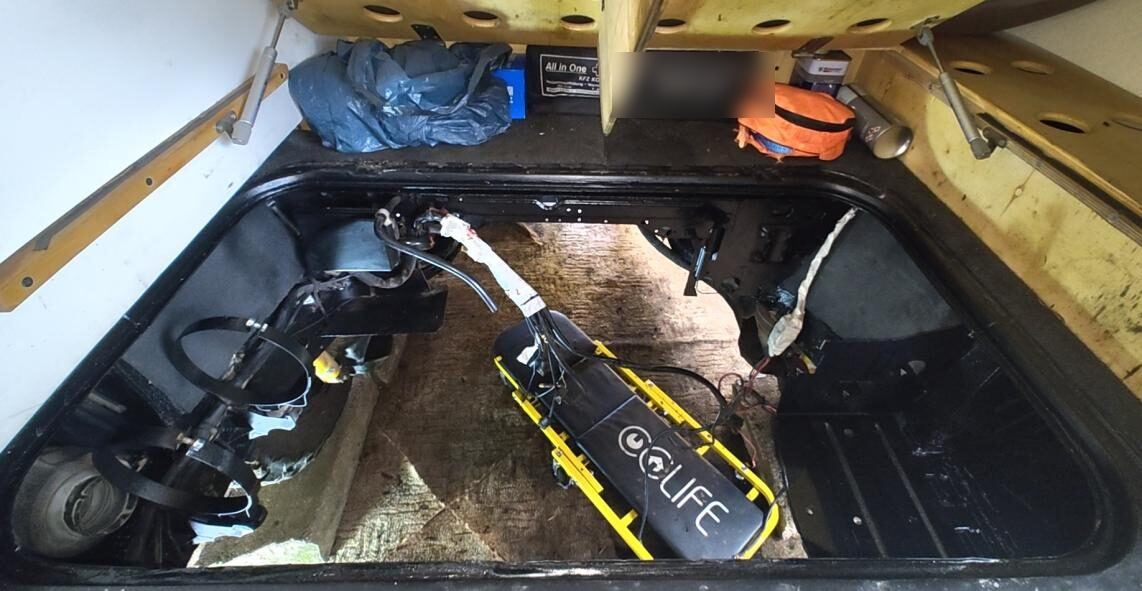
Tank filler neck
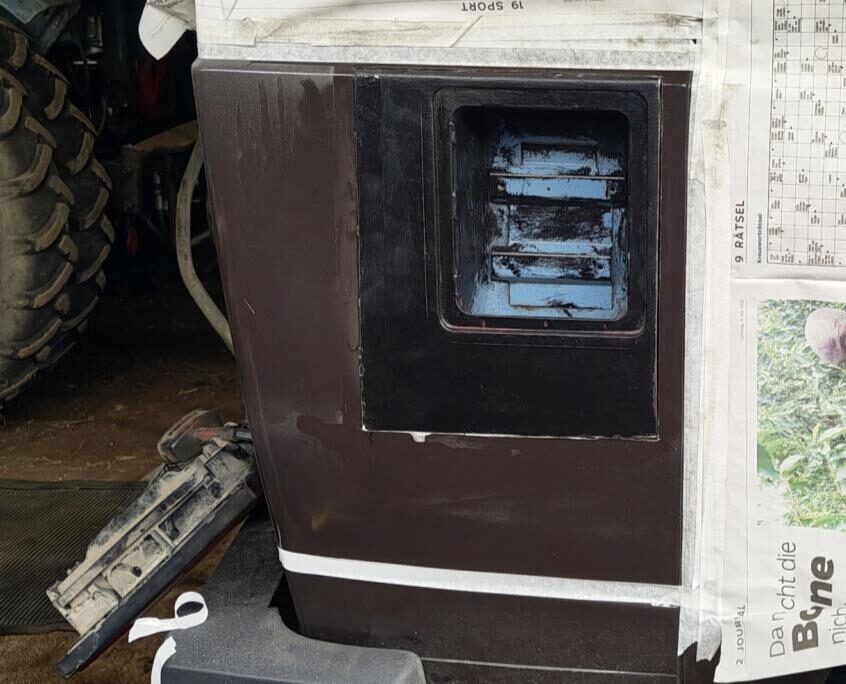
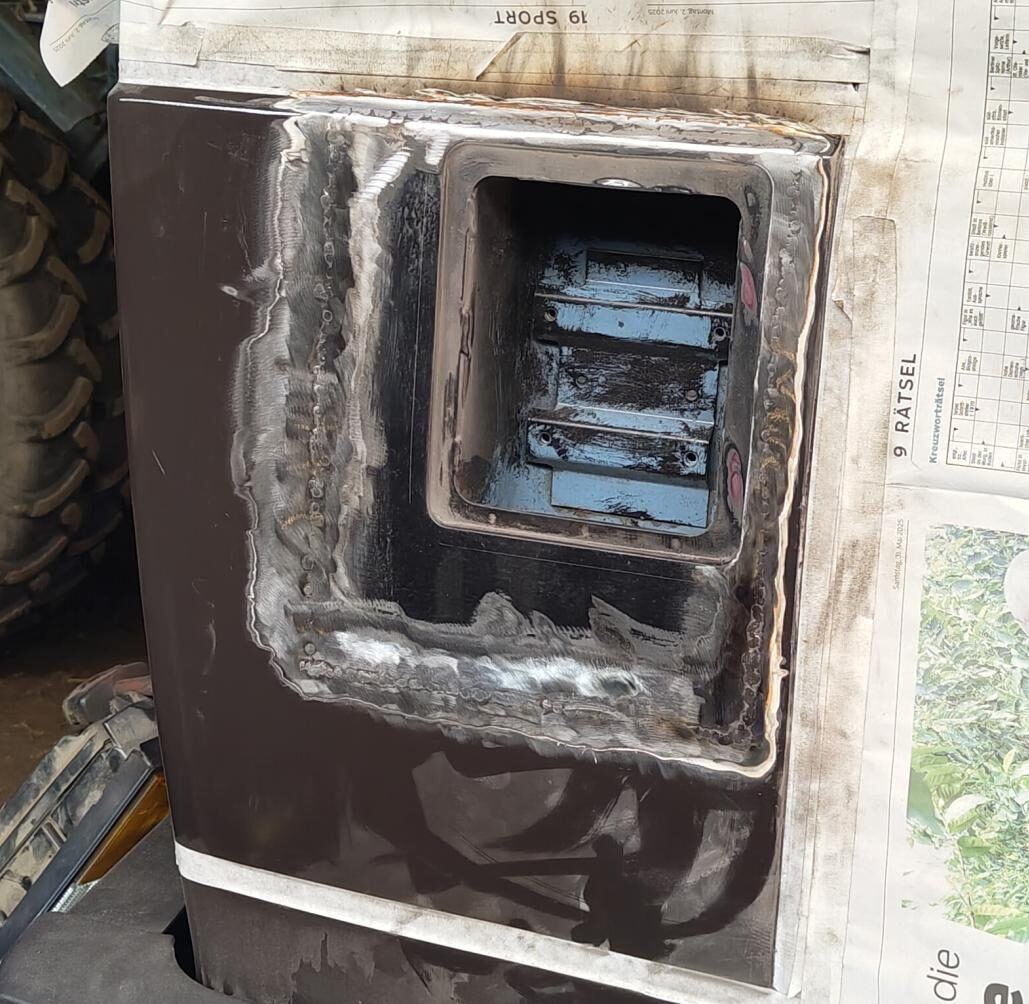
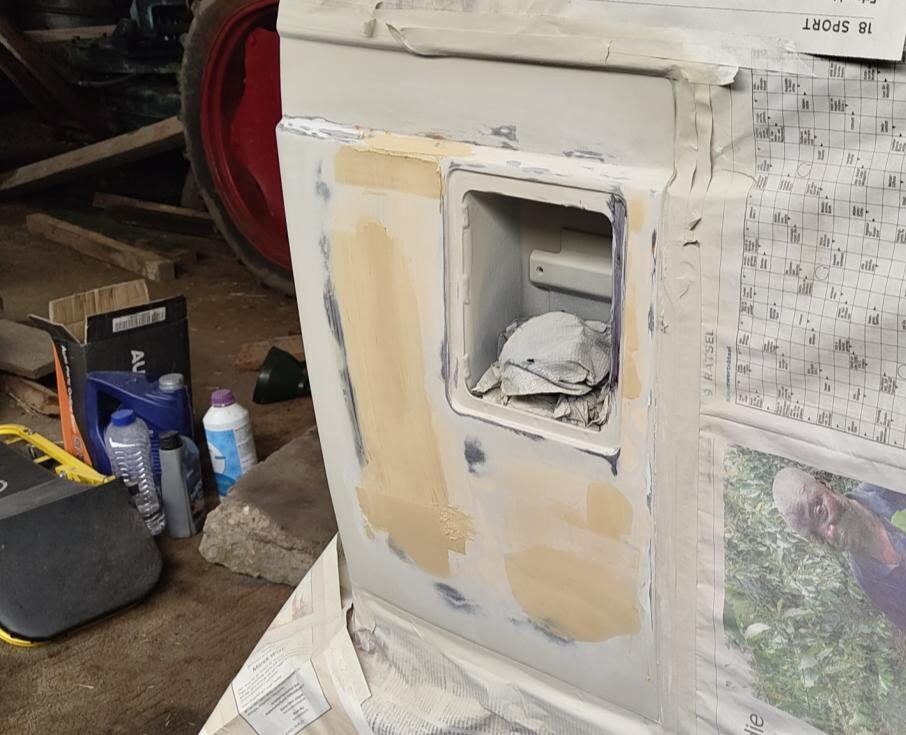
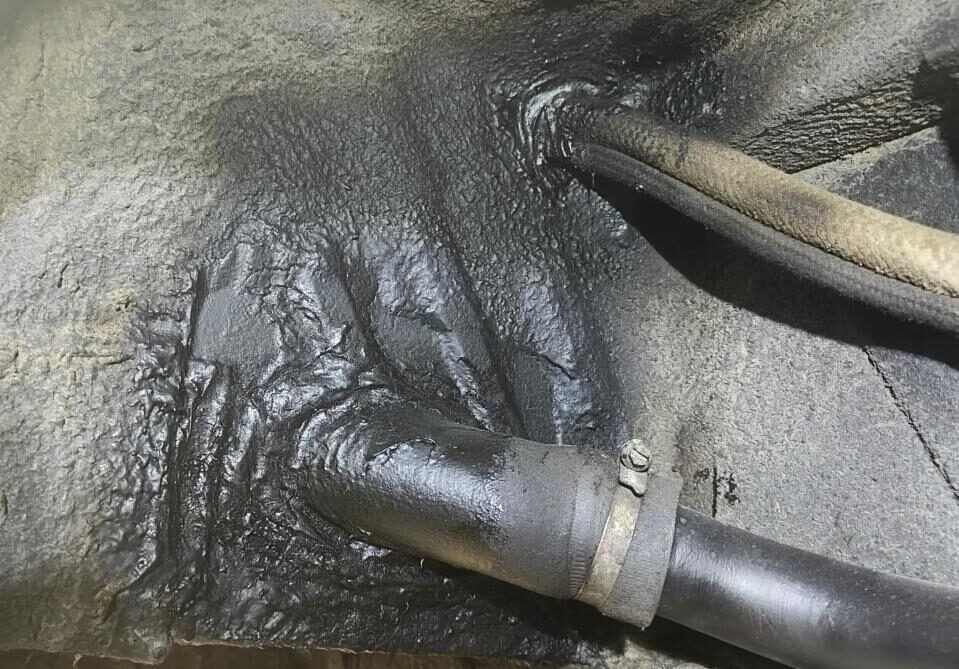
I cut the filler neck panel out of the Syncro, fitted it into the body and welded it in. Then: filler, sanding, paint. I drilled new holes for the filler pipe and breather lines, resealed everything and secured the lines. A YouTube video on fitting the filler neck helped me a lot.
Parking heater
The conversion also meant the parking heater had to move: it now sits under the driver's seat, and I changed the Y-piece in the fuel line. I show what that looks like in the post about the parking heater.
Pneumatics and electrics
The front and rear diff locks are engaged pneumatically, which needs its own lines and an air reservoir.
- Laid the pneumatic lines for the rear and front diff locks
- Mounted the air reservoir under the vehicle on threaded rods, as original
- Laid the wiring for the reversing light, rear diff lock, front diff lock and tank sender
- Replaced the old power wire to the tank sender with a new one
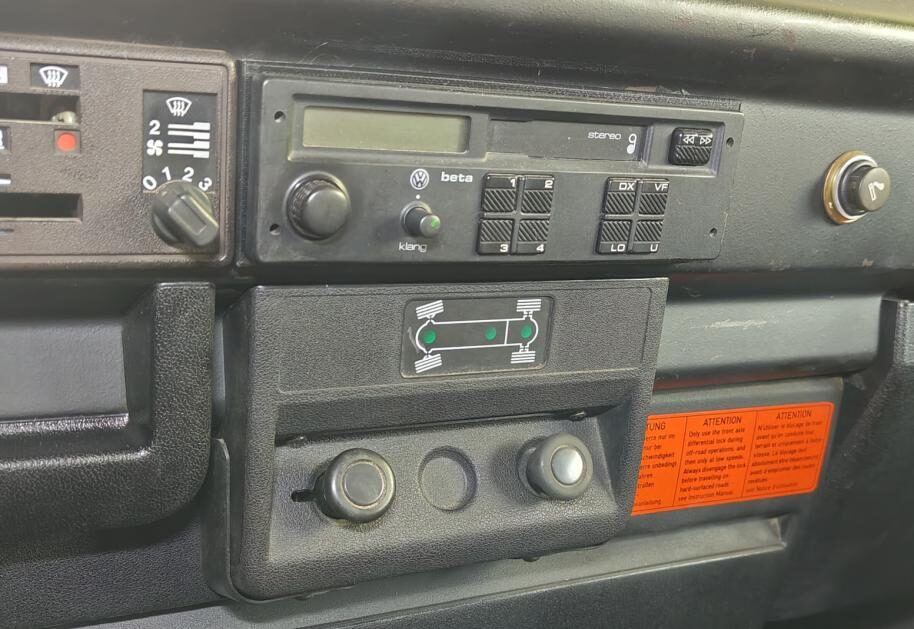
- Fitted the switch panel for the diff locks
Registration
After the conversion the bus is technically a different vehicle, so several points have to be entered in the registration documents:
- Four-wheel drive: two driven axles instead of one
- Updated weight
- Updated axle loads
- Updated braking performance
- Note "Syncro conversion"
The result
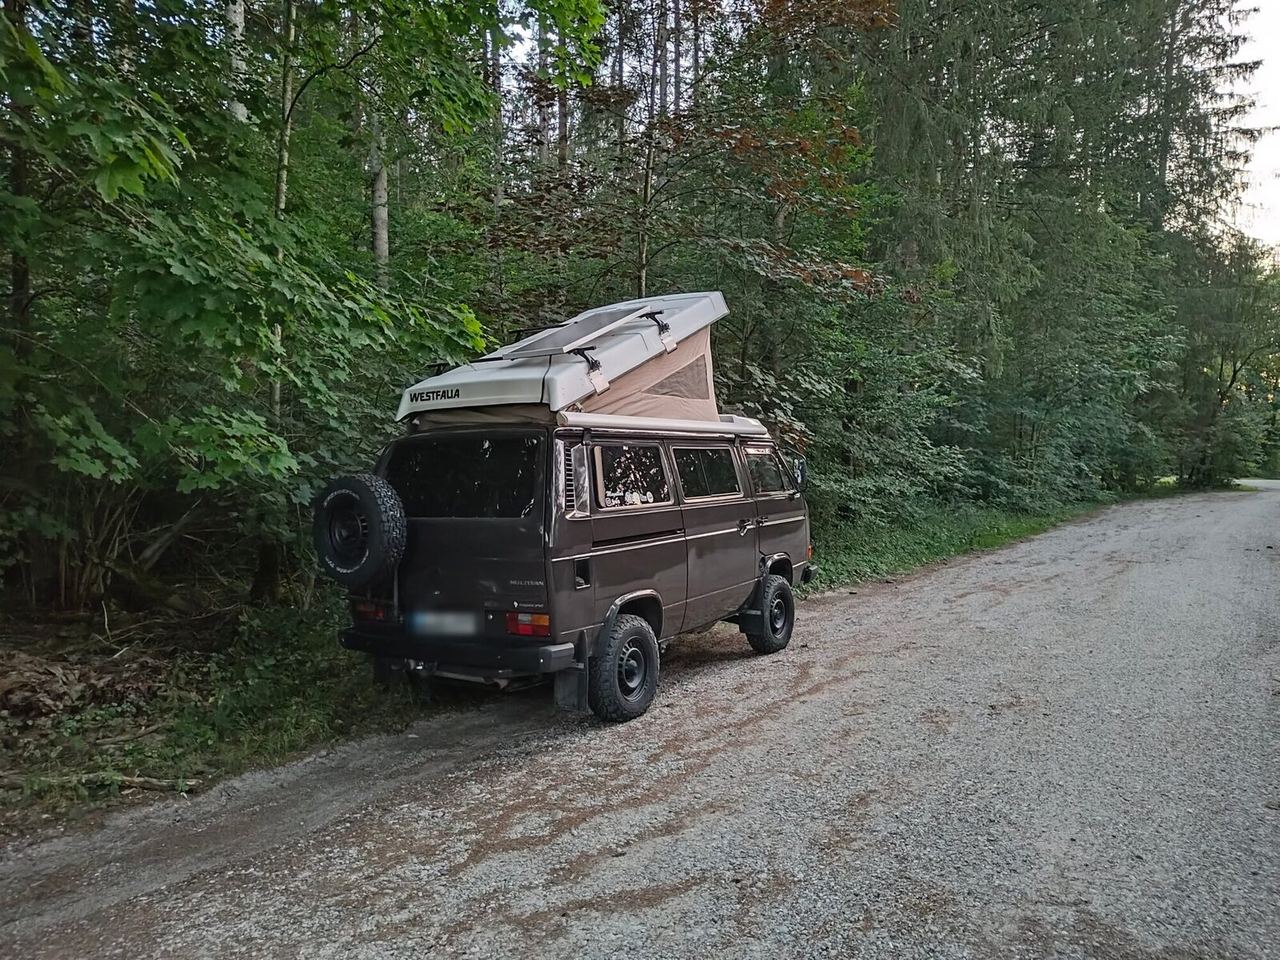
The 2WD Westfalia has become a Syncro with diff locks front and rear – and now it can tackle gravel and forest tracks too.
Update: switching to selectable four-wheel drive
The bus no longer runs with the viscous coupling but with selectable four-wheel drive. The reason: I had set up the viscous coupling incorrectly and it was too stiff. Instead of redoing it, I switched to the selectable four-wheel-drive unit from mybusparts.
The swap is simple. The new housing replaces the old one; according to the seller, all parts are new apart from the inspected and overhauled housing. It comes with a gasket, vacuum line, Y-piece, bracket, cable ties and the valve and switch to operate it.
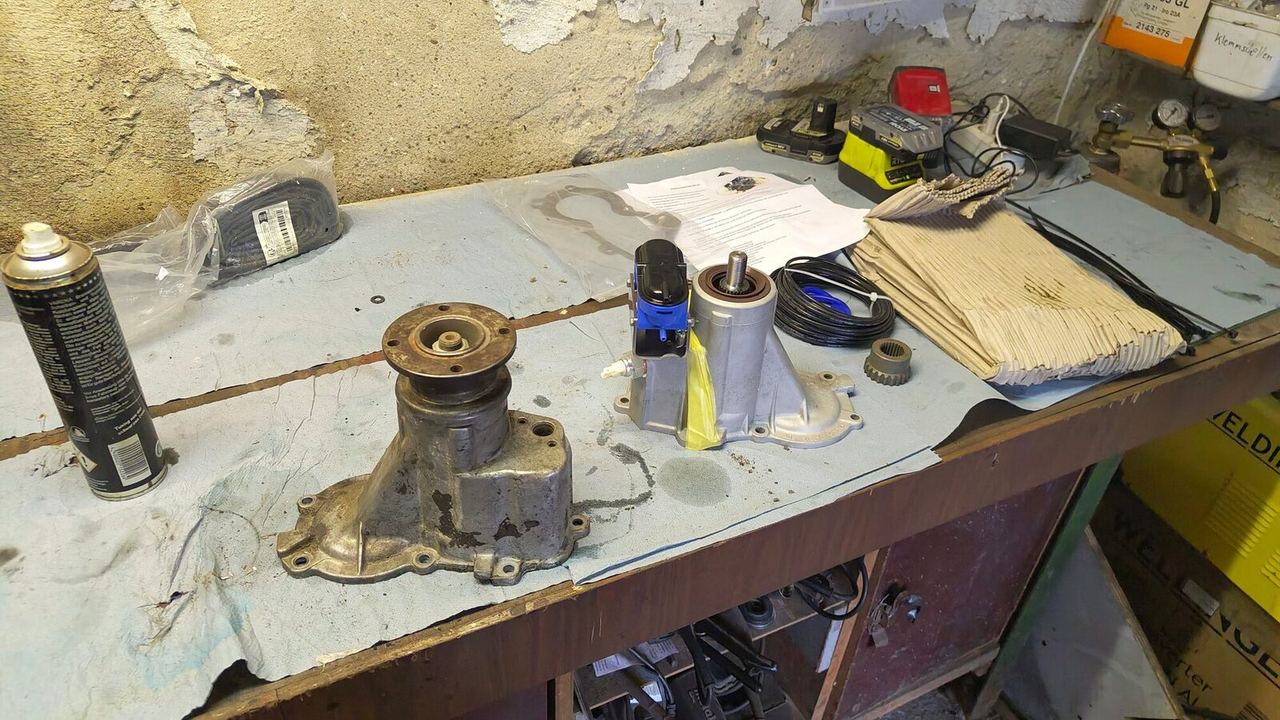
In November 2026 the price was €1,299 plus a €550 core deposit. You get the deposit back when you send in an original, unmodified housing.
Parts and suppliers
Most of the Syncro parts came from the donor. The body panels missing on a 2WD are available new from these suppliers:
| Part | Part number | Available from |
|---|---|---|
| Steering box plate | 251803935B | th-bus.parts – repair panels |
| Front chassis rail reinforcement plates (2WD to Syncro) | Tygrys Syncro | |
| Tank reinforcement plate (tank support plate) | 253801551 | TK Carparts |
| AVK gearbox rebuild | TH Parts & More | |
| Selectable four-wheel drive (replaces the viscous coupling) | mybusparts |
Thanks to the Syncro community
I couldn't have done this conversion without the people in forums, Facebook groups and on YouTube. Countless photos of original vehicles showed me what it should look like in the end. Those pictures belong to their creators – so I'm linking to the sources here instead of showing them:
- The Gray Bus (YouTube)
- Mark Halligan – Syncro conversion (YouTube)
- Video on fitting the filler neck (YouTube)
- 2wd goes syncro
- TheSamba: thread on the 2WD-to-Syncro conversion
- Facebook group on the Syncro conversion
And what was left of the Finn was collected by the tractor.
Questions about the conversion? Get in touch – I'm happy to help.